Hi, I'm Rachel.

A few years ago I could barely boil water.

True story.

Determined to be a kick ass wife, I developed a love for football and learned to cook in my tiny Jersey City kitchen. I spend my days working in Manhattan, my nights and weekends chasing after a rambunctious toddler, and the hours in between cooking with my husband and feeding my TV habit...oh, and I blog about it all! 

Welcome to my world!

Search for Recipes & More!

Subscribe via Email:

Delivered by FeedBurner

Still Hungry?
my foodgawker gallery
Search for Recipes & More!


Subscribe to TAA by Email!

Delivered by FeedBurner


Follow the Food

The Pantry

Entries in DIY (20)

Monday
Feb252013

DIY Door Hanger

Hi friends!

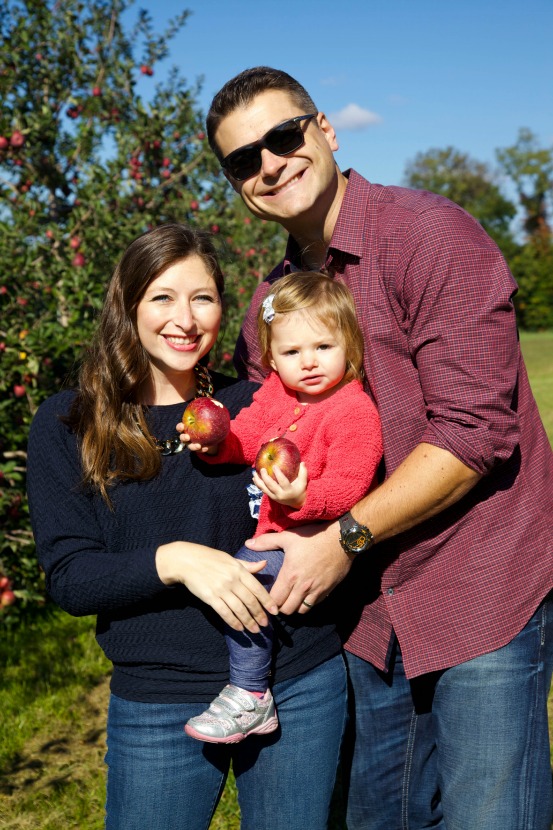
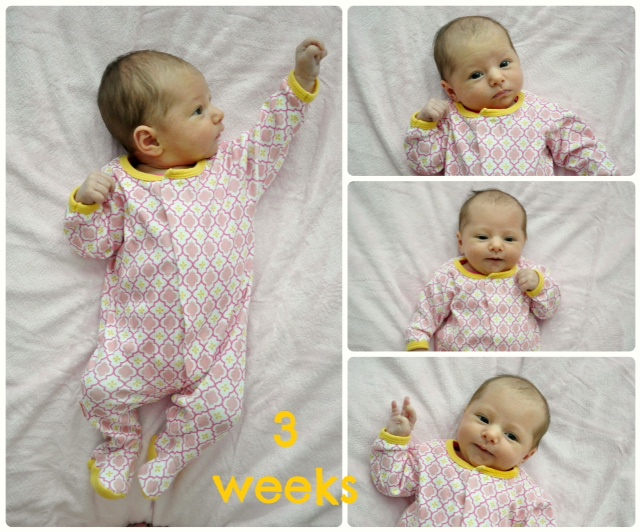
I'm sorry I've been MIA for the last few weeks. Things have been a little crazy around here since little Miss Penelope joined the ranks. Somehow, my little Sweet P is 3 weeks old.

In the weeks before Penelope was born, I had a bit of extra time on my hands. And so for the first time in a really, really long time, I had time to get a little crafty. I even Mod Podged and hot glue gunned things! I even made Shaun drive me to AC Moore for crafting supplies the week before I gave birth. 

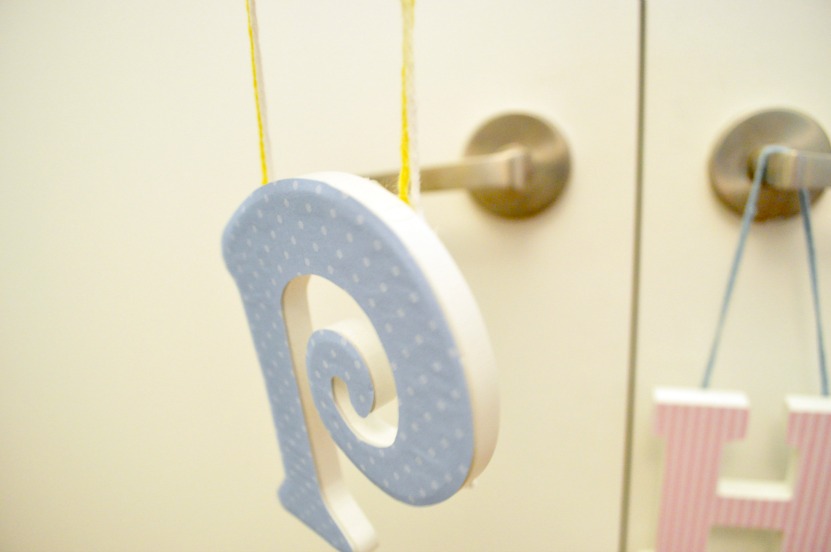
One of my favorite crafts that I did are these cute little door hangers that I made for Penelope's nursery. 

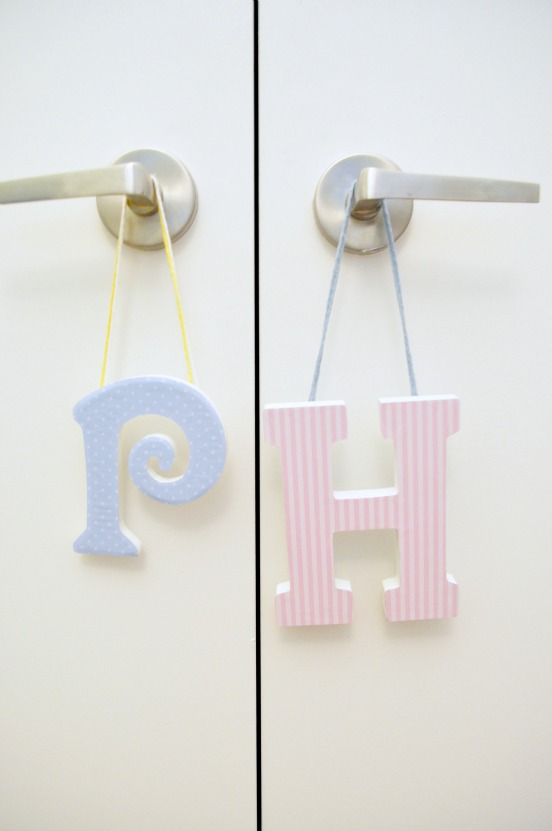
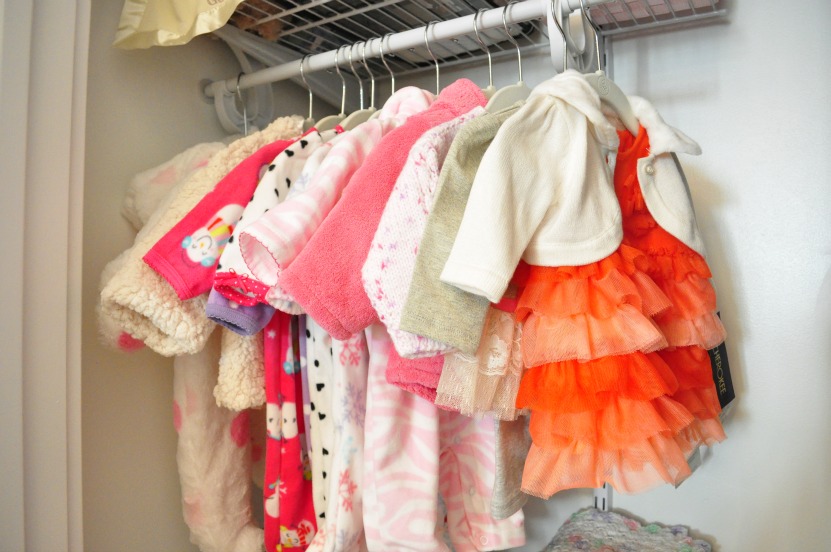
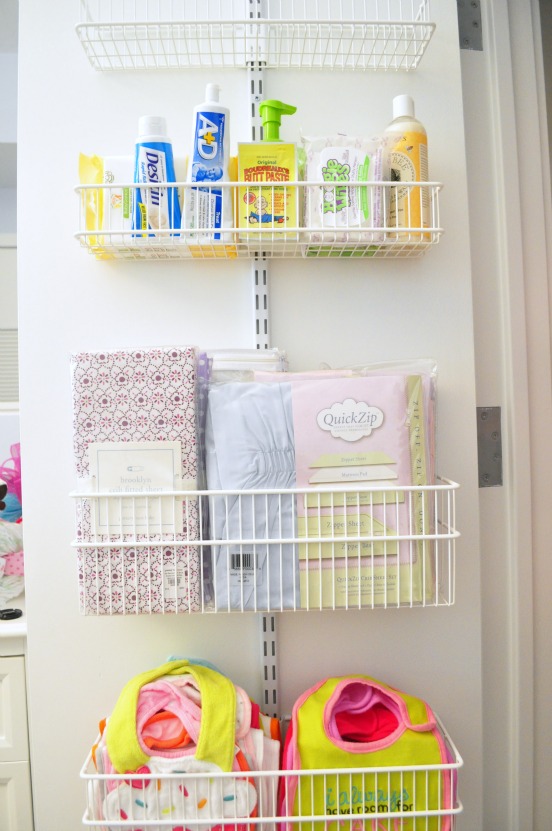
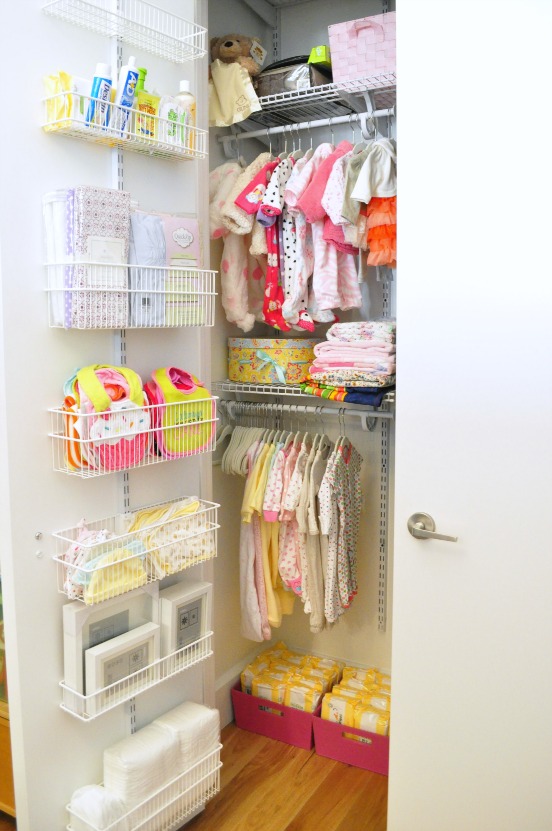
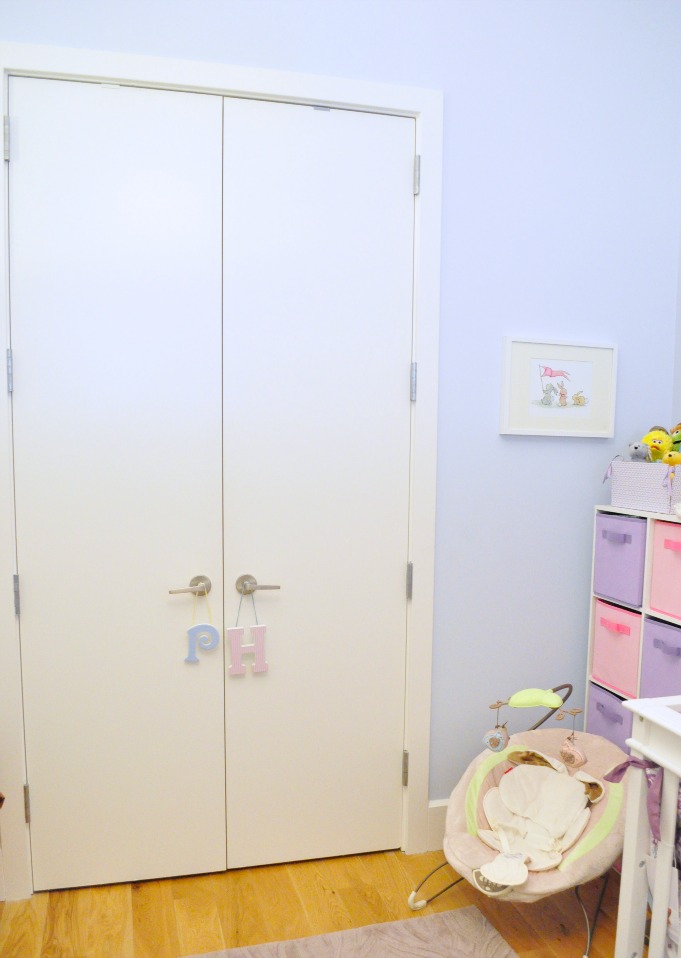
We have a giant closet in her room and so I wanted to add something to make the incredibly tall, stark white doors feel a little more integrated into the room.

These were so easy and so inexpensive and add such a fun, personal touch to her room. Not to mention that I adore all things monogrammed, so I couldn't wait to have Pen's initials adorning her nursery.

I started by purchasing a white P and H from AC Moore. I had actually bought the H years ago with plans to paint and hang it, however, I never got around to crafting anything. All I needed was a P to make my monogrammed set. They aren't even the same 'font', but I kind of like it that way since it adds a little playfulness.

I then used some leftover scraps of scrapbook paper that I had from Pen's baby book that I made. I simply traced each letter backwards on the back of the paper, carefully cut it out and used a bit of Elmer's glue to adhere it to the wood letter. 

After smoothing it out and letting it dry, I attached a couple pieces of yarn with a hot glue gun. I simply measured how I wanted them to hang off the door, cut to size and got my glue gun on. 

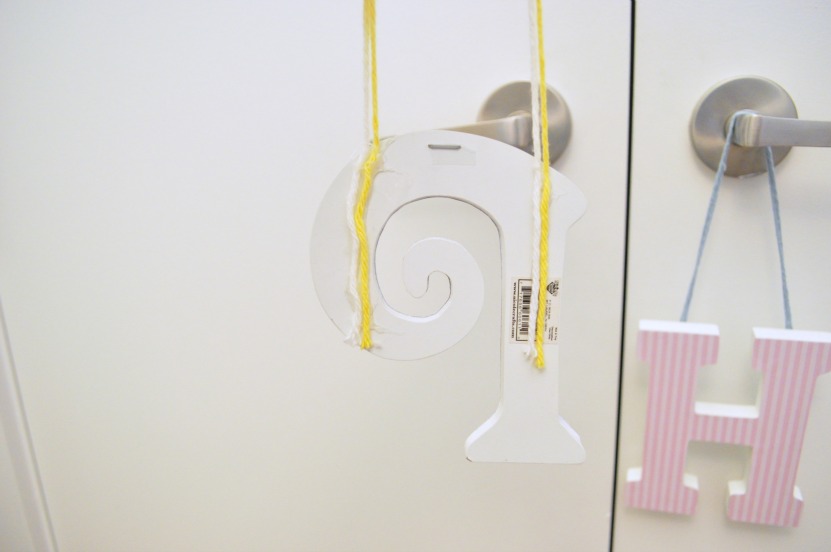
After letting the whole thing dry, I simply hanged the letters on the handles of her closet doors. So cute, no?

Such a simple upgrade and I love seeing her little initials everytime I walk into her room.

Though I already had some supplies on hand (the paper, yarn and glue gun), I think you could probably do this entire project for under $10. I actually want to make these for Shaun and my bedroom closet as well, but with some more grown-up paper, just to add a little more color and interest to the room.

So there you have it. A super simple craft that makes a huge difference in Pen's nursery.

So what do you think?

What have you been crafting lately?

Are you monogram-obsessed, like me?

Monday
Jan282013

Baking Supply Organization

Have you noticed a theme around here lately?

I've been organizing and DIY'ing like it's my job. This weekend, I hot glue-gunned AND Mod Podged something. It's like I don't even know myself anymore.

While I've been waiting for baby girl to hurry up and get here, I've been taking advantage of some extra free time - and some seriously crazy nesting instincts - and getting around to all of those little projects that I simply never had time for previously.

It's like anything that gets in my path is going to get reorganized...and if this baby doesn't show up soon...well, there's no telling what I'll do.

This weekend was mostly spent relaxing at home and getting some final things finished, like hanging artwork in the nursery, putting together a little bouncer and reorganizing some cabinets. The first thing on my list? My little baking pantry. Of course, I got right in there and neglected to take a before photo...but I'll just describe it as half-filled mason jars of random ingredients (first organized here), and a bin of sprinkles, food coloring and baking cups...none of which could be identified in any easy way.

After just 20 or so minutes, my two baking supply shelves looked like this:

Not bad right? I know you have nothing to compare it to...but just trust me when I tell you that it's like..100 times better than it was.

You see, I have this small obsession with mason jars. I use them for just about everything. I love that they can hold just about everything - from rice or oatmeal to chocolate chips or food coloring. Not to mention that they make perfect party favors

I started by emptying out the jars that had little to no ingredients left in them or consolidating what I could (like two half-filled jars of chocolate chips and 3 - yes 3 - partially filled jars of chopped walnuts...yeah, I dunno). I then washed and dried the newly emptied jars.

Next, I took down my little bin of god-knows-what goodies and emptied it. I threw out any containers of sprinkles that were mostly empty and finally got a good look at how many baking cups (like, 100s) and half-filled food colorings I had, not to mention 3 half-empty boxes of birthday candles that had opened and were flying around in there. Yikes.

And so it was (once again) Ball jars to the rescue!

I organized the baking cups into 3 piles: everyday, Christmas and other holiday. I then popped each grouping into a wide-mouthed Ball jar.

Then I put all of my smaller sprinkles containers into a tall Tupperware canister. And the candles? I took them all out of their opened & falling apart boxes and just dumped them right into a jar. I actually think they looked really cute and fun this way...kind of like crayons!

And lastly, I popped all of the little food coloring bottles into another jar.

I love everything about this since now I can see exactly what I have and what I'm missing!

And as for the larger sprinkles containers, I just stacked them on top of the jars to save some space. 

Voila!

A newly organized - if not quite 100% perfect - baking cabinet! 

I think my favorite part is the baking cups in the jars. Such a cute and easy way to wrangle baking cups, not to mention that I can now easily see that I have like 200 Christmas cups and probably won't need to buy any new ones come December.

So what do you think?

What are your pantry cabinet tips and tricks?

What have you been organizing lately?

Thursday
Jan242013

DIY Closet for Baby

A few weeks ago, we finished overhauling a closet for the nursery.

I really wish that I had taken before photos to show you what a disaster it used to be. I knew at the time that we should photograph the mayhem, but I think I blacked it out or something because I hated it so much. The closet in the nursery is a huge half reach-in half walk-in closet. Half of it is used for general storage (like linens, Christmas decorations, Shaun's golf clubs and more) and our wrapping paper station. That left us with half of a closet to use for baby girl.

When we started this project, I felt incredibly daunted by how to maximize the space and to also give our baby girl a truly awesome closet, filled with plenty of storage and function. It took a few missteps, some wasted funds and admittedly a few tears from this crazy pregnant lady, but I'm so so happy with how it all turned out. I think it's actually my favorite space in the whole apartment.

True story.

We started by cleaning out the entire space and measuring exactly the space that we wanted to use. For against the wall, we used the Closetmaid system from Home Depot. It was as simple as hanging two long tracks on beams and then cutting the shelves to size (which the lovely people at Home Depot will do for you if you give them the measurements). We bought the appropriate brackets, clothing bars and endcaps for the jagged, cut edges. Before we knew it, we had a gorgeous closet set up.

This apartment blessed us with 14ft ceilings, and so the closet shelving actually extends all the way to the ceiling - a place that only Shaun can get to on a 6ft ladder. We used this higher shelves for things we won't need right away or seldom used items.

One of the most important things to me for this closet was to have plenty of hanging space. Since the closet is so tall, we were able to install 2 rows of hanging bars for all of her little clothes, with lots of space to spare. I picked up baby slimline hangers from Target, which also maximized the space.

We chose to hang the shelves with plenty of space in between so that I could still use this shelf for storage, in addition to hanging clothes above it. We received the gorgeous hat box from my Aunt Laurie at our baby shower and I just had to display it (not to mention it's perfect for wrangling lots of little odds and ends). On the right, I wanted to display her gorgeous baby blankets, including an incredible quilt made by my good friend Kristen, gorgeously soft stroller blankets from my Aunt Vicky and my mom, and a beautiful handmade afgan from my cousin Gabe.

And below that lies more hanging space. On the floor, I placed 2 large fabric storage bins from Target and filled them with about 3,500 baby wipes, which will hopefully last us through the first week ;) And just so you know, this only shows a small sampling of her clothes...seriously this little girl already has a better wardrobe than me...I have 2 dressers filled with onesies, pants, sweaters and more.


On the door side, I couldn't resist the amazing Container Store elfa system that I had already installed for our DIY gift wrap station. We ended up using a track from Home Depot (the one I ordered from Container Store actually arrived damaged) and just adding the baskets from CS. They fit perfectly, adding a ton more storage and function to otherwise unused space.

I filled the door side with lots more odds and ends. On top, I placed all of the extra creams, wipes and washes. I have a stash of these in her changing table and have back-ups on hand here. Underneath those, I added all of her extra crib sheets and mattress pads. I've been told by many a Mom that we'll need a bunch and thanks to my own Mom for supplying all of these amazing pieces. Since she won't be in her crib for a little while, I'm holding off on washing them just yet.

I used an entire deep basket for her little bibs. Seriously, so so cute.

And below that, a space for her little hats and burp cloths (I have more of these in her changing table dresser too!). I filled in the bottom baskets with extra diapers (which are also stashed all over the room) and some white frames that I plan to hang up on the walls this weekend.

So there you have it. A pretty awesome baby closet for my little sweet pea, no? I wish I had a cost breakdown for you, but we ended up spending some extra $$ on shelving that didn't quite work and we ended up throwing away. In the end, the Closetmaid system was very affordable, while the Container Store pieces are a bit more...but it's all worth every penny for good storage and organization!

We've got the closet and all her goodies ready...we just need her to get here already!

So what do you think?

Have you ever DIY'ed your own closet?

How do you maximize storage in limited spaces?