

How to Create a Gallery Wall
I had been wanting a gallery wall in our apartment since...oh, forever.
When we finally purchased a place of our very own, I realized that this was my chance. I am semi-obsessed with taking photos and I hate that nowadays, most photos don't even get printed, but filed away into virtual folders. I love to see the photos I've taken, whether travel photos, family photos or throwbacks. So a gallery wall was the perfect solution to our {very} empty and unpainted entry way.

I found this process to be daunting at first, and then realized it was very simple and dare I say it, fun. I did the wall in 2 parts since after living with the first half for a few months, I realized that I wanted to extend it even further. I did this in 2 different ways, so you can simply choose whichever one works for you.
First thing's first, map out the space you want to use with painter's tape. I used measuring tape to make it all even.
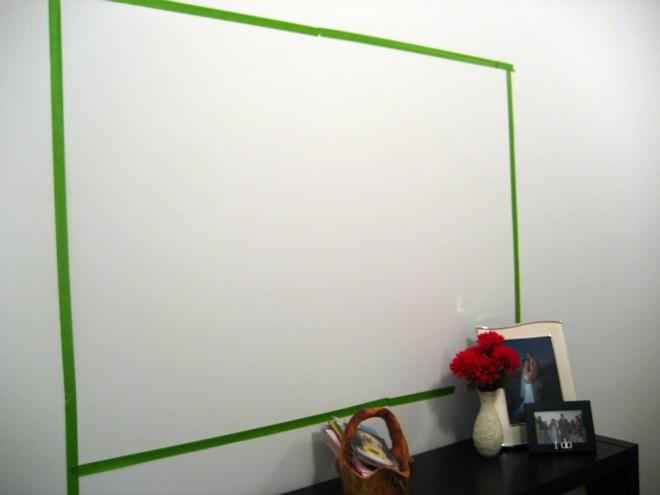
I then laid out a sheet on the floor, folded to the size of the mapped out framing area.
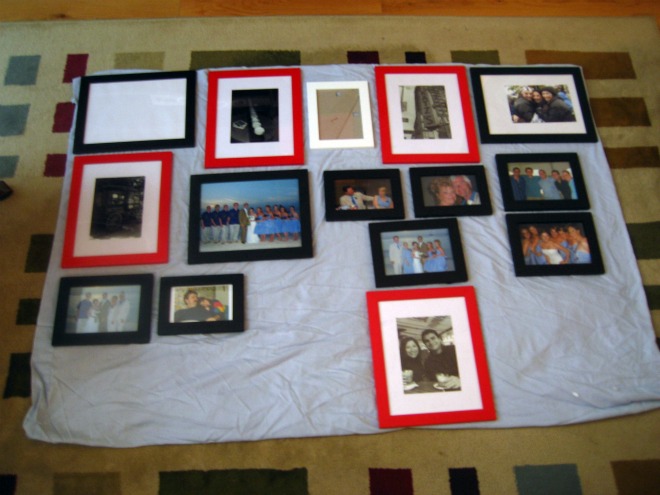
On the sheet, I put together my frame layout. I found this to be the easiest way to move things around until I found the design that felt right (and fit in all of my frames). This also avoided hacking up my wall while moving things around. Then, I snapped a photo of the layout so I could reference it while I was hanging the actual frames. Lastly, I just filled in the wall, hanging one at a time. I used picture hangers which hold way more than enough weight to sustain my meager Ikea frames. My favorite part about this method is that since it's a gallery, nothing needs to be perfect. I did not space anything perfectly, I wanted it rustic!
Once I worked up the strength to finish the wall (months later mind you), I used a slightly different and even less precise approach. I also moved some things around!

To finish the wall, I took stock of my remaining frames and photos. I outlined each one with wrapping paper and hung the wrapping paper with painters tape to show how the frames would look on the wall. Then, I hammered a tiny hole into the center of the painters tape, removed the paper, finished hammering and hung the photos. Easy peasy.
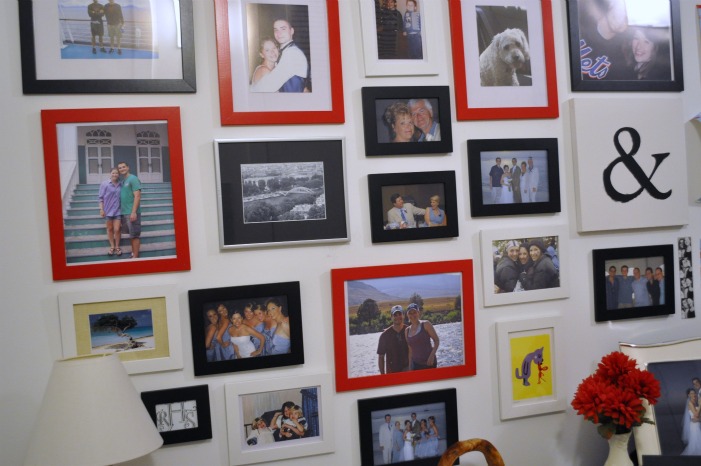
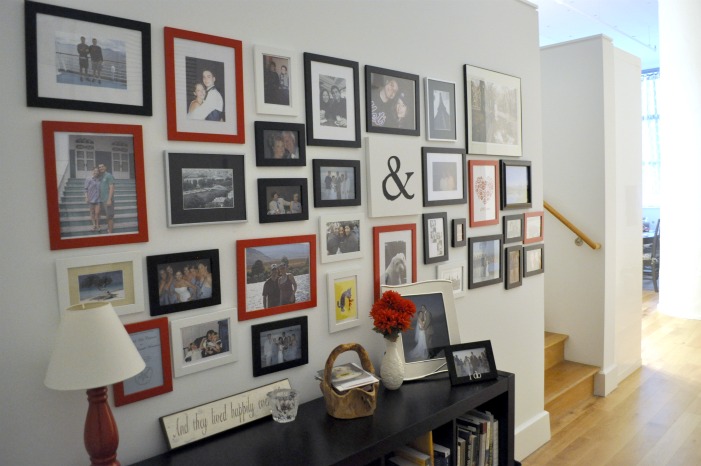
Here are some close ups for your viewing pleasure! Red is kind of a theme in our home right now,
but what I love about the gallery wall is that I can always change out the frames once we paint (to all white, perhaps?) and even the photos as we make more and more memories!
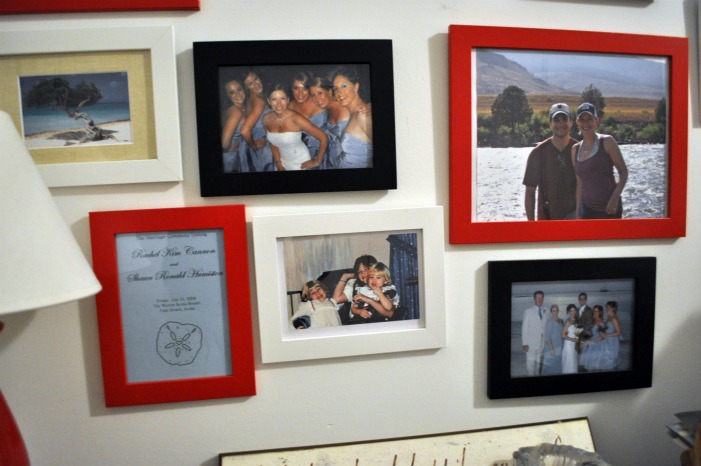
Starting from the bottom left side of the wall, I included a photo of a Divi tree, which was also the favor at our wedding; our wedding program; a photo of my bridesmaids and me at my wedding; Shaun and I in front of the Montana River; my family at our wedding; a throwback photo of my sisters and me.
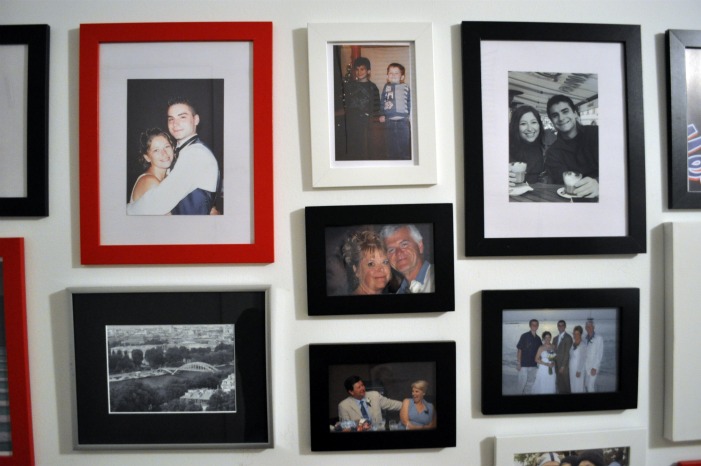
Next up: A view of the Seine River from the Eiffel Tower; Shaun and I at our Senior Prom; throwback of Shaun and his brother; Shaun and me sipping lattes in Prague; Shaun's fam at our wedding; my parents at our wedding; his parents at our wedding.
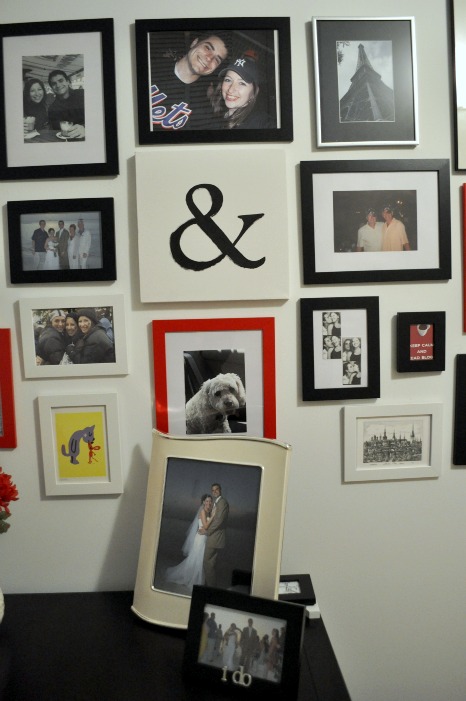
Cartoon mouse & cat kissing; sisters & me at Penn State; Shaun & me at Yanks v. Mets game; Eiffel Tower; our dads at our rehearsal dinner; ampersand, painted by yours truly; my family's dog {and my baby} Chloe; Shaun & me in a photo booth, circa 2004; Keep Calm & Read Blogs, designed by yours truly; pencil drawing we purchased in Tallinn, Estonia
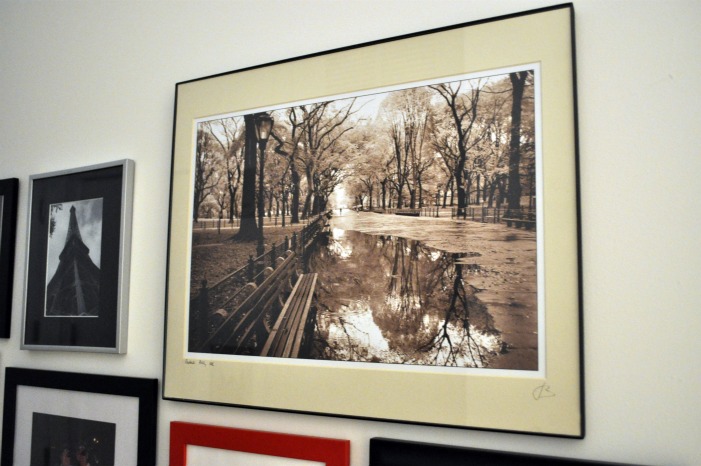
Central Park print, gifted to us from my sisters
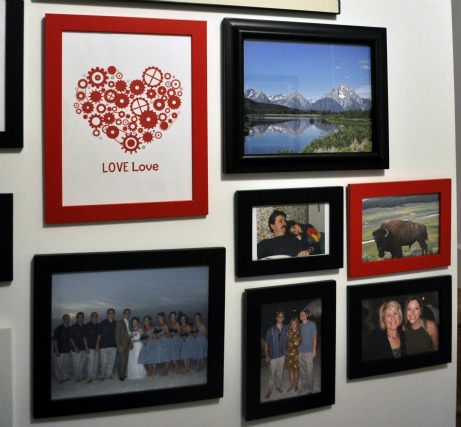
Our wedding party; heart print I copied and doctored (I plan to buy the original at some point!); A view of the mountains in the Grand Tetons; throwback photo of my dad and me; a bison; Mom and me; Shaun with his mom and brother
So there you have it. Honestly, this was such an easy project and was totally worth the work. I love stopping in to look at it each day as I leave the house and come home. It just makes me happy. And I love that we can change out photos whenever we'd like!
So what do you think? Are you a "photo" person? Do you own any cool prints? I'm always on the hunt for new ones!
 13 Comments | Share Article | Email Article | tagged Home Projects Print Article | Permalink