

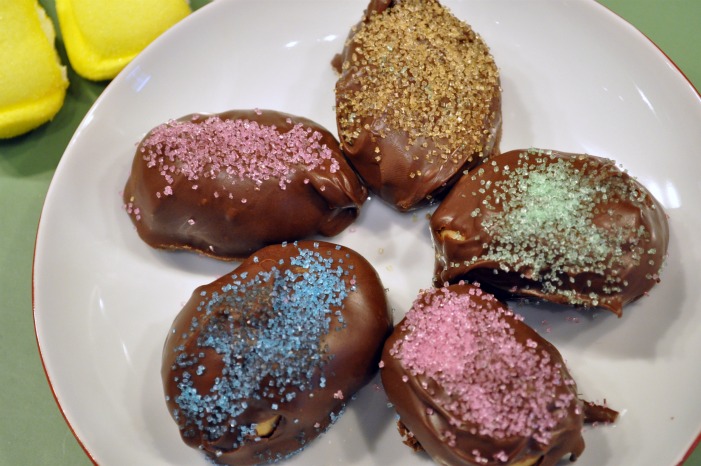
Chocolate Peanut Butter Easter Eggs
I've never been a big candy eater.
Believe it or not.
It just doesn't interest me. Mostly.
Only at Easter time do I really get my candy on. The focus of my seasonal candy love? The Reese's Easter Egg.
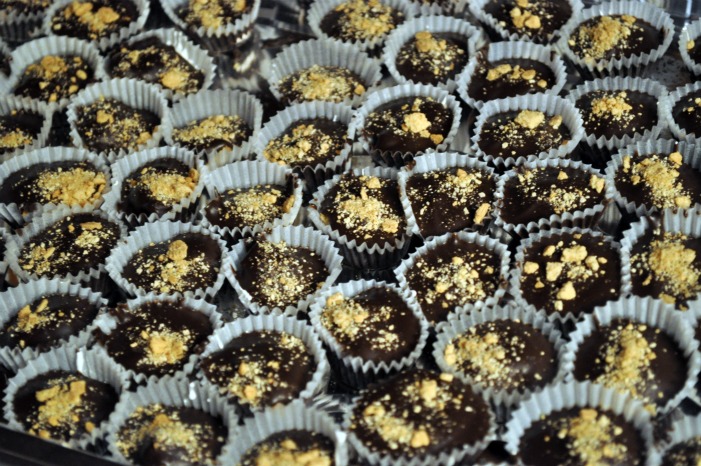
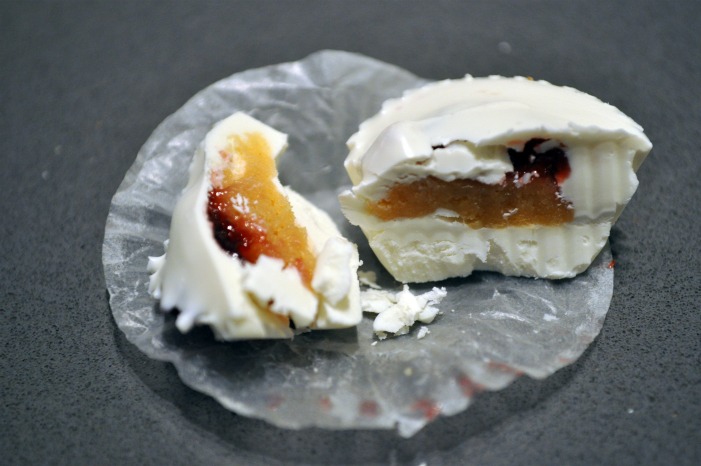
This peanut butter chocolate mound is not your standard peanut butter cup. Oh no. It's oversized and stuffed - I mean, stuffed - with peanut butter goodness. There's really nothing better.
Of course I'm always up for a challenge in the kitchen, so I decided to try my hand at creating some Reester eggs of my very own.
These were super simple and so fun to make. Of course, anything that is dipped in chocolate, in my book, can be a serious drain on the fun logistics-wise. But since this recipe doesn't make a huge amount of eggs (and let's face it, even the sweets lovers out there could only devour one or two of these rich confections), I didn't mind the whole melted-chocolate-in-places-I-didn't-know-exist thing.
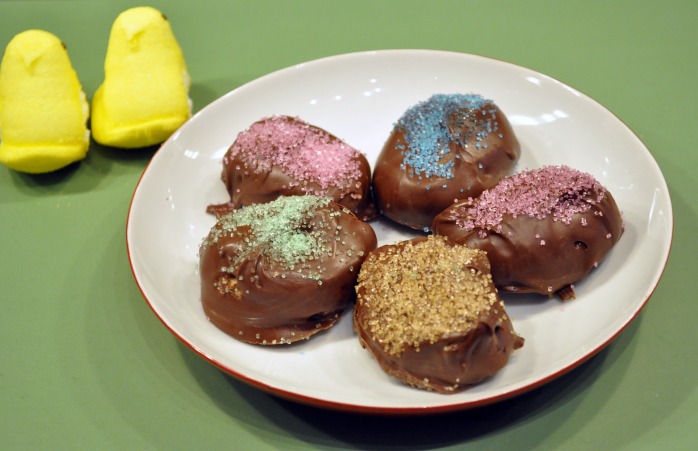
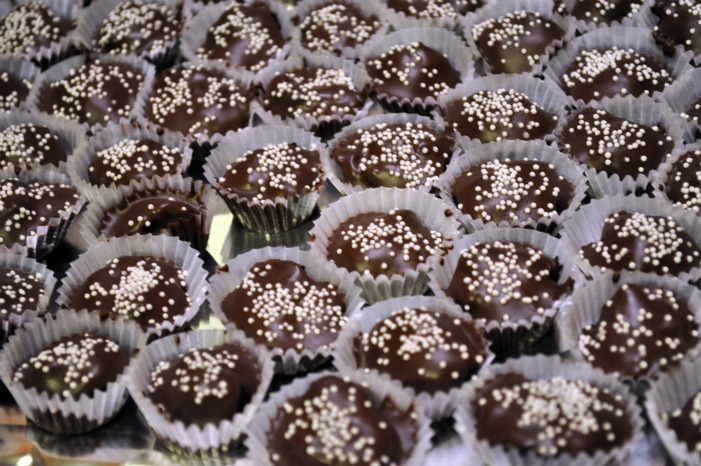
These eggs would be so fun to bring to a gathering on Easter Sunday...or to any gathering really. I mean, who doesn't love chocolate, peanut butter and sprinkles? Please find me one person. It won't happen.
Chocolate Peanut Butter Easter Eggs
*Makes 16 large eggs
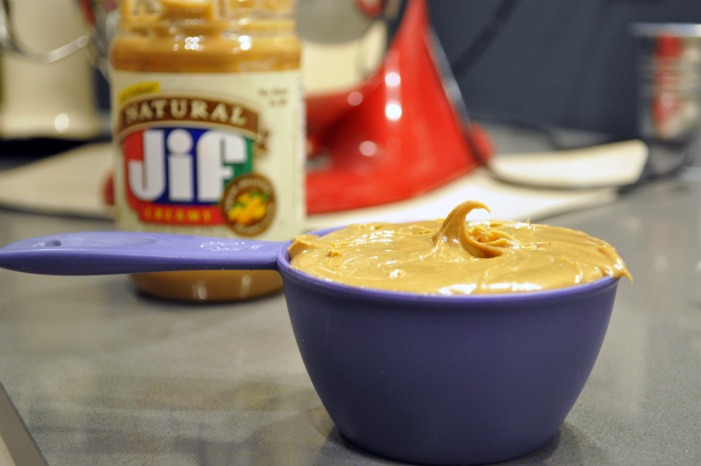
1 C peanut butter
1 C confectioners' sugar
1 tsp vanilla extract
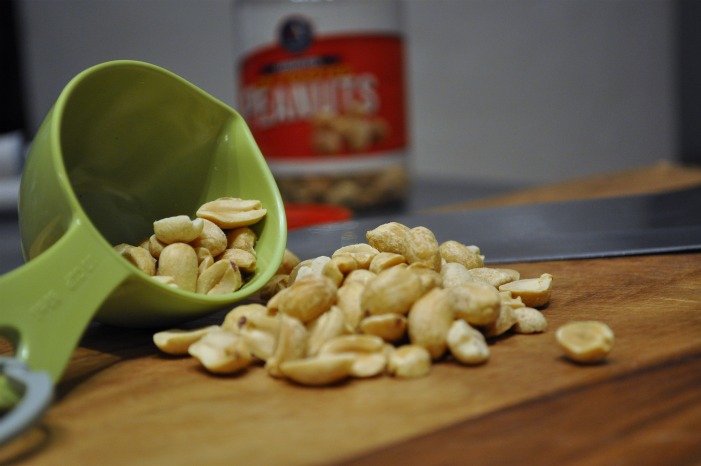
2 tbsp dry roasted peanuts, finely chopped*
3 C chocolate chips of your choice (I used milk and semi-sweet)
sanding sugar, sprinkles or candy decorating materials of your choice
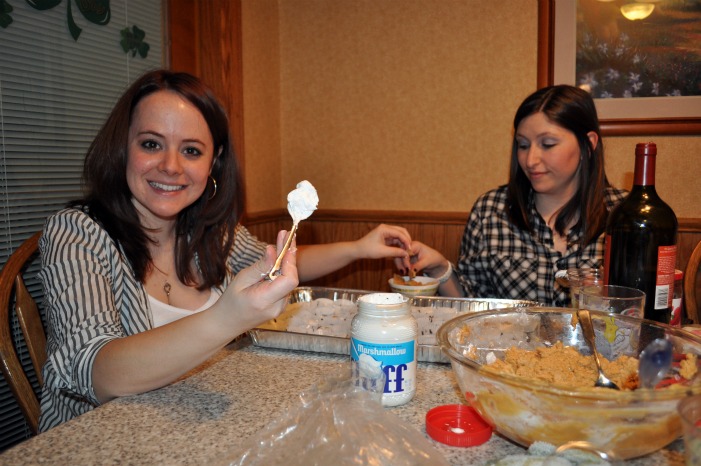
In a stand mixer, mix the peanut butter until fluffy.
Add the confectioners' sugar, 1/4 C at a time until completely combined. Add vanilla extract and chopped peanuts and mix. Place the mixture in the refrigerator for 1 hour to chill.
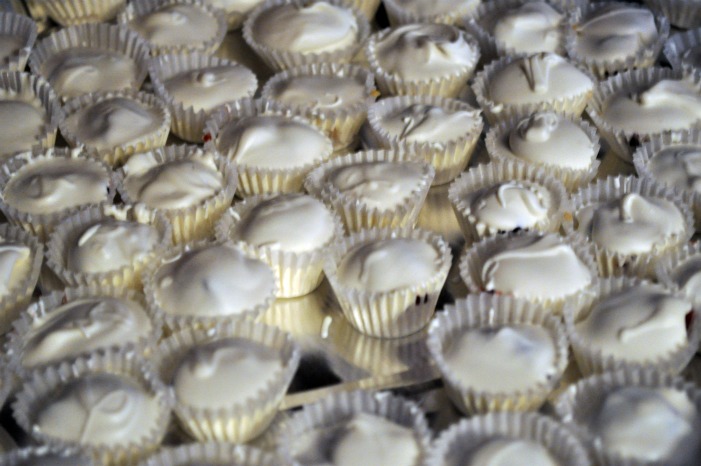
Line a baking sheet with parchment paper. Using a melon baller or tablespoon, scoop out the peanut butter mixture and form into large egg shapes, placing on the lined baking sheet.
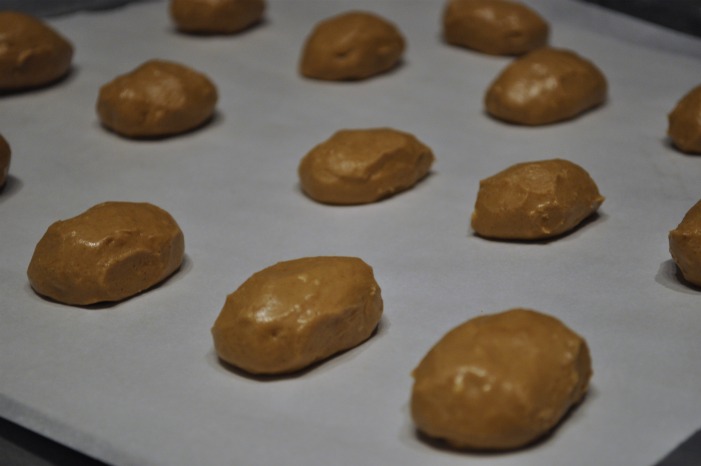
Put the sheet pan in the freezer while you prepare the chocolate.
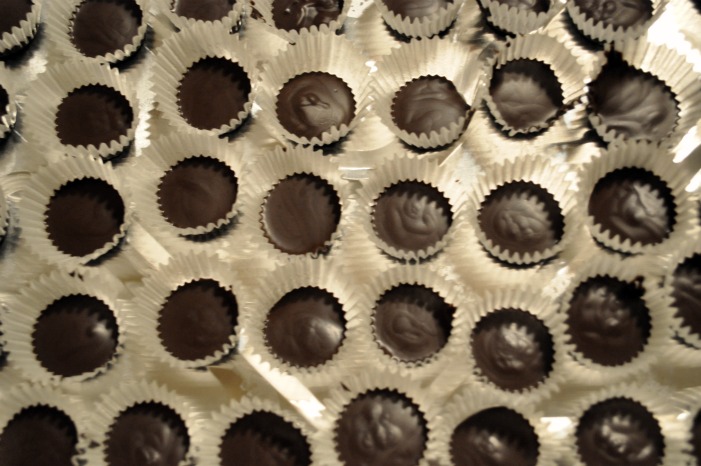
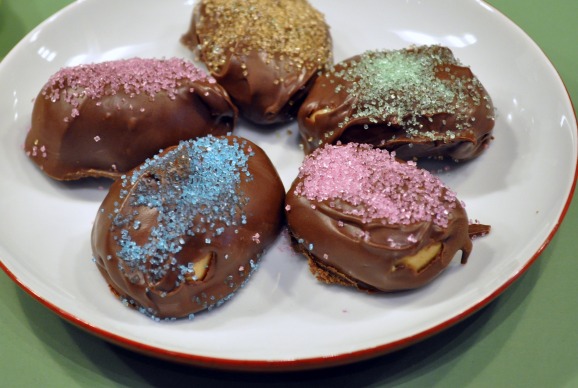
I made these 2 ways - using semi-sweet morsels, and milk chocolate morsels. Place 1 1/2 C of semi-sweet morsels into a bowl. Heat in the microwave at 15 second intervals, mixing after each one, until melted. Remove the tray of eggs from the freezer. Working very quickly (so that the pb eggs don't soften and fall apart in the chocolate), coat each one in chocolate and place back on the parchment paper. Add sprinkles or sanding sugar after every 2 eggs are dipped as the chocolate hardens very quickly. Repeat with the milk chocolate or any other chocolate of your choosing (extra dark, white, etc), returning the undipped eggs to the freezer for a few minutes while you make the second batch of chocolate.
Let the chocolate harden and enjoy!
So there you have it. The tale of how I recreated my favorite Easter candy of all time. They tasted extremely on point with the original Reese's version, without being quite as processed. And let's face it, sprinkles just make everything better. So what do you think? What is your favorite candy? Have you ever tried to recreate it in your own kitchen?
*I thought that using creamy peanut butter was the way to go, however, once mixed, I realized that the pb mixture was way too smooth. Wanting to emulate a real Reese's pb egg, I decided on a whim to add the chopped peanuts. This process can probably be eliminated by simply using chunky peanut butter, though I cannot vouch for how finely chopped the peanuts will be. I wanted mine to be super fine, so even in the future, I would choose to do it as noted above. However, to make the process quicker and with fewer ingredients, give the chunky pb a try.
 17 Comments | Share Article | Email Article | tagged Recipes Print Article | Permalink