Hi, I'm Rachel.

A few years ago I could barely boil water.

True story.

Determined to be a kick ass wife, I developed a love for football and learned to cook in my tiny Jersey City kitchen. I spend my days working in Manhattan, my nights and weekends chasing after a rambunctious toddler, and the hours in between cooking with my husband and feeding my TV habit...oh, and I blog about it all! 

Welcome to my world!

Search for Recipes & More!

Subscribe via Email:

Delivered by FeedBurner

Still Hungry?
my foodgawker gallery
Search for Recipes & More!


Subscribe to TAA by Email!

Delivered by FeedBurner


Follow the Food

The Pantry

Entries in baking (24)

Monday
Aug092010

Pineapple Carrot Bars

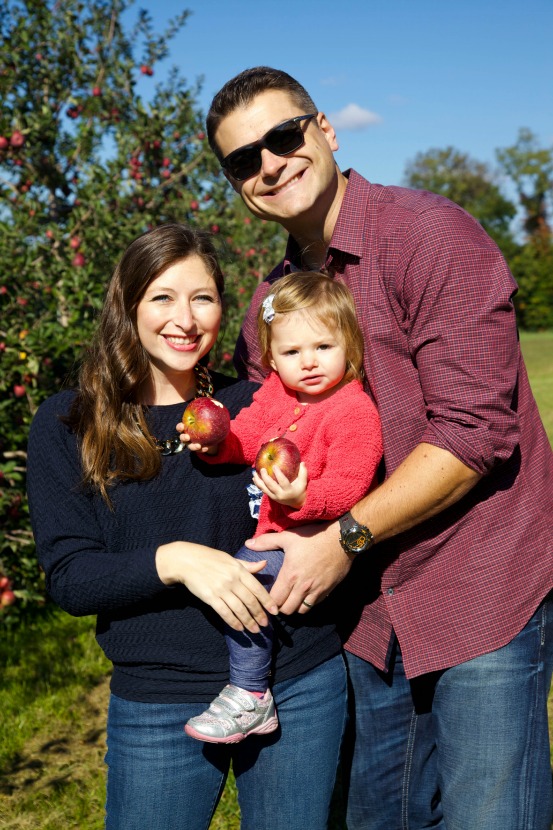
Before taking off on our Yellowstone adventure last week, Shaun and I attended a summer picnic at his parents place. To me, nothing quite beats a barbecue on a beautiful summer day and this was no exception. Part of my excitement for picnics (or of being invited anywhere for that matter) stems from choosing what to make for the occasion. Since I'm still honing my baking skills and feel as though one can never go wrong with an Ina Garten recipe*, I dug out her Pineapple Carrot Cake which I had seen her make years ago and have been longing for it ever since.

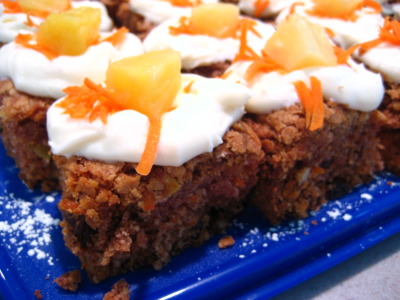
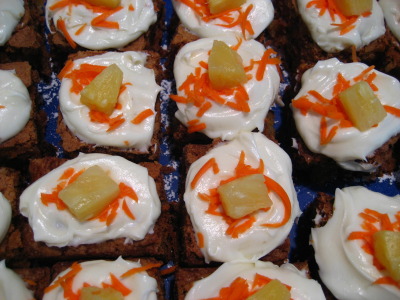
While she made hers into a decadent two-layer cake, I took a chance and thought that they might work as a more picnic and finger food friendly bar. And oh was I right.

While they are heartily filled with carrots, raisins and walnuts (no shortage of fiber here!), they also incorporate pineapple, which is a personal favorite and a fun summer twist on this heavy dish. The finished product was nothing short of mouth watering, and in fact, my own mom proclaimed them one of my best yet. Are you sold?

Pineapple Carrot Bars
*Adapted from Ina Garten, 2007
2 C granulated sugar
1 1/3 C canola or vegetable oil
3 extra-large eggs, at room temperature
1 tsp pure vanilla extract
2 1/2 C plus 1 tbsp all-purpose flour, divided
2 tsp ground cinnamon
2 tsp baking soda
1 1/2 tsp kosher salt
1 C raisins
1 C chopped walnuts
1 lb carrots, grated (this was about 3 C grated carrots), plus extra for garnish
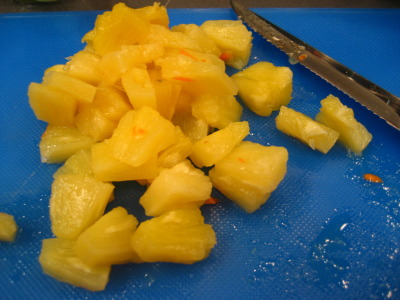
1/2 cup diced pineapple, plus extra for garnish

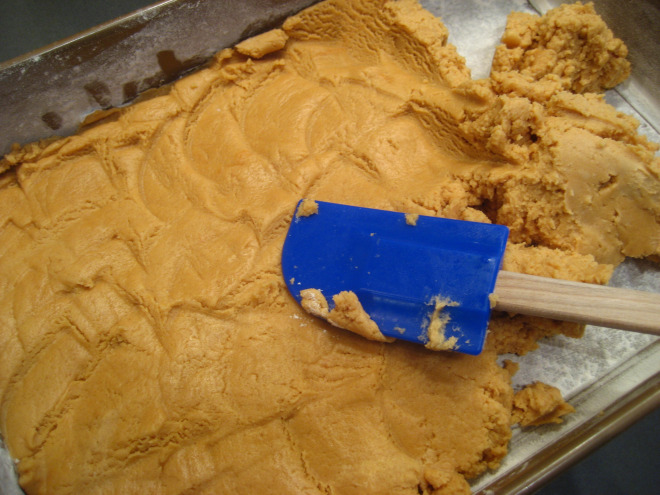
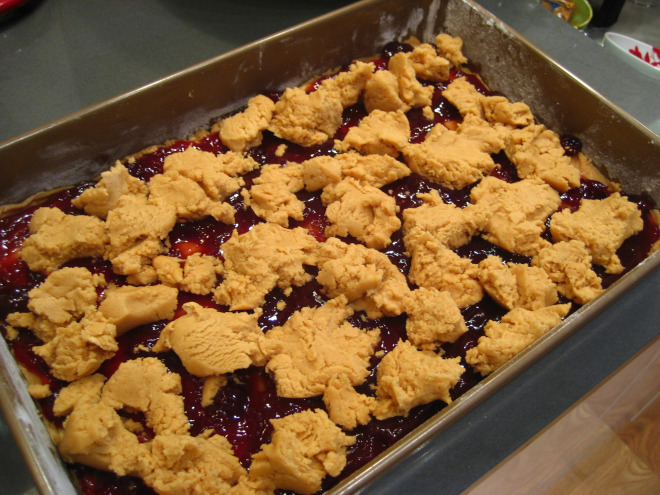
Preheat the oven to 350 degrees. Generously butter and flour a 13x9 inch baking pan. While Ina recommends also adding parchment paper to also butter and flour, I went the peanut butter and jelly bar route by skipping this step. Luckily, I didn't have a repeat incident of depressing broken cake.

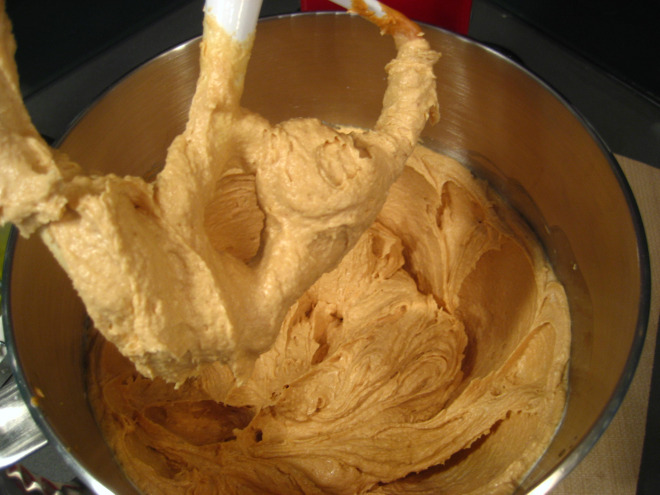
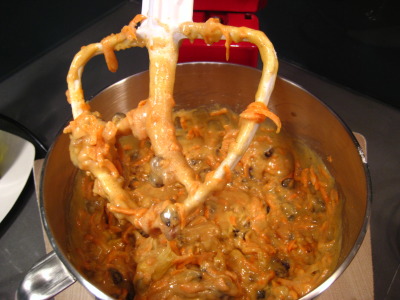
In the bowl of an electric mixer (or using a hand mixer), beat the sugar, oil and eggs together until the mixture is light yellow. In a separate mixing bowl, sift together 2 1/2 C flour, cinnamon, salt and baking soda. Slowly add the flour mixture to the wet ingredients and mix until combined. Once this mixing bowl is empty, add the raisins and walnuts, mixing with the remaining 1 tbsp of flour (Note: coating the raisins and walnuts with flour keeps them from sinking to the bottom of the cake). Fold in the grated carrots and the diced pineapple Note: to make this super easy on myself, I used my food processor with the grater attachment for the carrots which got 'er done in a snap.

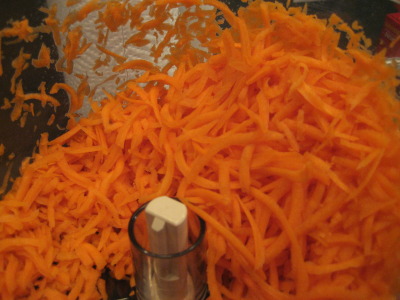
I also used Dole canned pineapple chunks which I cut in half before adding to the mixture.

Add this mixture to the batter and mix well.

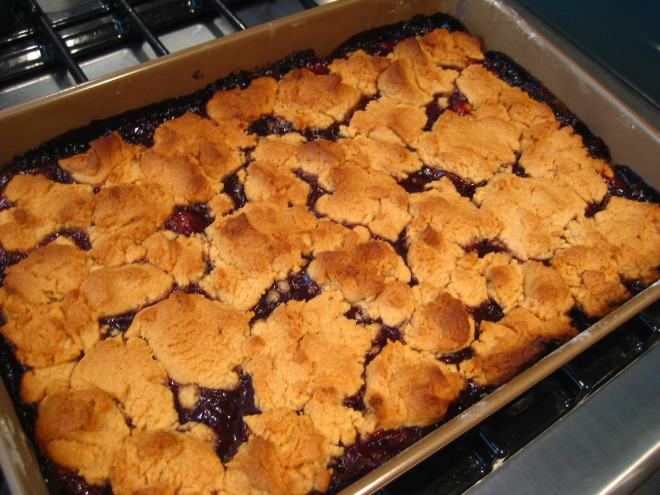
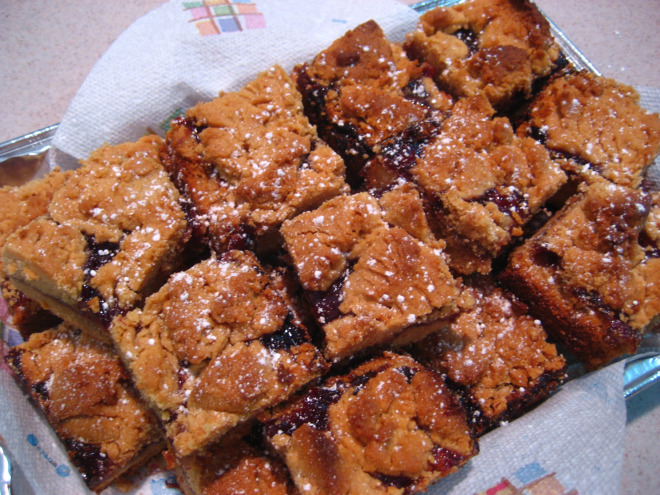
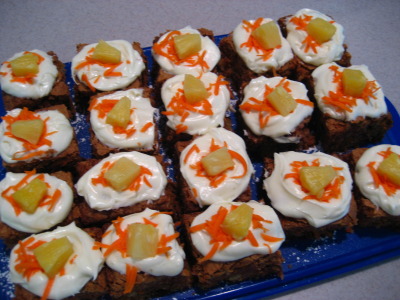
Pour into baking pan and bake for 40-50 minutes or until a toothpick comes out clean. Allow to cool completely before cutting into squares with a good seraded knife.

Cream Cheese Frosting
12 oz cream cheese, at room temperature
2 sticks unsalted butter, at room temperature
1 tsp pure vanilla extract
3 1/2 C confectioners' sugar

Oh how I love a basic cream cheese frosting. Mix the cream cheese, butter and vanilla in a stand mixer or with a hand mixer. Add the sugar one cup at a time, mixing until smooth and fluffy. With a knife or spatula, spread onto each bar. Garnish with shredded carrot and pineapple slice.

So there you have it - a round up of one of my favorite baking endeavors thus far. What do you think? What is your favorite picnic food or summer ingredient?

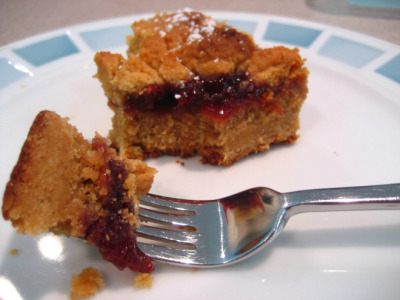
*For even more Ina fun, check out my twist on her Peanut Butter and Jelly Bars, Pink Coconut Cupcakes, Herb Roasted Turkey Breast, and Slow Cooker Beef Brisket.

Monday
Jul122010

Peanut Butter & Jelly Bars

Last week I rang in the Fourth of July with Shaun at my cousin Greg's annual barbecue. Since the main course and sides are always in abundance, I decided to whip up a fun dessert that didn't necessarily scream red, white and blue, but one that was all-American and decadent to boot. And does it get more down home patriotic than peanut butter and jelly? And I'll be darned if you ever find a better flavor combo. When I stumbled upon Ina Garten's peanut butter and jelly bars, I knew it was meant to be.

Peanut Butter & Jelly Bars
*Adapted from Ina Garten
2 sticks (1/2 lb) unsalted butter, at room temperature
1 1/2 C sugar
1 tsp pure vanilla extract
2 large eggs, at room temperature
2 C creamy peanut butter (unfortunately, this is just a bit more than your average jar)
3 C all-purpose flour
1 tsp baking powder
1 1/2 tsp kosher salt
1 1/2 C jam of your choosing (I went with Four Fruits)
2/3 C salted peanuts, coarsely chopped, if desired
Confectioners' sugar, for dusting

Preheat your oven to 350 degrees. Generously grease and flour a 13" X 9" baking pan.* In a stand mixer, cream the room temperature butter and sugar on medium speed until thoroughly mixed, about 2 minutes. With the mixer on low speed, add the eggs, vanilla and peanut butter, mixing until completely combined. Meanwhile, in a mixing bowl, sift the flour, salt and baking powder together. With the mixer on low, slowly and carefully add the flour mixture to the peanut butter mixture without spraying your kitchen white. Mix this just until it's combined and you have a doughy mass. Next, using a spatula or your own two paws, spread about two-thirds of your mixture into the bottom of your greased, floured and papered baking pan. It might require some elbow grease to get 'er done, but have faith. Now would be the time where, if you are me and thought that a full jar of Polaner All Fruit would be plenty but were oh-so-wrong, you run out to the nearest store to pick up yet another jar of jam to properly cover the bars. Trust me, unless you want stick-to-the-roof-of-your-mouth bars, you'll want plenty of jam to balance the super peanut butteryness of the bars base. With another spatula, cover with the jam, spreading evenly, but not all the way to the edges.** Using a spoon and your (clean) fingers, dollop pieces of the remaining peanut butter dough evenly on top of the jam. As you can see from mine, it doesn't have to be total, perfect coverage. I actually prefer seeing a little jam through the top so guests can tell what's in them.

If using peanuts, add them on top (I didn't use them on mine - it's just personal preference). Bake for 35-45 minutes until golden brown. Mine were done in about 40 minutes. Let cool completely. Cut into squares using a sharp seraded knife and remove from pan with a spatula (a basic plastic one worked just fine for me and helped eliminate scratches on the bottom of my non-stick Calphalon). And since presentation is everything, serve on a pretty (or in my case pretty-yet-disposable) platter and dust with confectioners' sugar.

*The original recipe calls for greasing the pan, then lining with parchment paper, followed by a generous greasing and flouring. I did some poor planning and went ahead sans parchment paper since I realized I had none only after I started baking (and yes, this was quite nervy of me since I remembered Kimberly's birthday cake incident all too well). My bars came out without a problem by only greasing and flouring the pan...but to be on the safe side, I recommend the parchment paper.

**I made the mistake of spreading the jam all the way to the edges without allowing any spreading room during the baking process. While I adored the delicious bits of sticky jam adhered to the sides of the pan (yummm), it made for a difficult dismount in terms of getting the bars out of the pan.

So there you have it. A super Fourth of July recipe that, in my opinion, deliciously rang in the holiday. What did you do for Independence Day? What did you dine on?

Sunday
Apr112010

Pink Coconut Cupcakes

For Easter last week, I whipped up two full batches of homemade cupcakes. Since it was Easter, the obligatory coconut was in full effect with a Barefoot Contessa recipe that I'd been dreaming about since I made these last Spring for Catherine's bridal shower. Thick and bordering on cornbread-like, these cupcakes are a serious change from the traditional chocolate or vanilla with buttercream. The frosting is made extra fabulous with the addition of almond extract (one of my favorite extracts). Let's get down to the goods, shall we?

Pink Coconut Cupcakes
*Adapted from Ina Garten
3/4 pound (3 sticks) unsalted butter, room temperature
2 cups sugar
5 extra-large eggs at room temperature
1 1/2 teaspoons pure vanilla extract
1 1/2 teaspoons pure almond extract
3 cups flour
1 teaspoon baking powder
1/2 teaspoon baking soda
1/2 teaspoon kosher salt
1 cup buttermilk
1 bag sweetened, shredded coconut plus more for garnish

Preheat the oven to 325 degrees F. In a stand mixer fitted with the paddle attachment, cream the butter and sugar until light and fluffy, about 5 minutes. With the mixer on low speed, add the eggs, one at a time. (Note: I crack the eggs into a separate bowl first, just in case you get a bad one, your whole mixture won't be ruined) Scrape down the bowl after each addition. Add the vanilla extract and almond extract and mix well.

In a separate bowl, sift together flour, baking power, baking soda and salt. In 3 parts, alternately add the dry ingredients and the buttermilk to the mixer, beginning and ending with the dry. Mix until just combined. Fold in 7 ounces of coconut - and don't overmix, or the battern will get tough.

Line a muffin pan with paper liners. Fill each to almost the top with batter. Bake for 25 to 25 minutes, until a toothpick comes out clean (mine took about 25 minutes). Allow to cool in the pan for 15 minutes, then move them to a baking rack to cool completely. Frost 'em.
My Favorite Pink Frosting:
1 8oz pkg cream cheese, at room temperature
1 stick unsalted butter, at room temperature
1 tsp vanilla extract
1/2 tsp almond extract
2 C confectioners' sugar (or more for desired sweetness)
1-2 drops of red food coloring
Sweetened coconut, for sprinkling

Cream together cream cheese, butter, vanilla and almond extracts. Add confectioners' sugar and mix until smooth and fluffy. Add in a drop or two of red food coloring until desired pinkness is reached. Frost the cupcakes and sprinkle with the remaining coconut.

Oh, and I should mention that to tote these little guys around, I used my handy cupcake caddy that I purchased at Bed Bath & Beyond about a year ago. I got my money's worth and have carried my cakes in style, from Key Lime in the Coconut to the Irish Car Bomb variety.

And if you see what you like, stay tuned next week for the cupcakes of the chocolate variety, pictured here. So what do you think? Are you a fan of the coconut-on-Easter tradition?