Though it's a mere four days till the annual turkey extravaganza, Shaun and I
whipped up our now-traditional Faux Thanksgiving Dinner. It was my favorite kind of day in that I rolled out of bed, changed out of one Giants shirt and into another, threw my hair back, prepped food while watching football for 6 hours, ate until I couldn't move and oh yeah, the Giants actually won this week.
All of that a-side, my personal favorite part of any meal, not limited to Thanksgiving, are the sides. My own pre-Thanksgiving meal was no exception as I dished up stuffing, cranberry sauce and sweet potatoes with a twist. Oh and did I mention Shaun whipped up garlic and shitake mushroom mashed potatoes? Yeah, we pretty much couldn't move after this meal. Let's get down to the goods.
Stuffing
Based on Catherine's rave reviews, I chose Paula Deen's Good Old Country Stuffing as turkey's favorite companion. While I tend to veer from original recipes, since this was my first foray into real stuffing, I essentially followed line by line except for one major change - the part about the breakfast sausage. Though I turn no pig or pork product away, Shaun has been pork-free for over two years which means it's turkey sausage for us.
Paula Deen's Good Old Country Stuffing
2 loaves oven-dried white bread
2 cups cooked white rice
1 sleeve crushed saltines
1 pound bulk breakfast sausage (I used plain ol'turkey sausage just removed from their casings)
2 cups chopped celery
1 large onion, chopped
7 cups chicken stock
Salt and freshly ground black pepper
1 teaspoon dried sage leaves
1 tablespoon poultry seasoning
3 eggs, beaten
1/4 stick butter, melted
- Preheat oven to 350 degrees F.
- Cut oven-dried bread into cubes. This may require a big knife and a little elbow grease to get 'er done, but power through as delicious stuffing awaits! Add rice and saltines (I just embraced my inner Hulk and crumbled 'em with my own two hands).
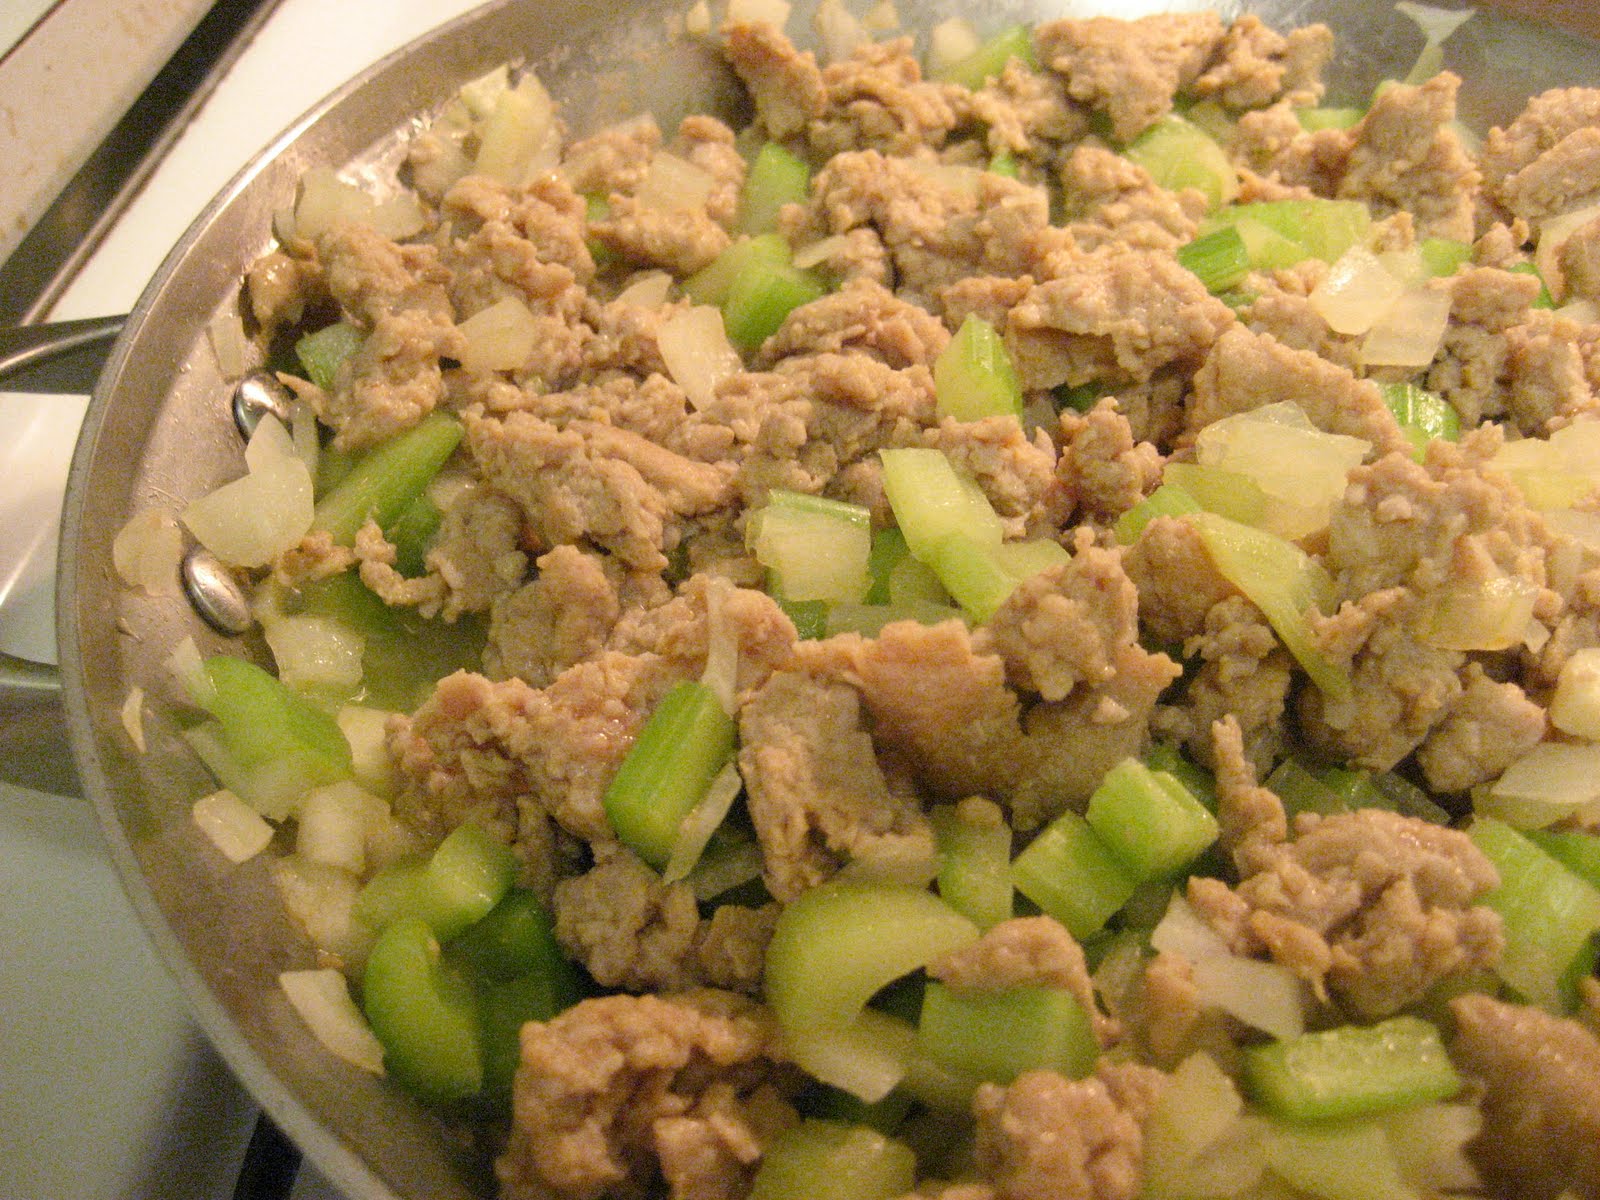
- Cook sausage in a large skillet until it starts to brown. Add celery and onion and saute until transparent, 5 to 10 minutes.
- Pour over bread and rice mixture.
- Add stock and mix well. Add salt, pepper, sage, and poultry seasoning. Mix well.
- Add the beaten eggs and melted butter. Mix well.
NOTE: To put all of these elements together, I brought in the big guns in the form of my gargantuan red mixing bowl (I'm talking special order here people). Make sure you have a giant mixing vessel as this makes a LOT of stuffing!
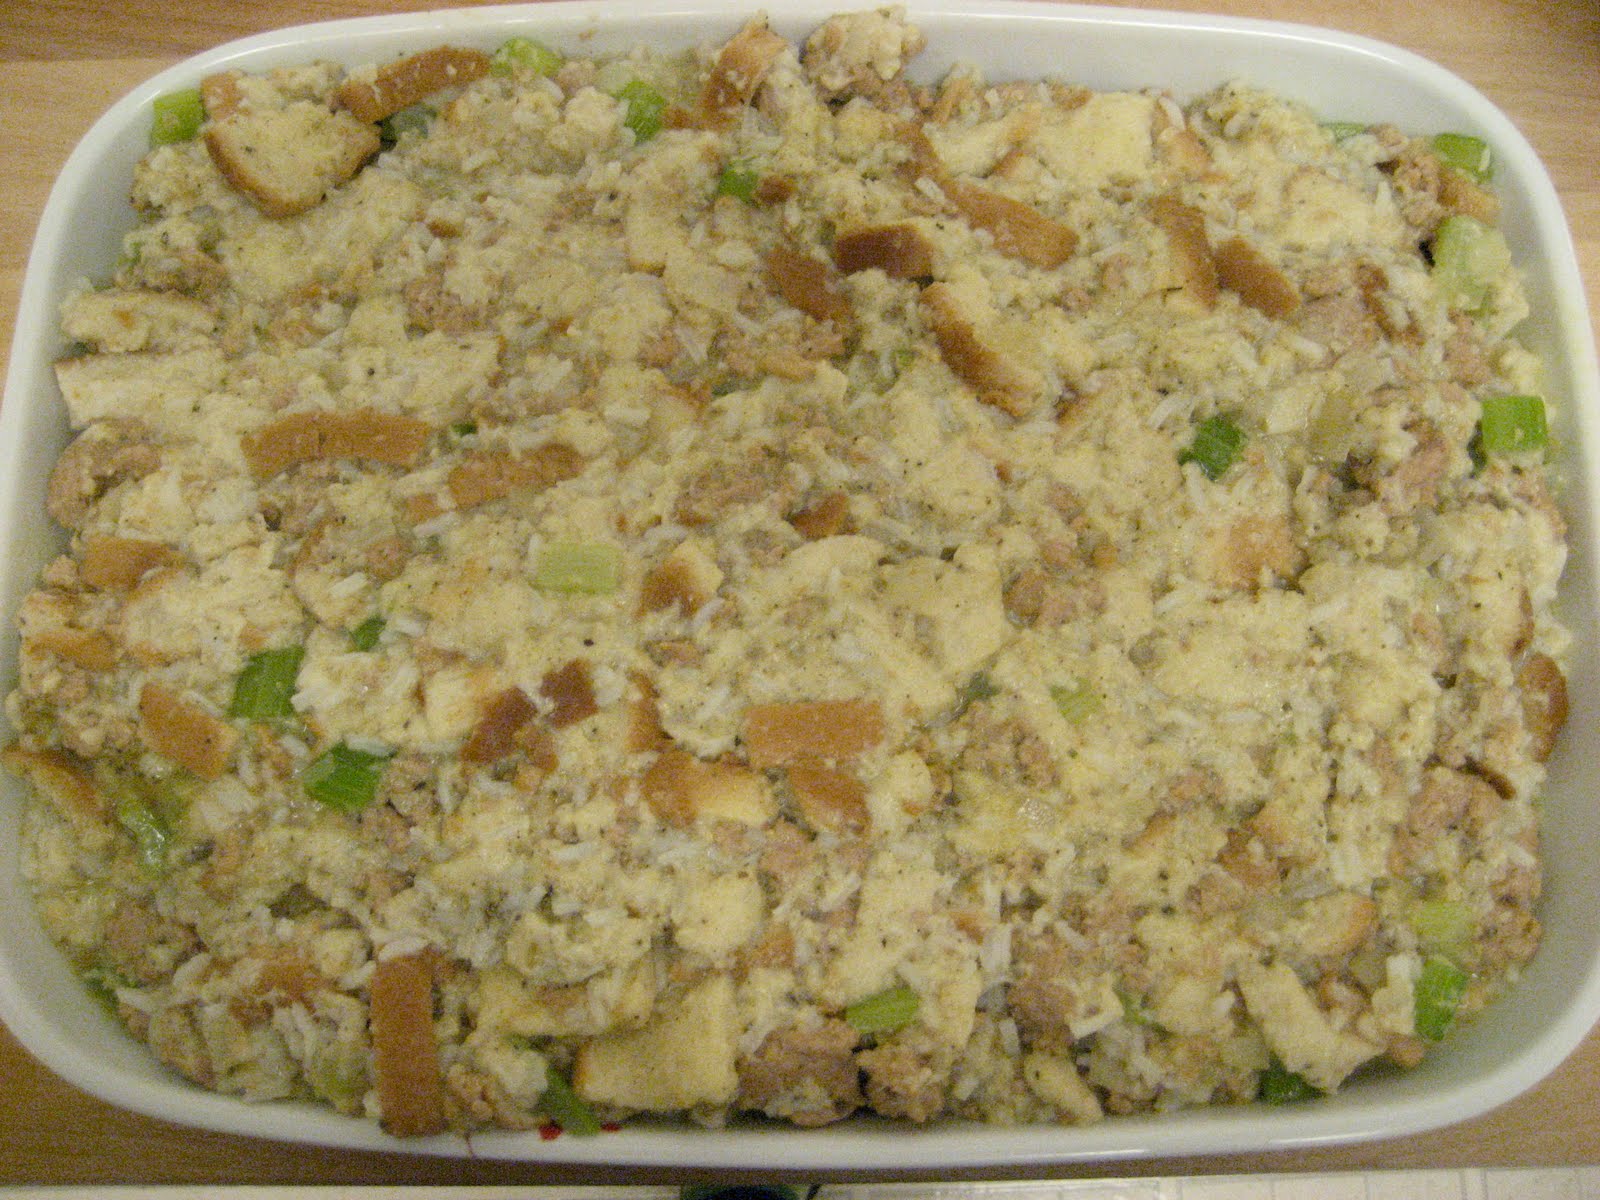
- Pour stuffing into a greased pan and bake until cooked through and golden brown, about 45 minutes.
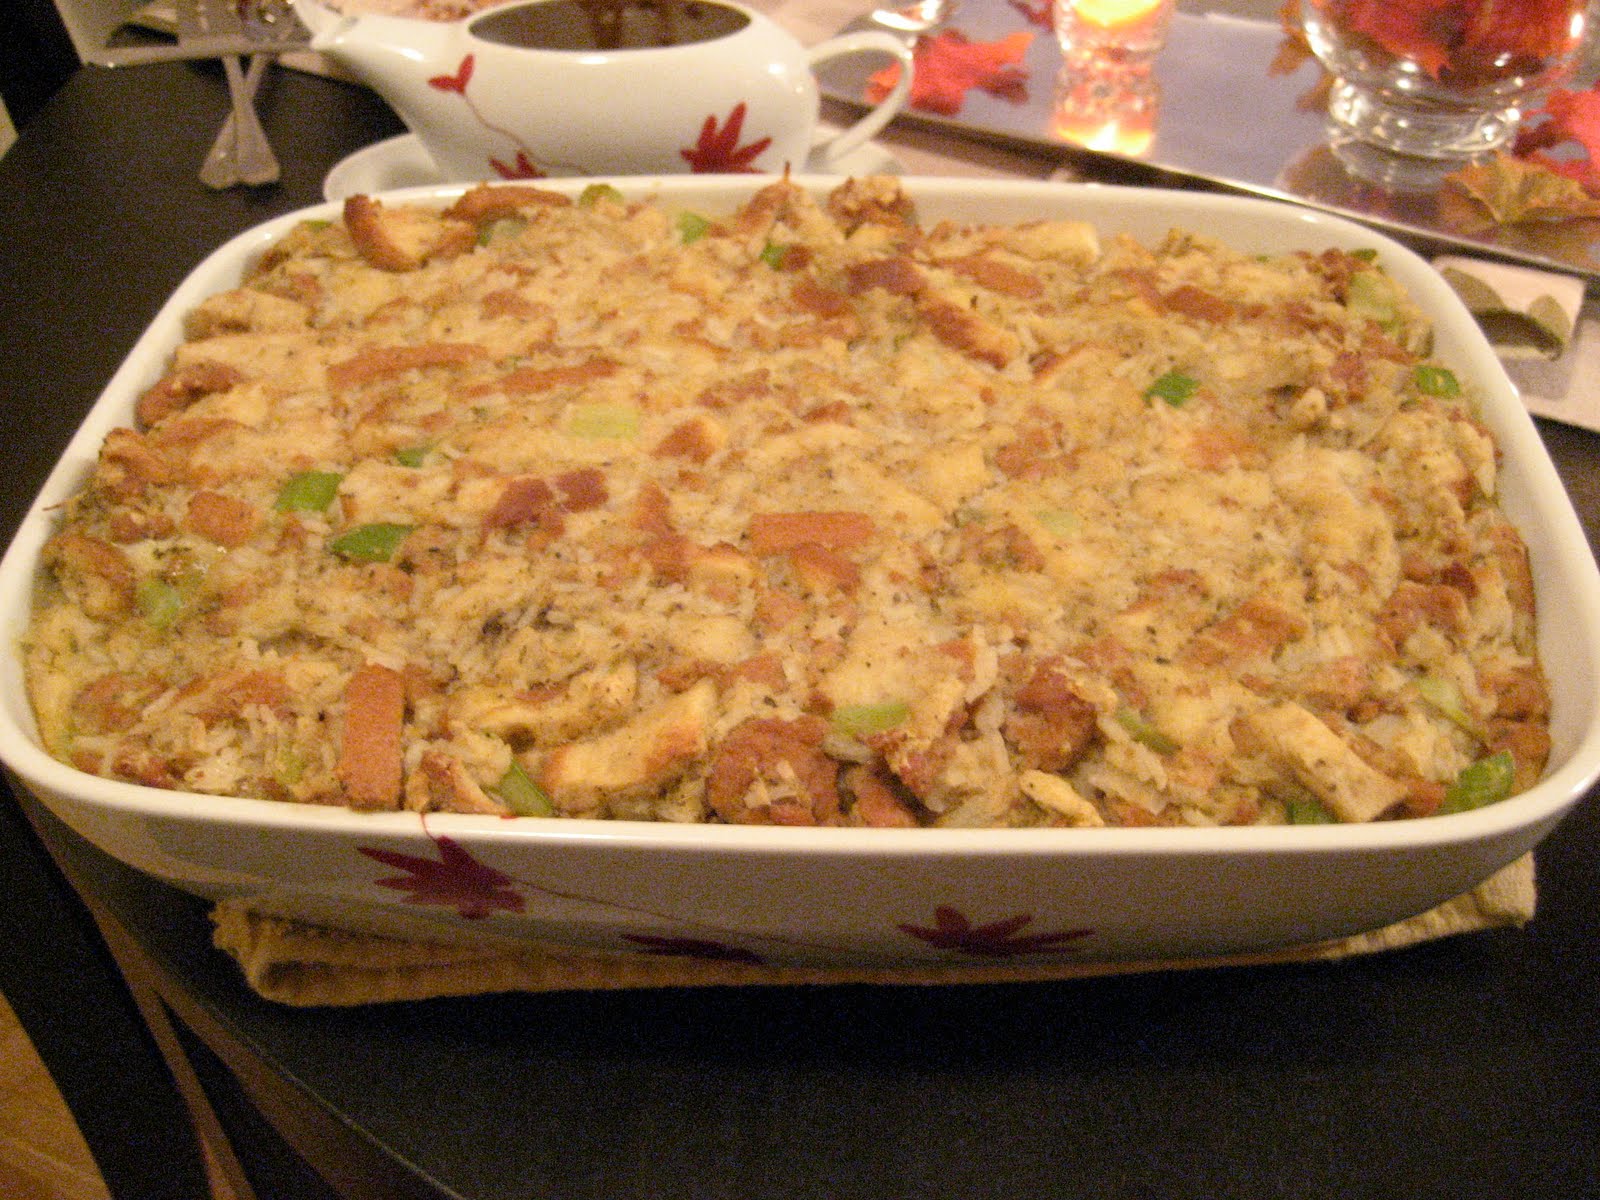
A golden brown & delicious stuffing...thanks Paula!
The Verdict:A resounding YUM! A fantastic stuffing with plenty of flavor even with the turkey sausage substitute. It can get a little moist, so make sure you use plenty of really dry bread. Oh, did I mention that this recipe feeds about 15? Yeah, it does. And yes, we'll be eating stuffing sandwiches for the next 4 days...
Sweet Potatoes and...Banana?
A recipe so nice that last year I made it twice. More sweet than savory, this sweet potato concoction comes straight from the kitchen of Tyler Florence and once you go sweet potato and banana, you won't go back.
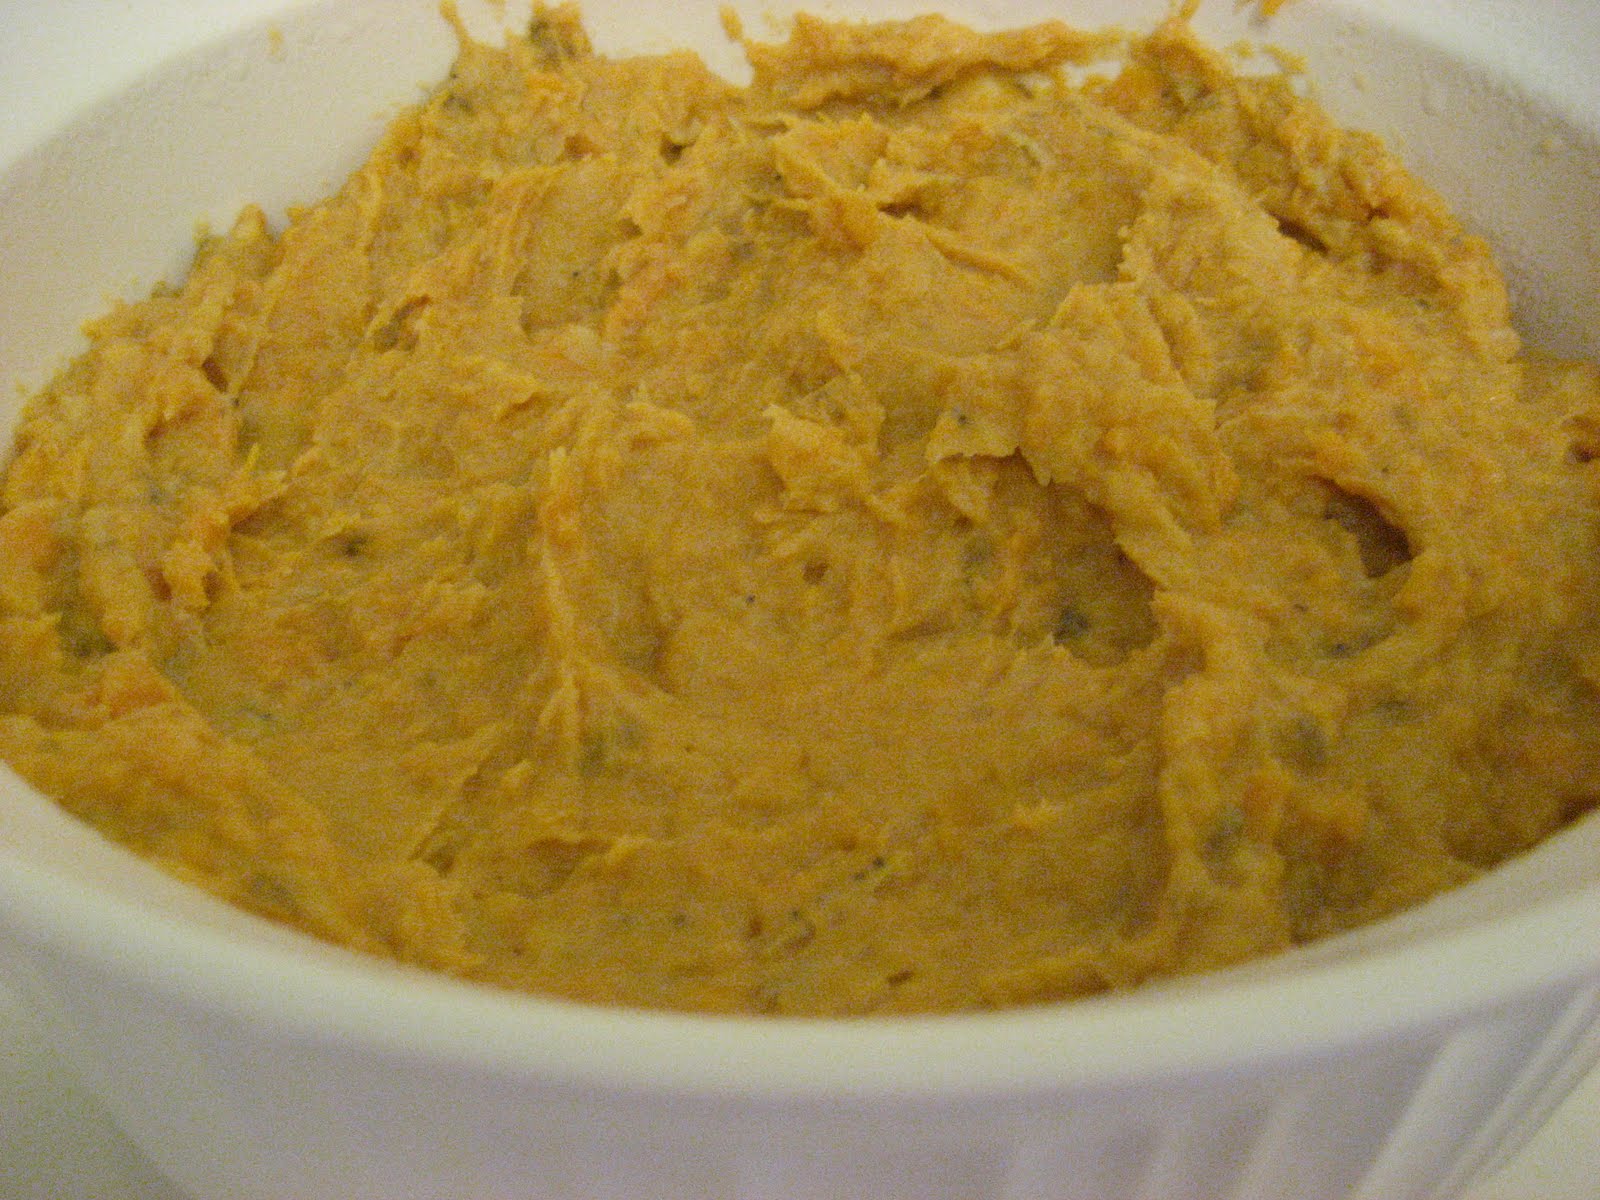
The mashed up goods, sans sugary topping
Whipped Sweet Potatoes & Bananas with Honey5 medium sweet potatoes, scrubbed (I used 6)
4 bananas, unpeeled (I used 3)
1 cup (2 sticks) unsalted butter, at room temperature
1/4 cup honey
Kosher salt
3/4 cup dark brown sugar
1/2 cup all-purpose flour
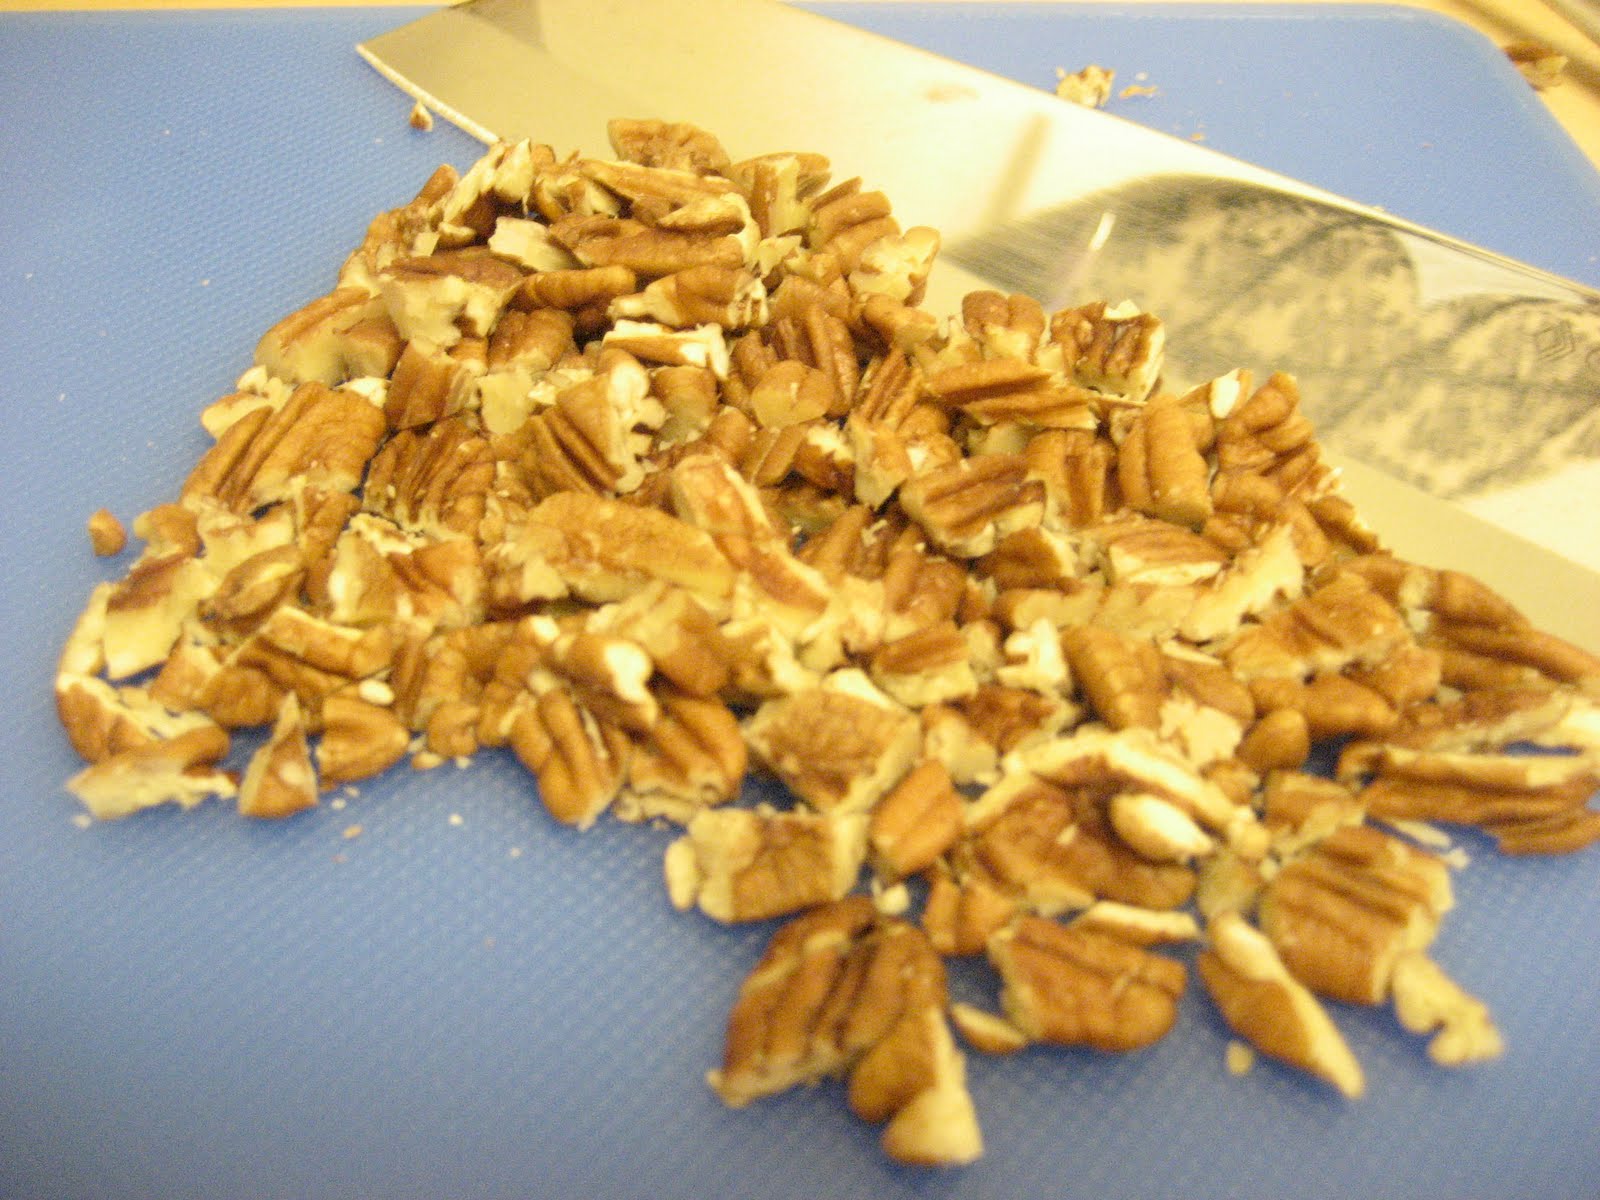
1 1/2 cups chopped pecans
- Preheat the oven to 400 degrees F.
- Prick the sweet potatoes all over with a fork and roast for 30 minutes. Toss the bananas into the pan and continue roasting for 10 to 15 minutes, until both the bananas and potatoes are very soft. Remove the pan from the oven but don't turn the oven off. (Note: the bananas will be completely black after roasting. I had planned to take a photo, but it wasn't until after I removed the peels did I realize this).
- When the potatoes are cool enough to handle, scoop out the flesh into a large mixing bowl. Peel the bananas and add them to the bowl along with 1 stick of the butter, and the honey.
- Season with salt and beat vigorously with a wooden spoon until everything's well combined and the mixture is fluffy. Spoon into an oven-proof serving bowl and smooth the top.
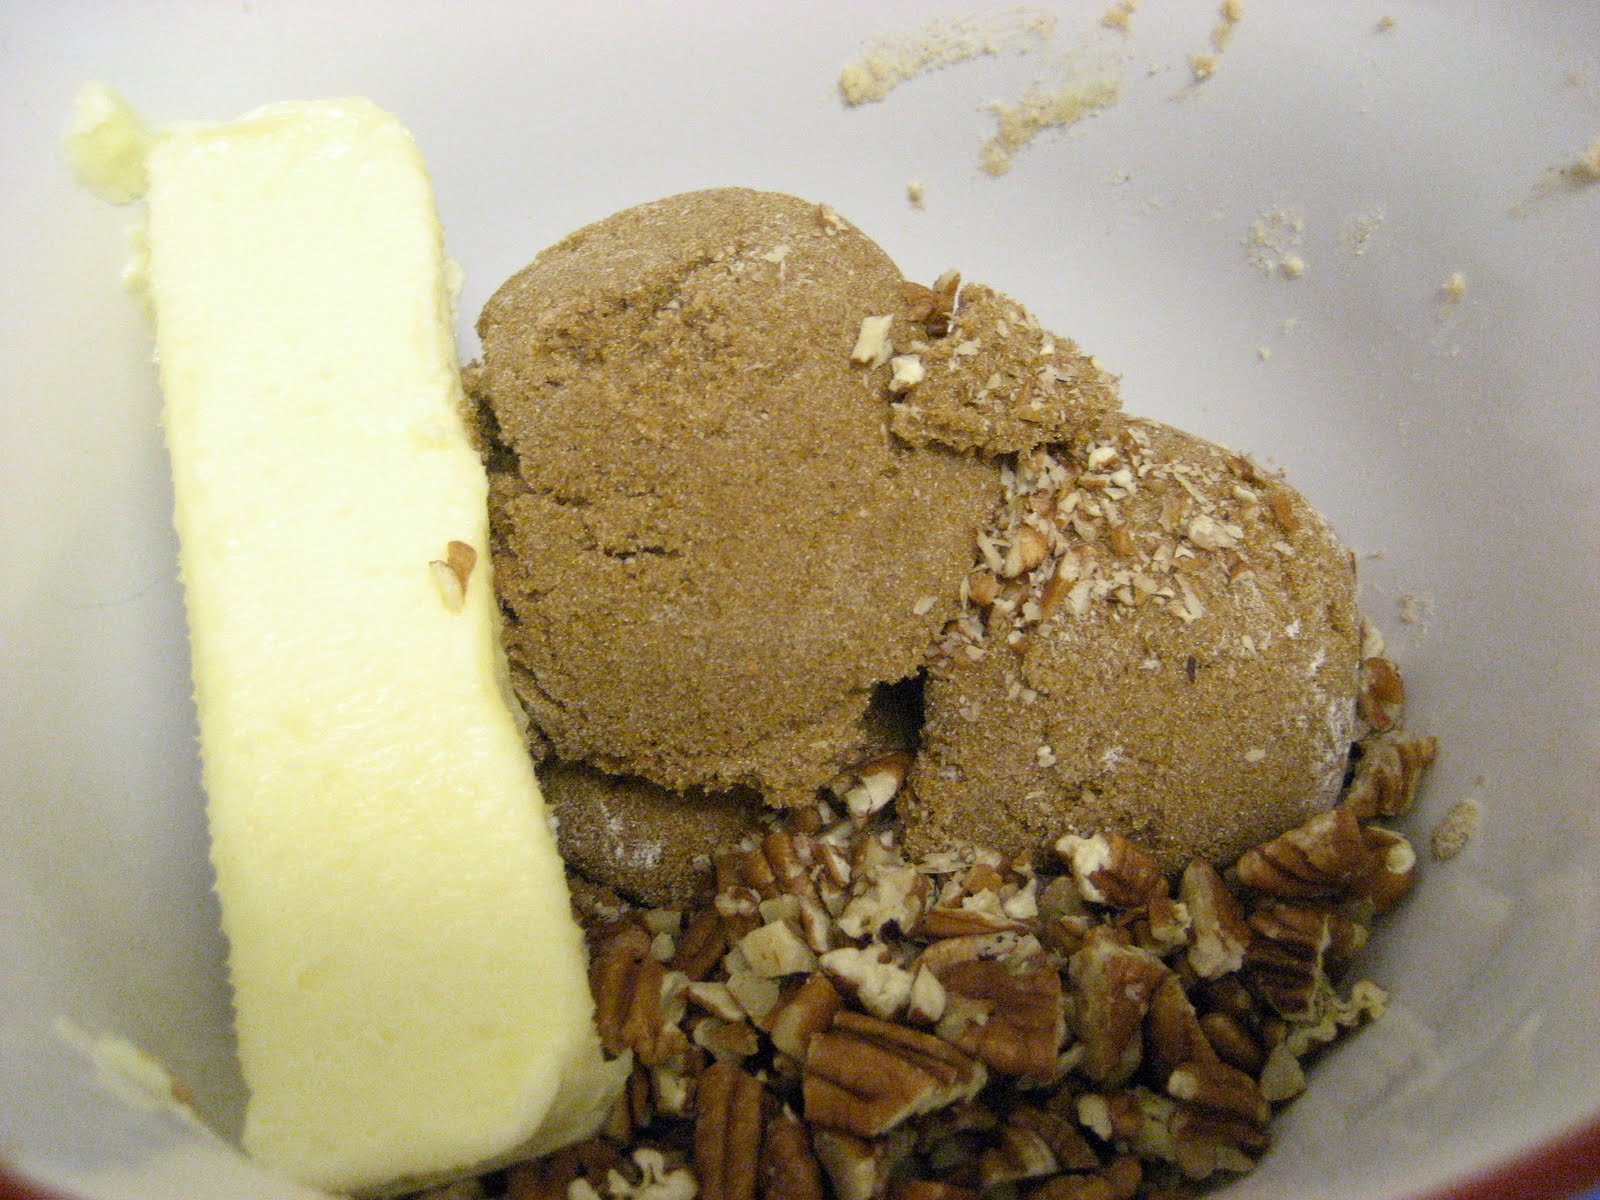
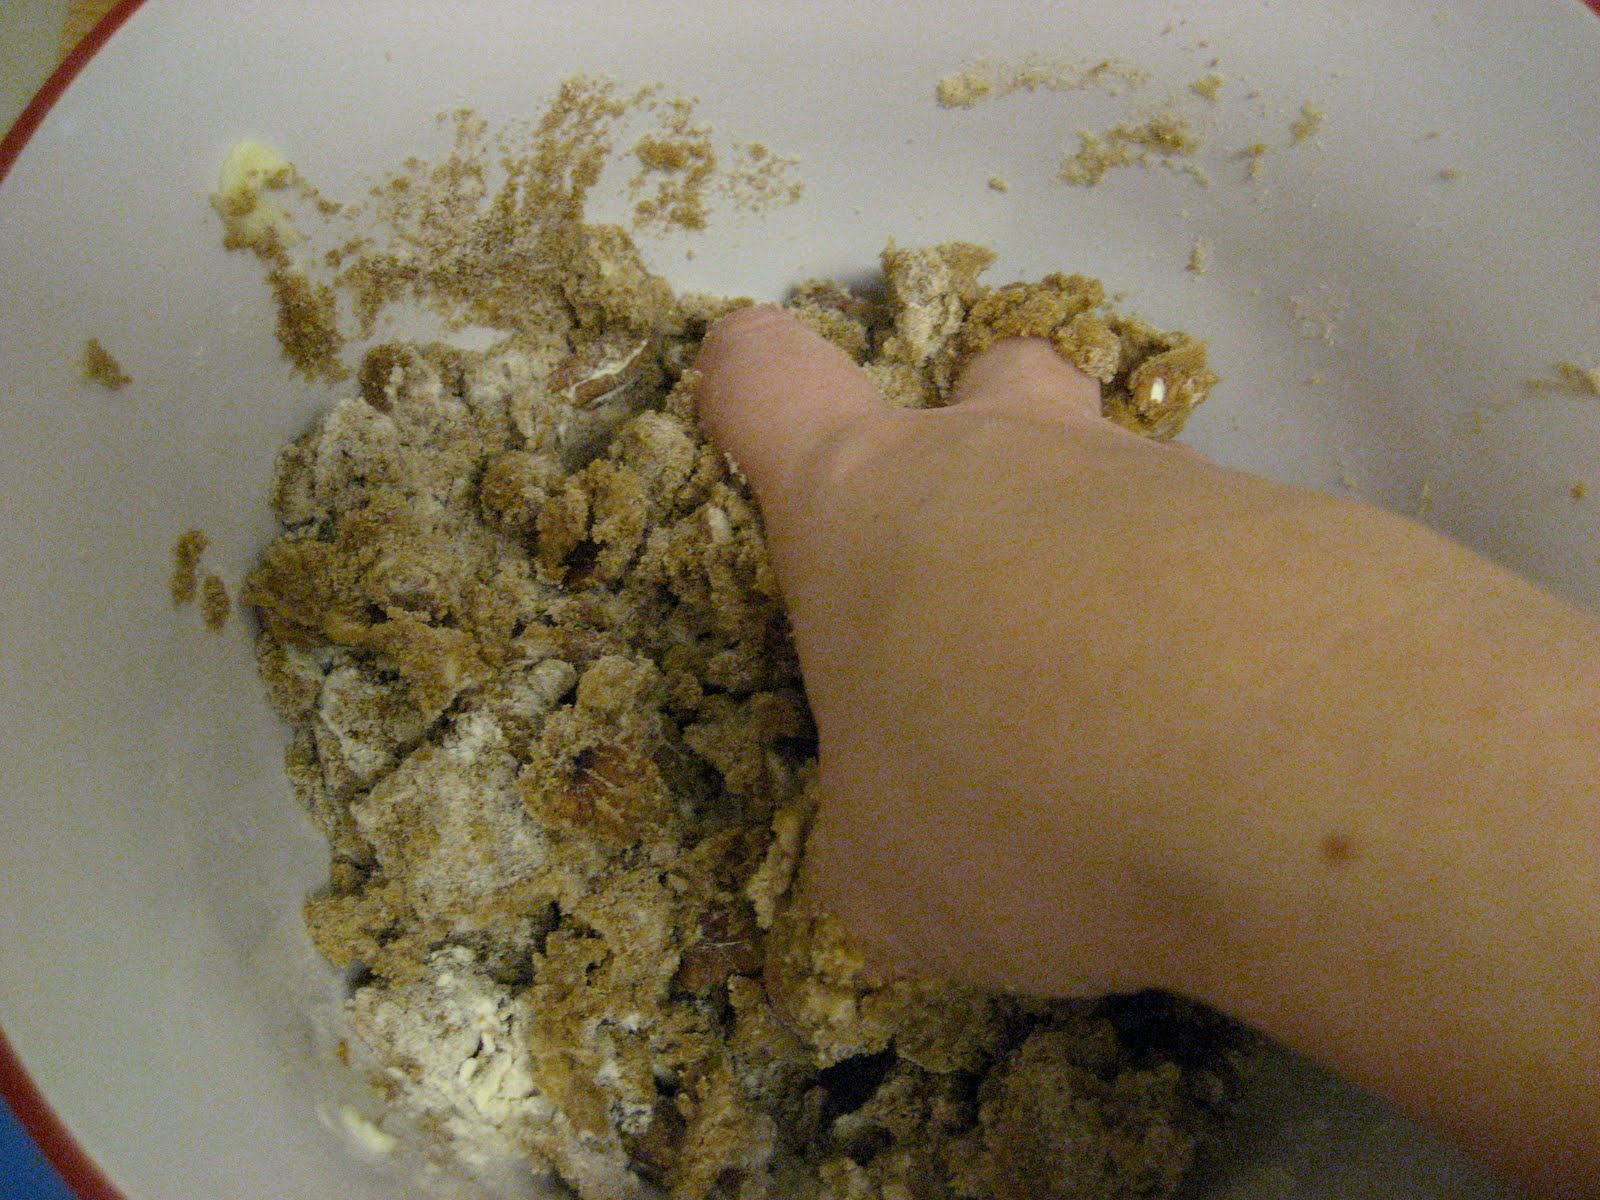
The makings of a crunchy topping
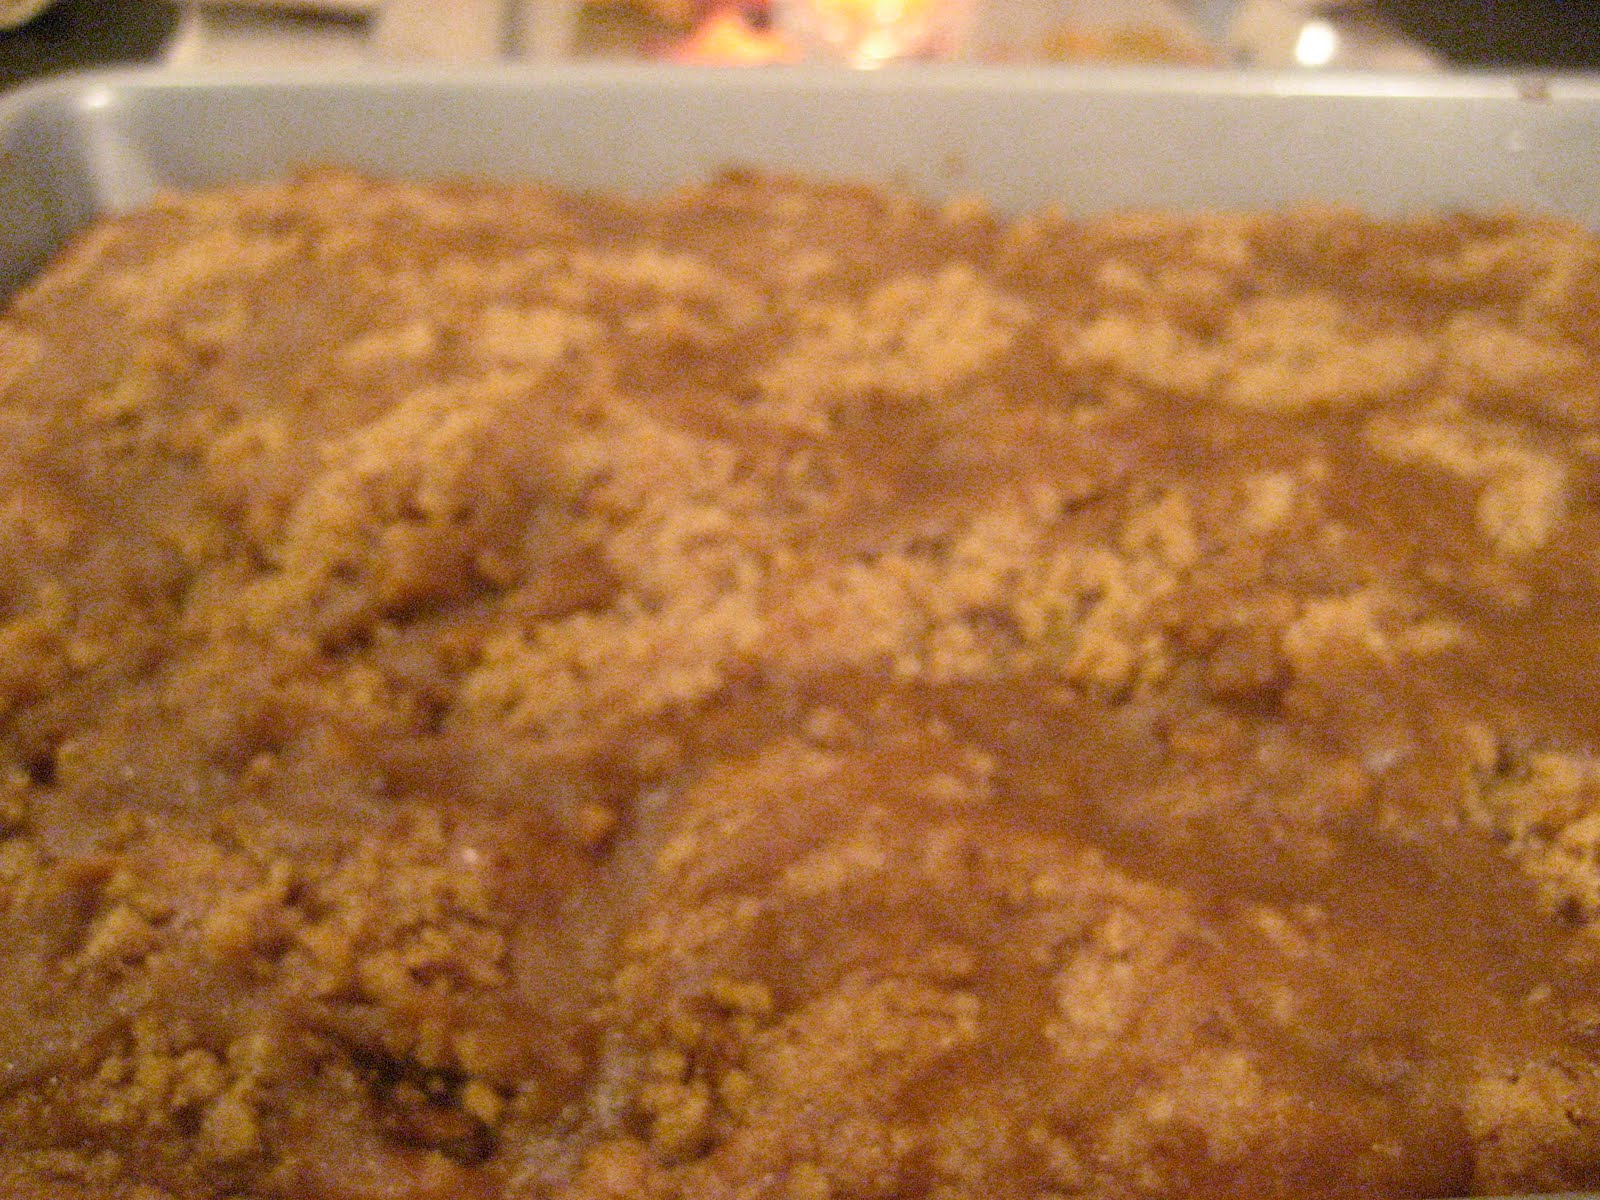
In a separate mixing bowl, use your fingers to rub together the remaining stick of butter, the brown sugar, flour, and pecans until the mixture is the consistency of coarse crumbs. Sprinkle the crumb mixture over the sweet potatoes and return to the oven. Cook for about 20 minutes, until the crumbs are golden. Serve hot.
The Verdict:
A Turkey Day staple in my recipe repetoire as it inevitably tastes delicious. It was just as good this year as I remembered from last year. I mean really, creamy yams and bananas, honey, and brown sugar topping...does it get better than that?
Cranberry Sauce
Last year my cranberry sauce was a bit over-oranged from adding orange zest per a certain Food Network chef's recommendation. This year, I wised up and went in a different direction with one of my favorite FN personalities who finally got a decent show, Alex Guarneschelli. Though not so different from the version I used last year, I decided to change it up a bit.
Cranberry Sauce
1 pound fresh cranberries, washed and dried
2 cups granulated sugar
1/3 cup water
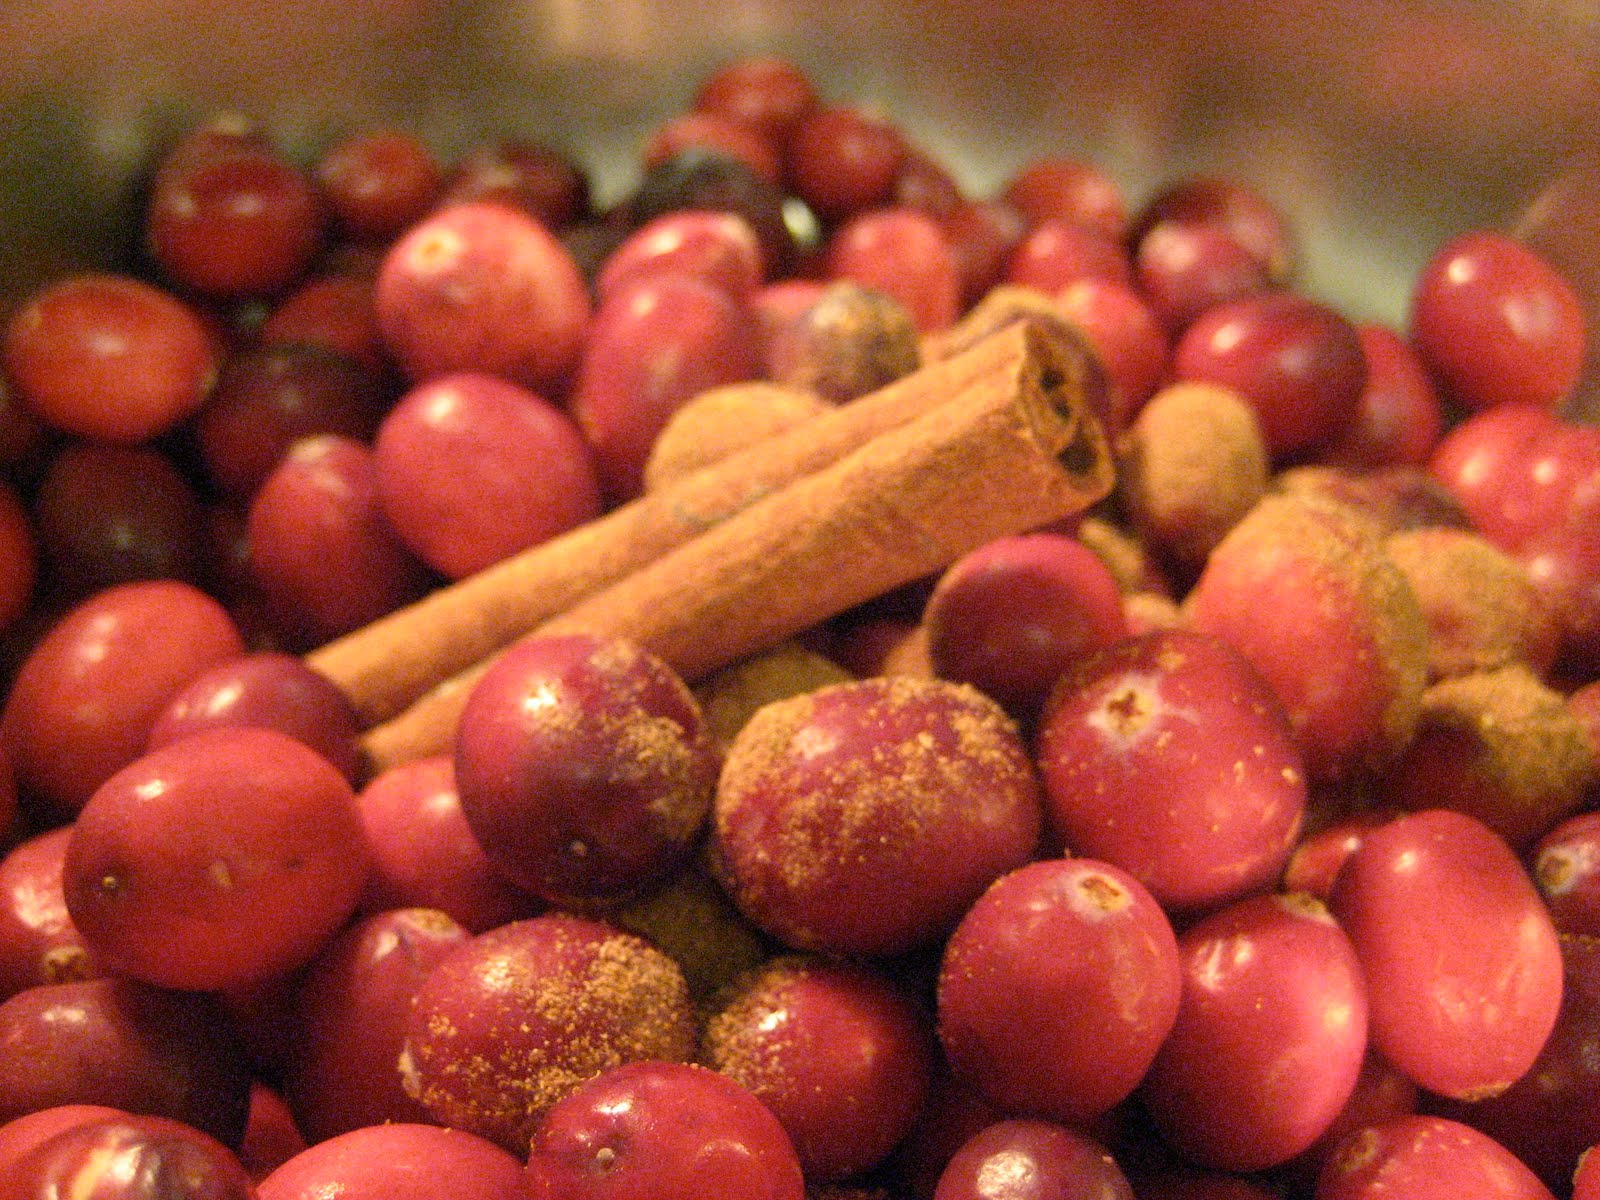
1 cinnamon stick
1/2 teaspoon ground allspice (I didn't have allspice, so I combined a 1/4tsp of cloves, ginger and cinnamon in a bowl, then used 1/2tsp of that mixture)
1/4 teaspoon ground nutmeg
1 orange, zested and juiced (I just used the juice...I'm on worldwide campaign for no-zest)
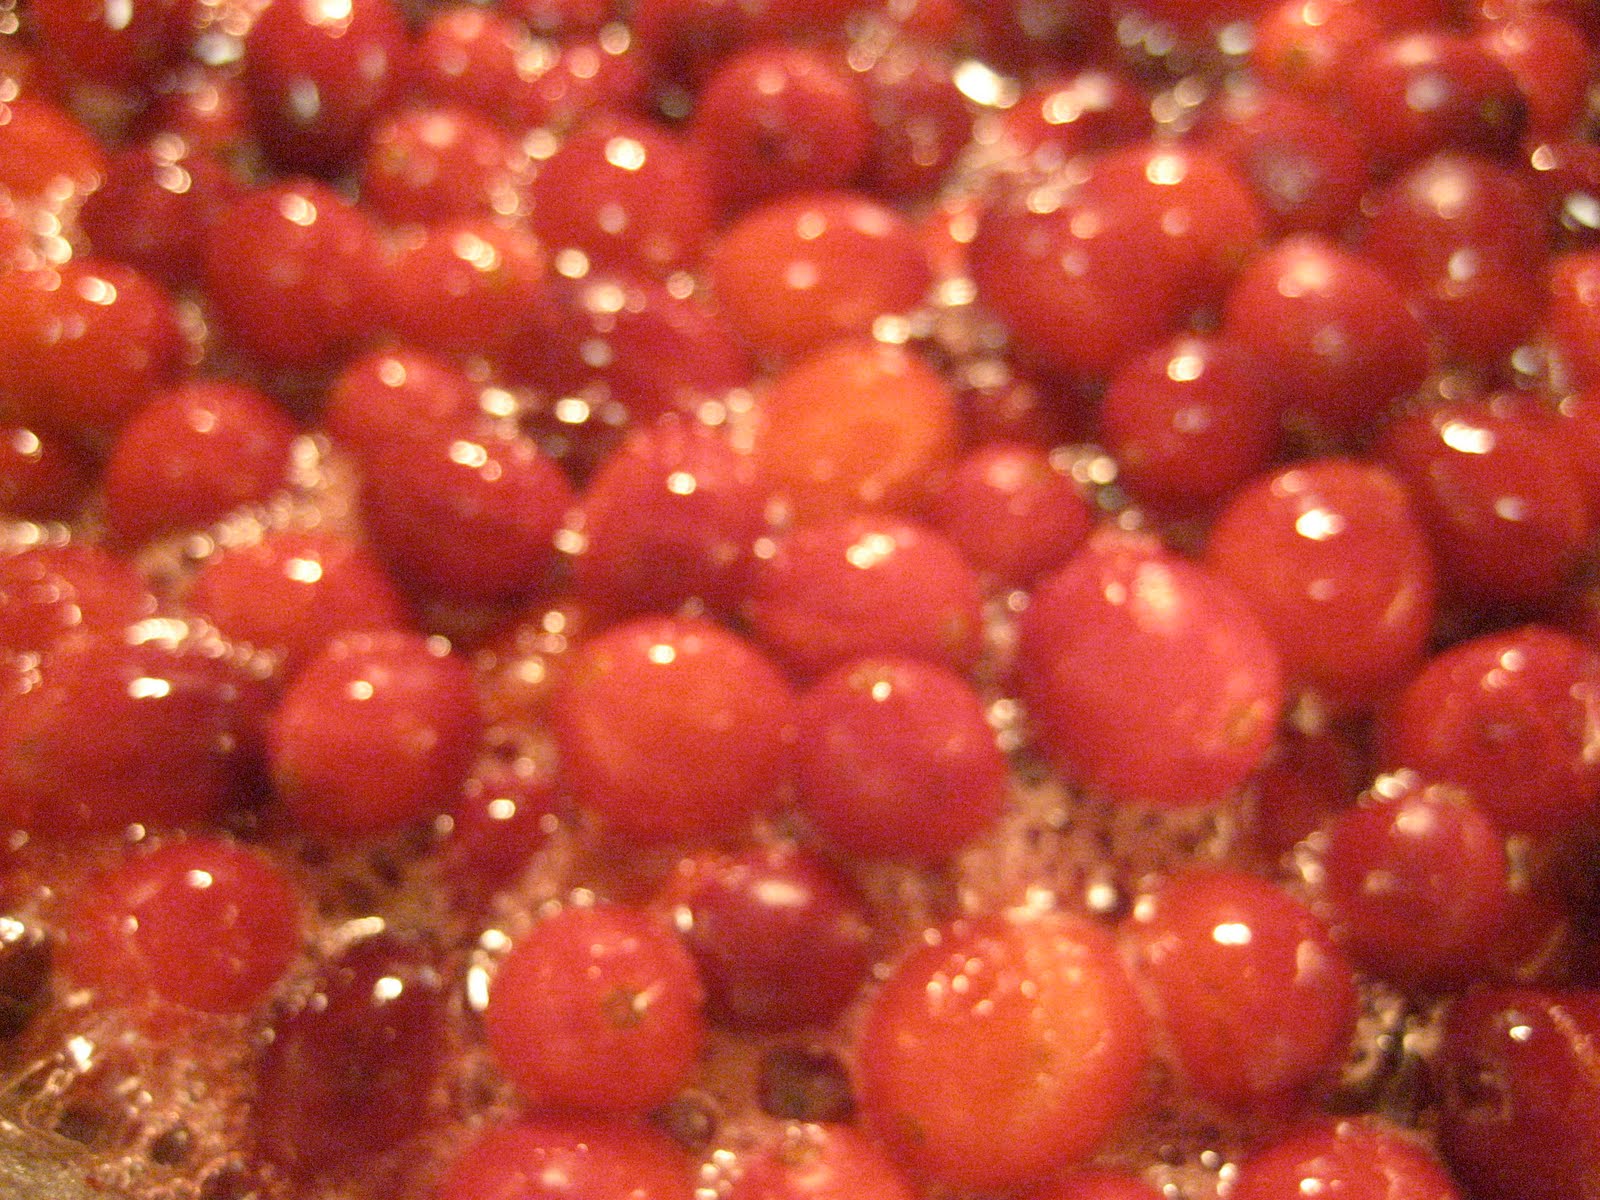
- In a medium pot, combine the cranberries, sugar and water. Stir to blend.
- Bring the mixture to a boil over medium heat. Reduce to a simmer and add the cinnamon stick, allspice and nutmeg.
It's a sugary one, but so necessary to counter-balance the tartness
- Stir to blend and simmer for an additional 5 to 7 minutes. Some of the cranberries will burst and some will remain whole.
- Add the orange juice
and zest, stir and allow to cool before serving. I even let mine sit for hours with the heat turned off so the flavors could properly soak.
The Verdict:Last year's recipe called for chopped butternut squash, and I have to say that I kind of missed it in this year's version. Otherwise, this was a super easy, sweet tart'ed version of cranberry sauce with super seasonal flavors.
Brussels Sprouts
Though I may have expressed my culinary aspirations for making the mini Audrey II's into something not only edible, but daresay delicious, it just wasn't in the cards for this year's FTD. With all of the above, not to mention Shaun's shitake mushroom and garlic mashed potatoes, I just couldn't stomach the thought of more food. There's a chance it'll make an appearance later this week though, so if you're into making mini-cabbage taste yummy, stay tuned!
So there you have it. My big Turkey Day side dish reveal. What do you think? What sides are you bringing to your Thanksgiving table? Leave some ideas (and a lil' love) in comments!
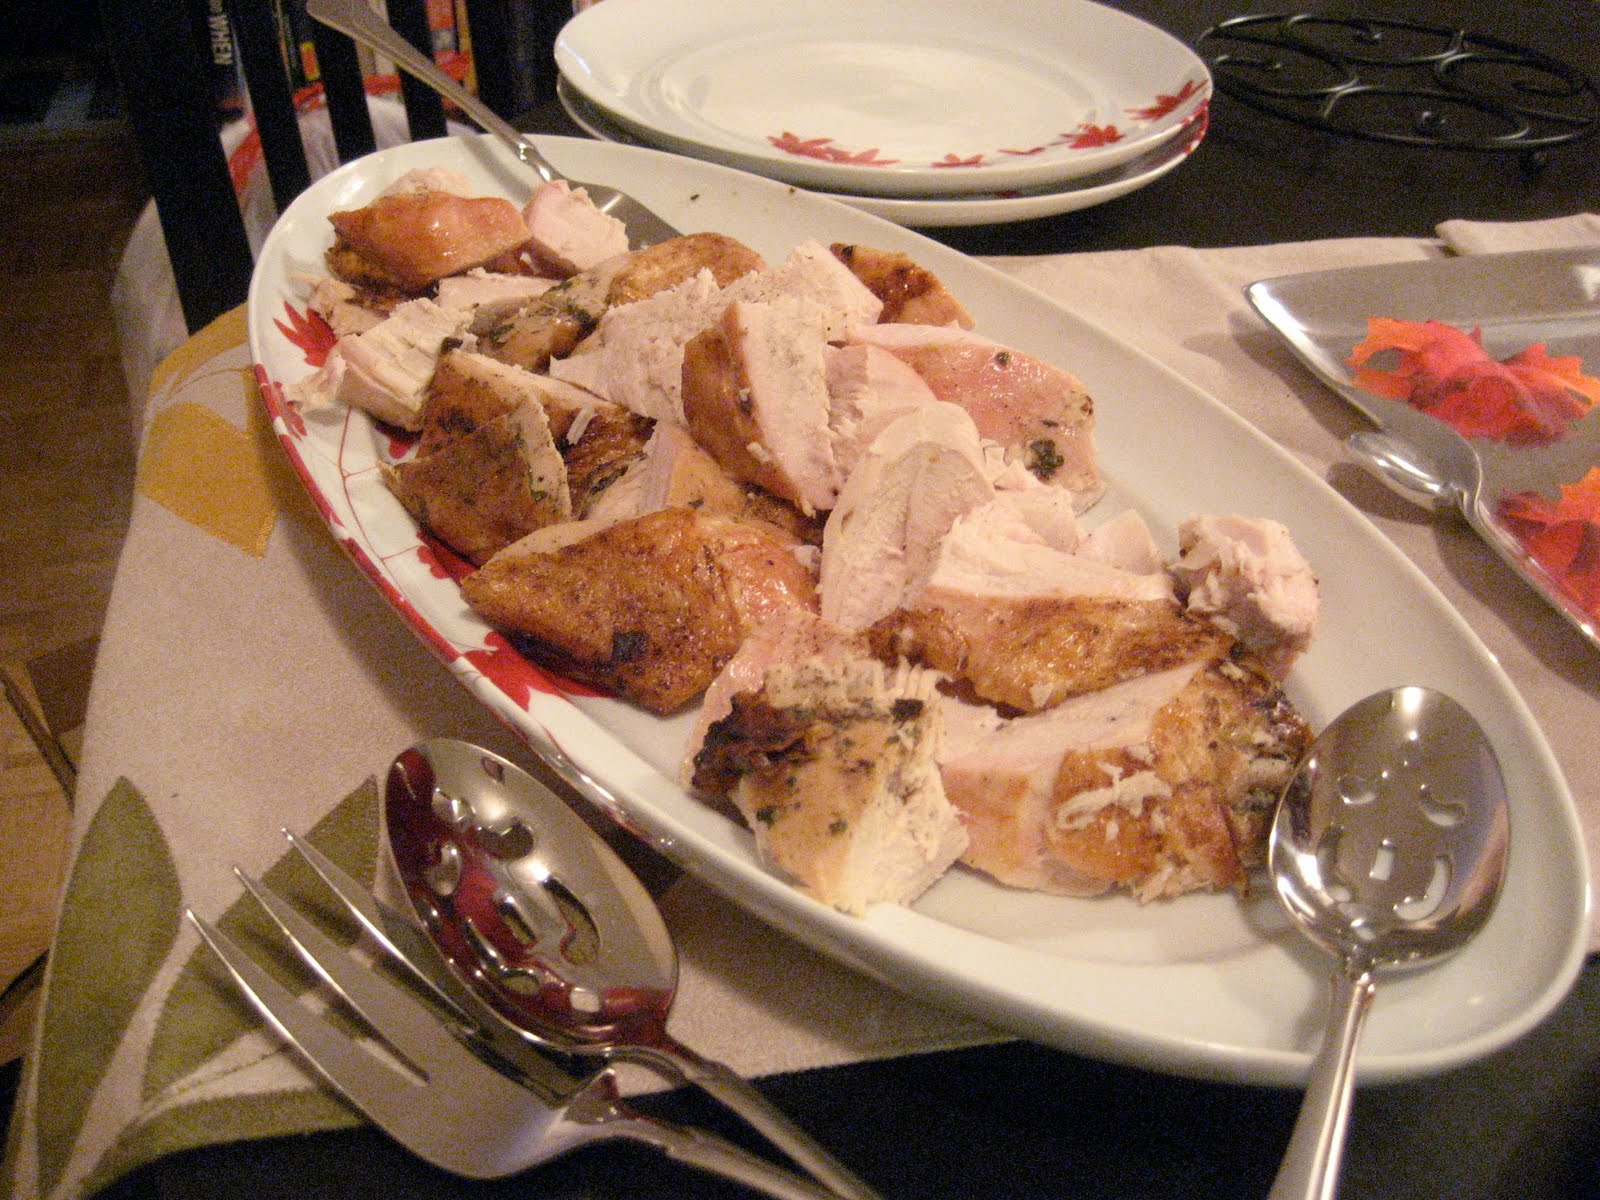
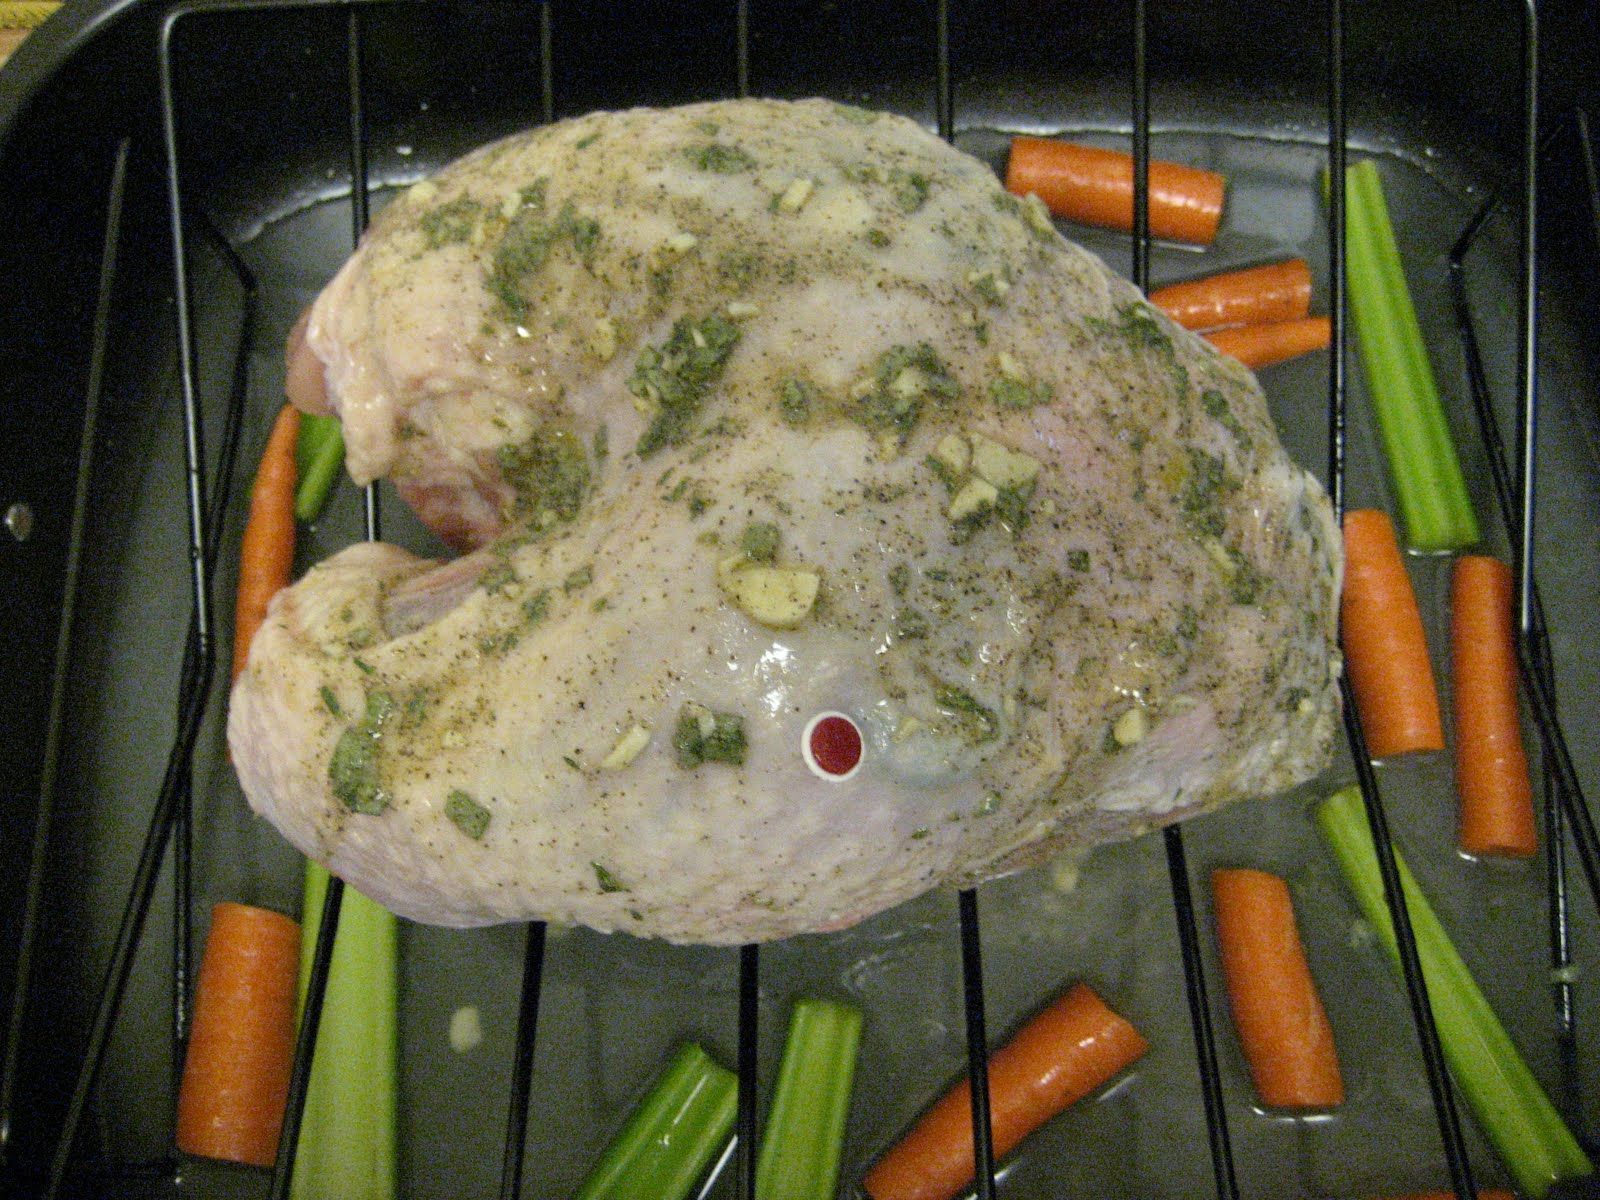
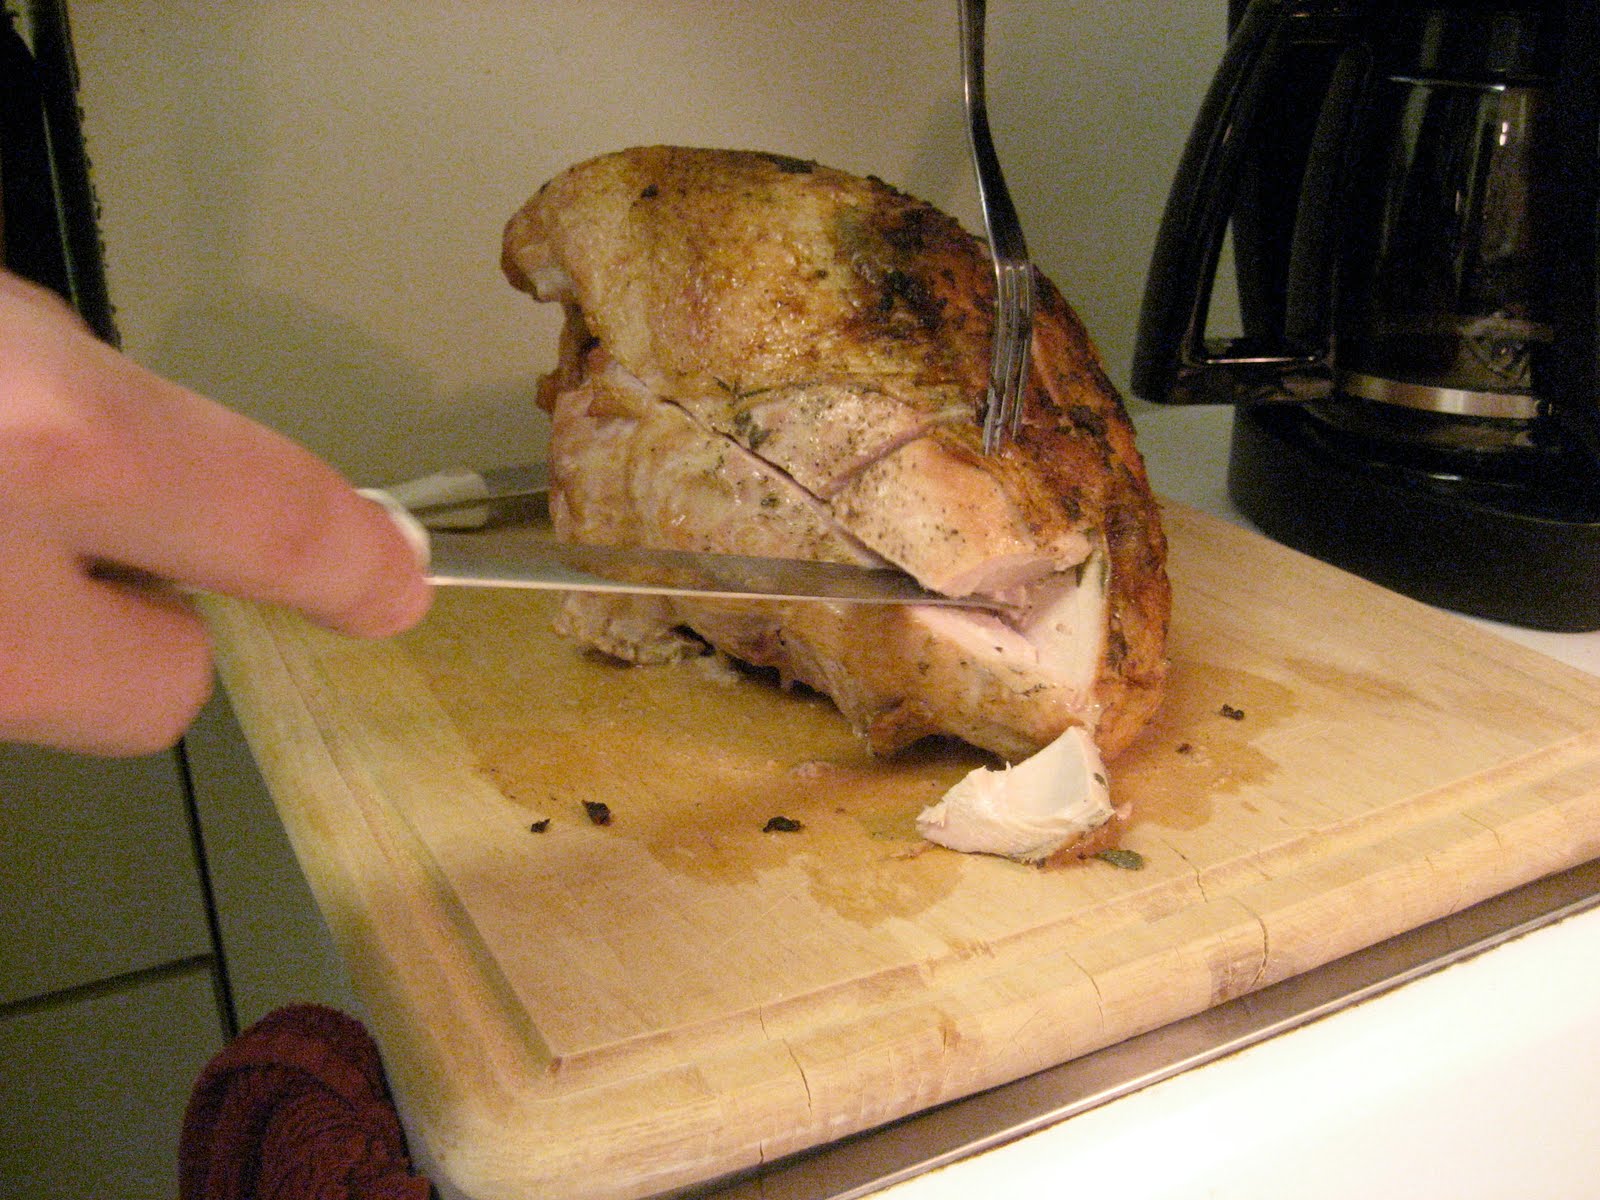
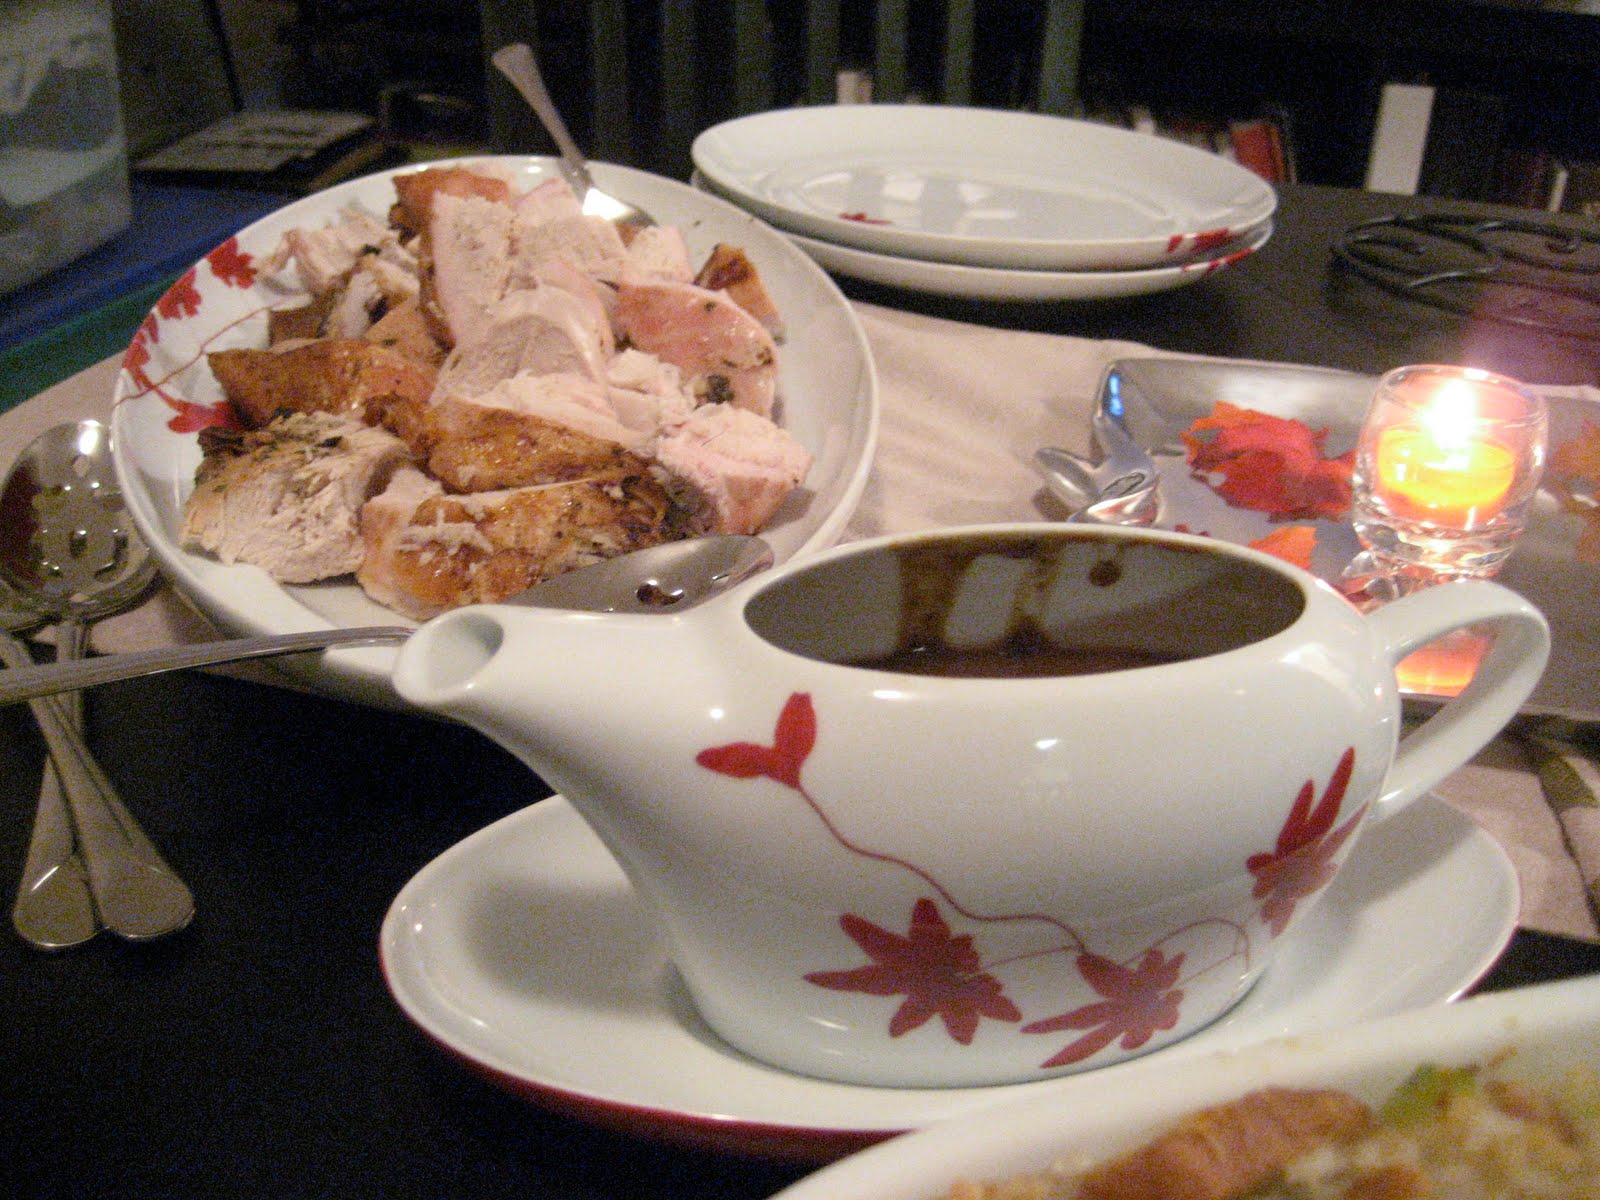
Coming up next: How I made my Thanksgiving Dinner in a tiny apartment kitchen, my official, never-turning back recipe for turkey breast with pan gravy, and everyone's favorite part of the meal, dessert.


 Post a Comment |