


Let's Talk Turkey
 Rachel
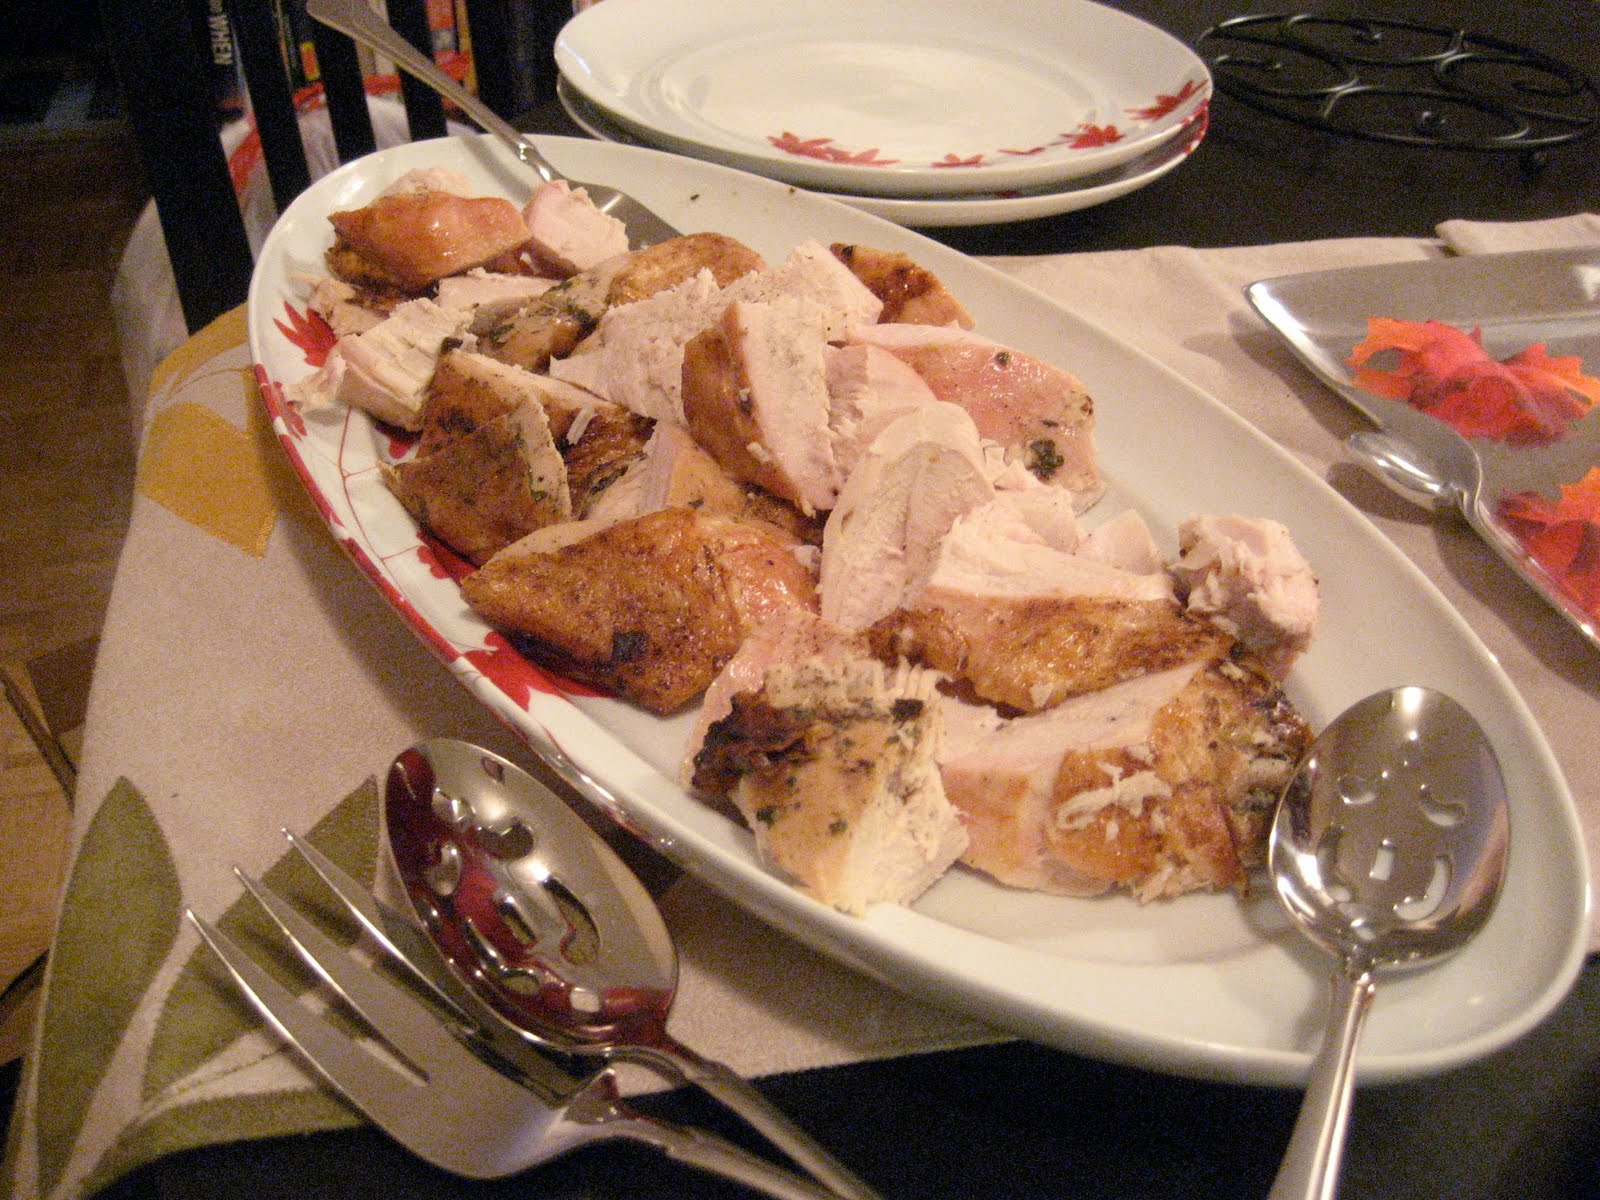
First, I snapped up this basic roasting pan and meat thermometer. For under $20 (with obligatory Bed Bath coupons) I was already on my way to the perfect bird. Next, I visited the local Morton Williams, chatted up the nice man guarding the butcher station, and scored myself a 5 pound turkey breast...meat, skin, and bone. (Side note: Since neither Shaun nor I care for the dark meat, and it was just the two of us, just the breast was perfect for us - no whole turkey necessary) The next step was finding a recipe that met the following qualifications: easy, delicious, and rave reviews. After consulting with Catherine, I decided on Ina Garten's Herb-Roasted Turkey Breast, perhaps the easiest possible turkey recipe around - no brining, no basting. Here's the rundown:
Ina Garten's Herb-Roasted Turkey Breast
1 whole bone-in turkey breast, 6 1/2 to 7 pounds (I used a 5 pounder...whatever size works for your needs)
1 tablespoon minced garlic (3 cloves)
2 teaspoons dry mustard
1 tablespoon chopped fresh rosemary leaves (I omitted this since I hate rosemary with the fire of a thousand suns. That being said, if you like it, go for it!)
1 tablespoon chopped fresh sage leaves
1 teaspoon chopped fresh thyme leaves
2 teaspoons kosher salt
1 teaspoon freshly ground black pepper
2 tablespoons good olive oil
2 tablespoons freshly squeezed lemon juice
1 cup dry white wine
1 cup chicken stock (my addition)
3 large carrots (my addition)
3 large celery stalk parts (my addition)
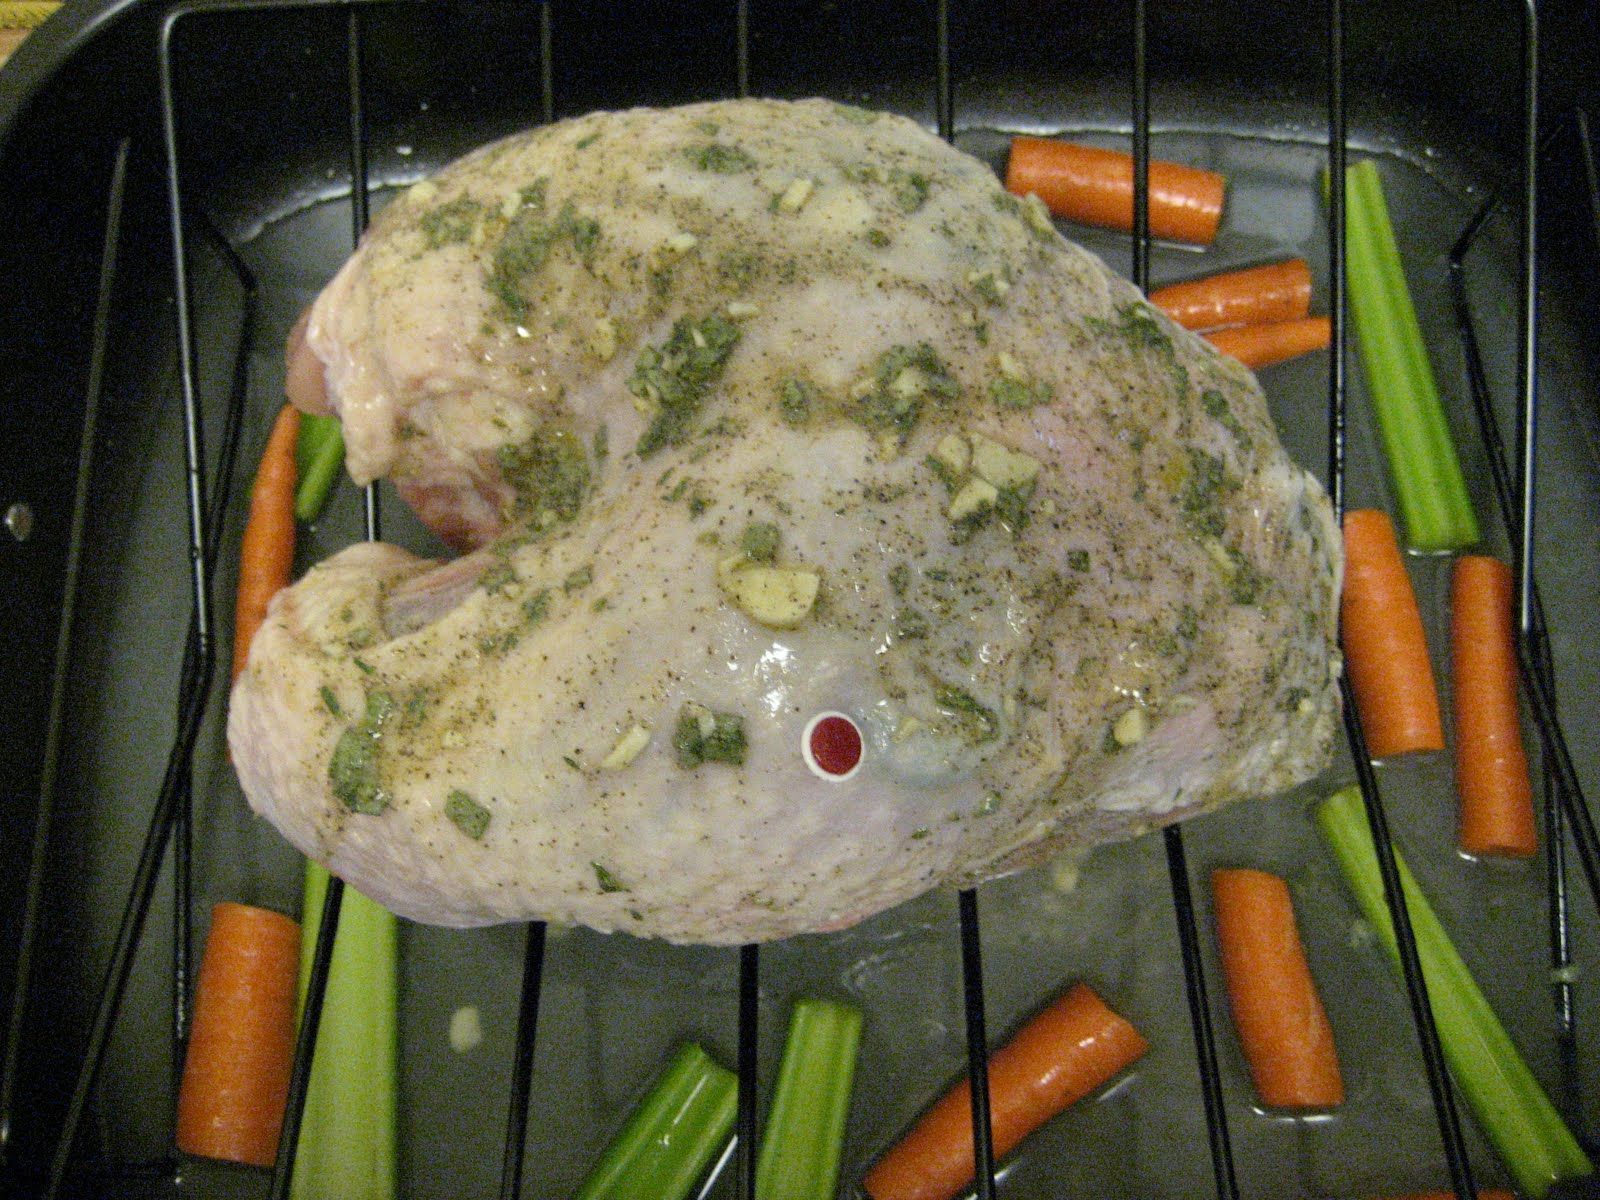
- Preheat the oven to 325 degrees F. Place the turkey breast, skin side up, on a rack in a roasting pan.
- In a small bowl, combine the garlic, mustard, herbs, salt, pepper, olive oil, and lemon juice to make a paste. Loosen the skin from the meat gently with your fingers and smear half of the paste directly on the meat. This will require a careful hand and a little elbow grease to get 'er done, but it is worth it! Spread the remaining paste evenly on the skin.
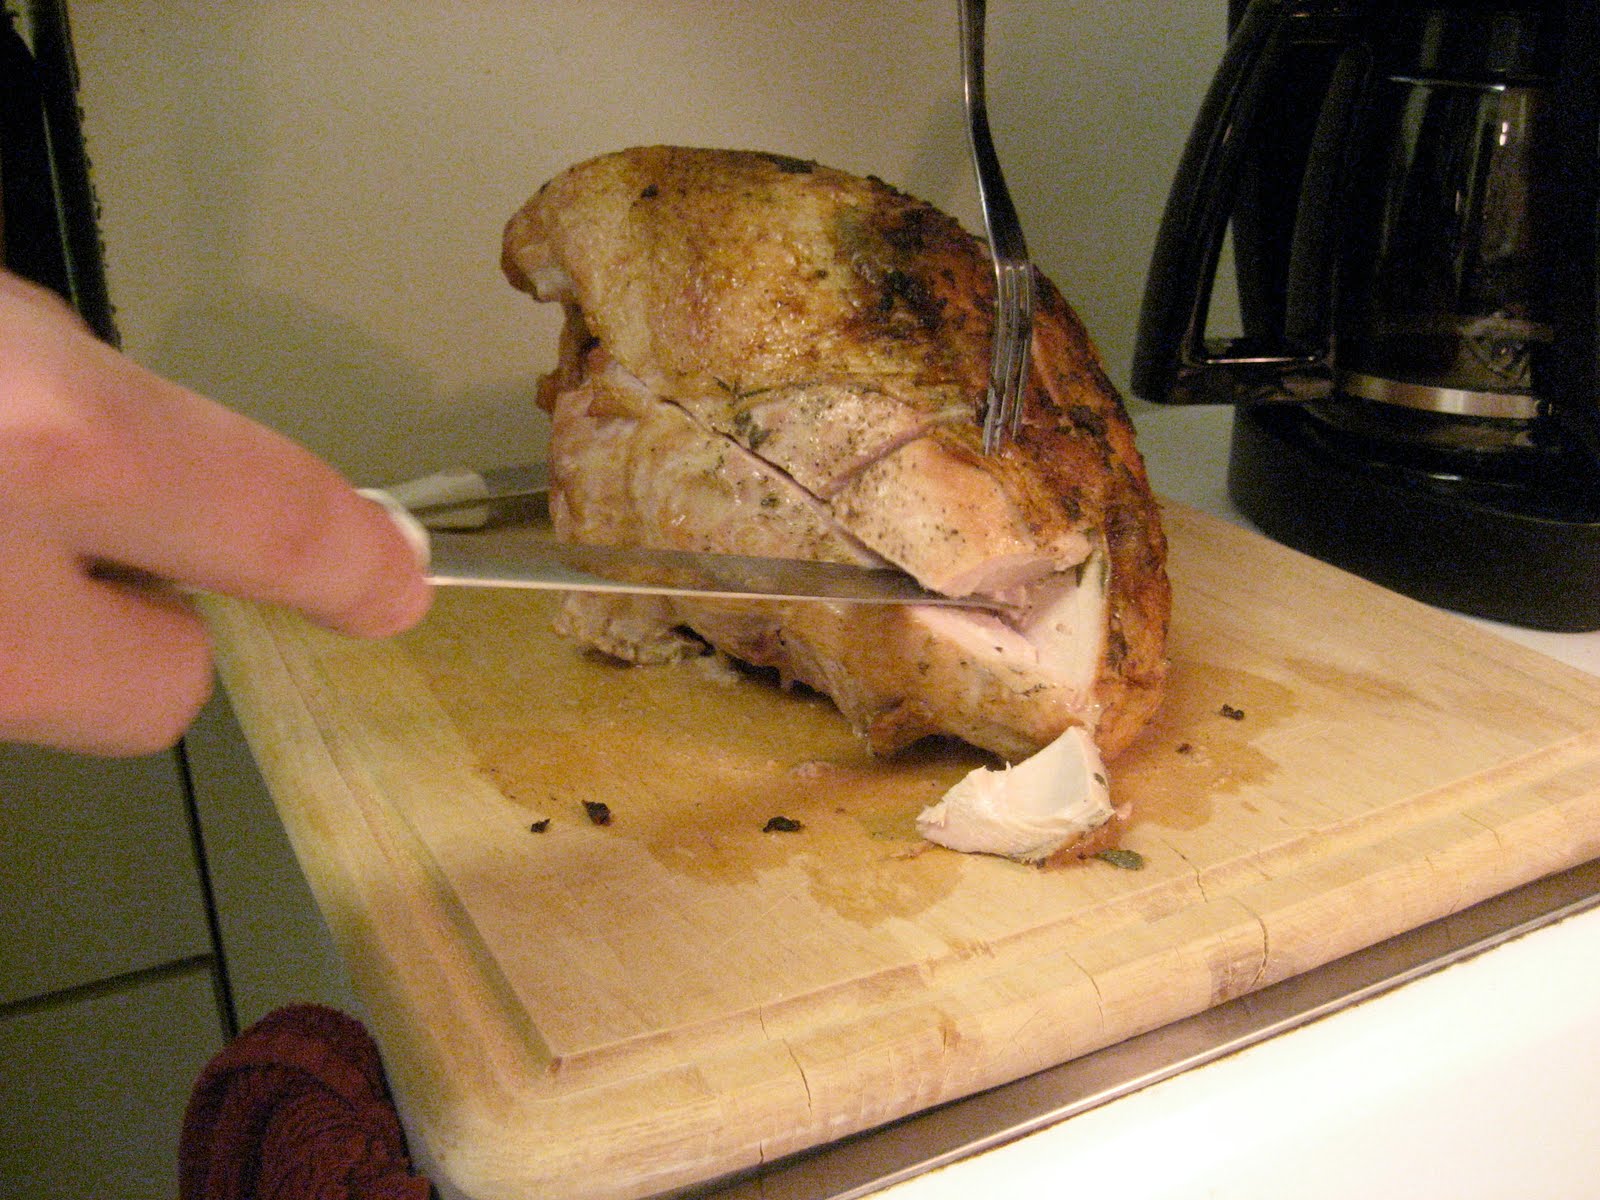
- Roast the turkey for 1 3/4 to 2 hours, until the skin is golden brown and an instant-read thermometer registers 165 degrees F when inserted into the thickest and meatiest areas of the breast. If the skin is over-browning, cover the breast loosely with aluminum foil. When the turkey is done, cover with foil and allow it to rest at room temperature for 15 minutes.

1) The aforementioned little red button never 'popped out' of my turkey signaling to completion of the cooked meat. Here's where the meat thermometer is key. Given this little button vs. modern technology, please don't take the chance. Had I not snapped up the $5.99 meat thermometer and had the know how to check the meat despite the button begging me not to, Shaun and I would be chomping on turkey chips after waiting double time for the little button to pop. Invest people. Trust me.
2) I checked my turkey every 30 minutes to make sure that all of the liquid in the bottom hadn't evaporated. You'll want to be careful not to let this happen. If it does, add in 1 cup chicken stock. If it happens again, add another cup (get my drift?). And while this recipe didn't call for basting, I did brush some liquid onto the turkey every 30 minutes just to make sure it stayed juicy and delicious.
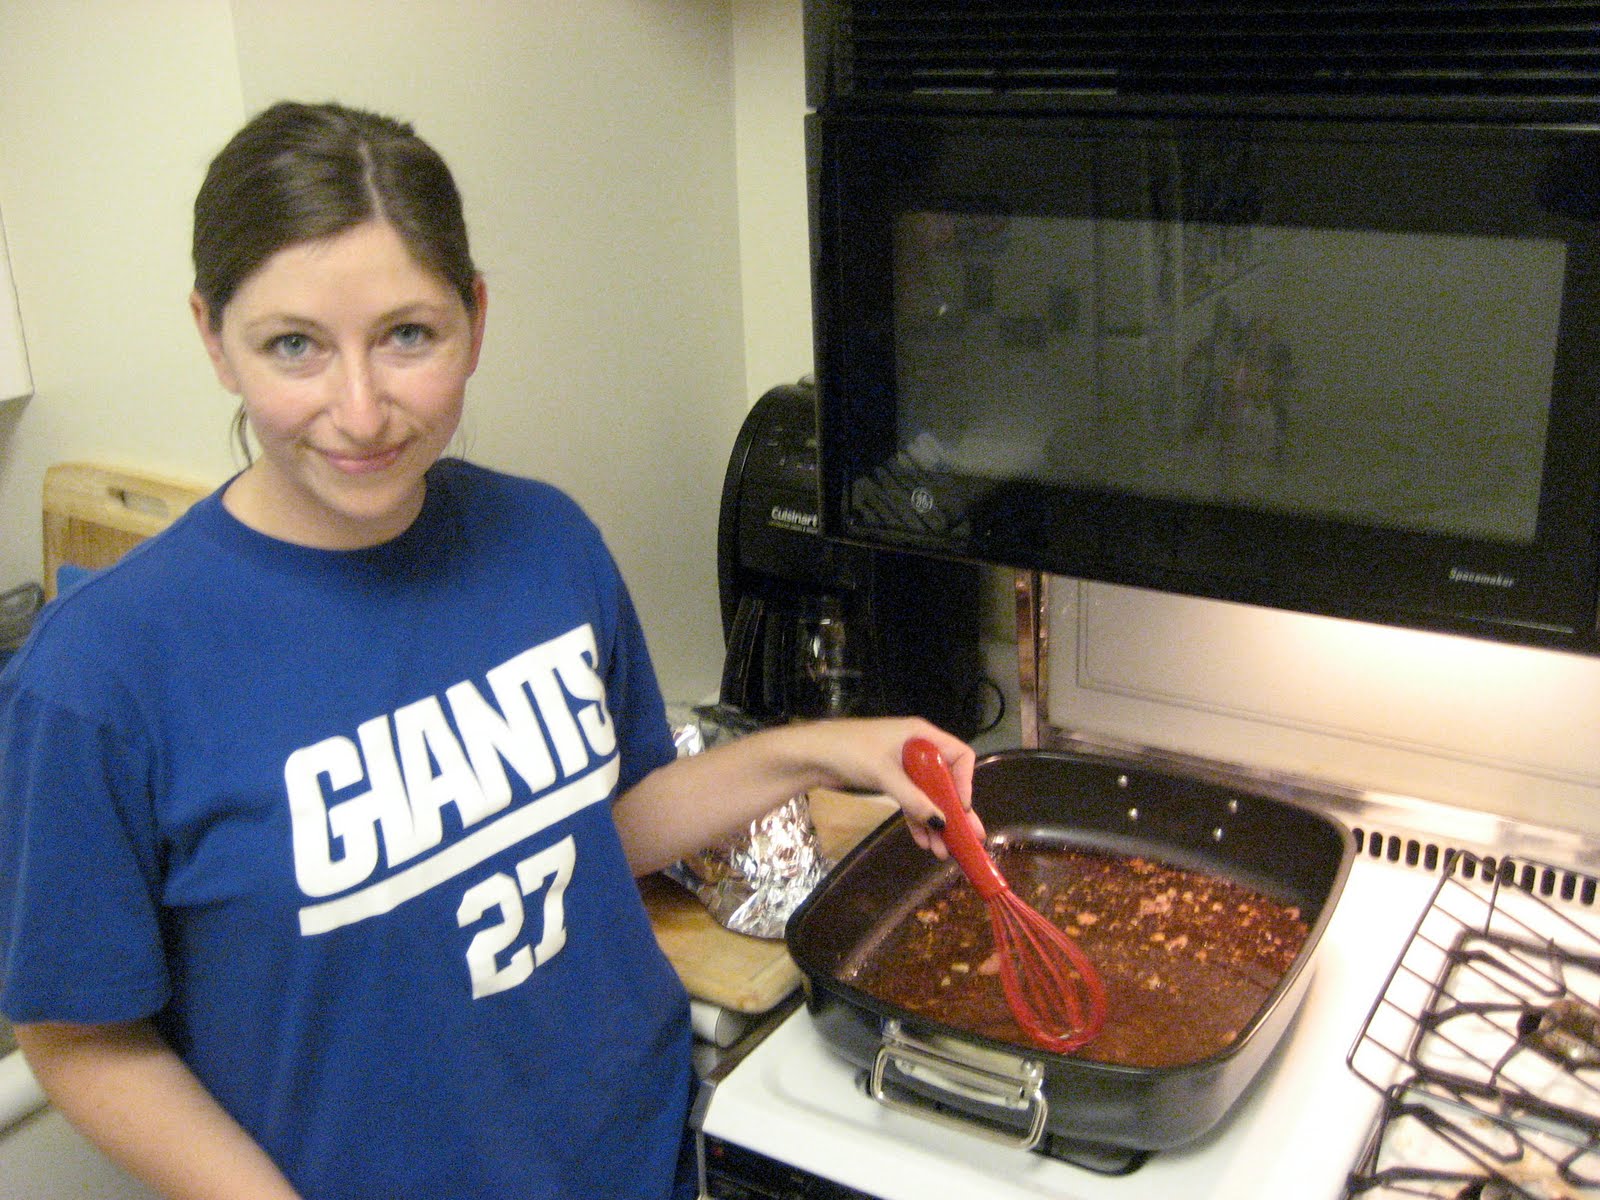
With a turkey this good, I wasn't going to waste my time on gravy in a packet. No siree, not for this good old-fashioned faux-Thanksgiving dinner. Instead, I made my own gravy. Now, get ready kids because if you haven't tried this yet, it'll change your life. And if you have tried it, you know what I mean. Here's the breakdown:
Pan Gravy
1-2 C Chicken stock
1-2 Tbsp flour
- Once turkey has rested, move to cutting board and remove the roasting rack from the roasting pan.
- Scoop out the shriveled, yet most likely super flavorful vegetables floating in the bottom of the pan.
- At this point, there will be some liquid and some deliciously browned bits stuck to the bottom of the pan.
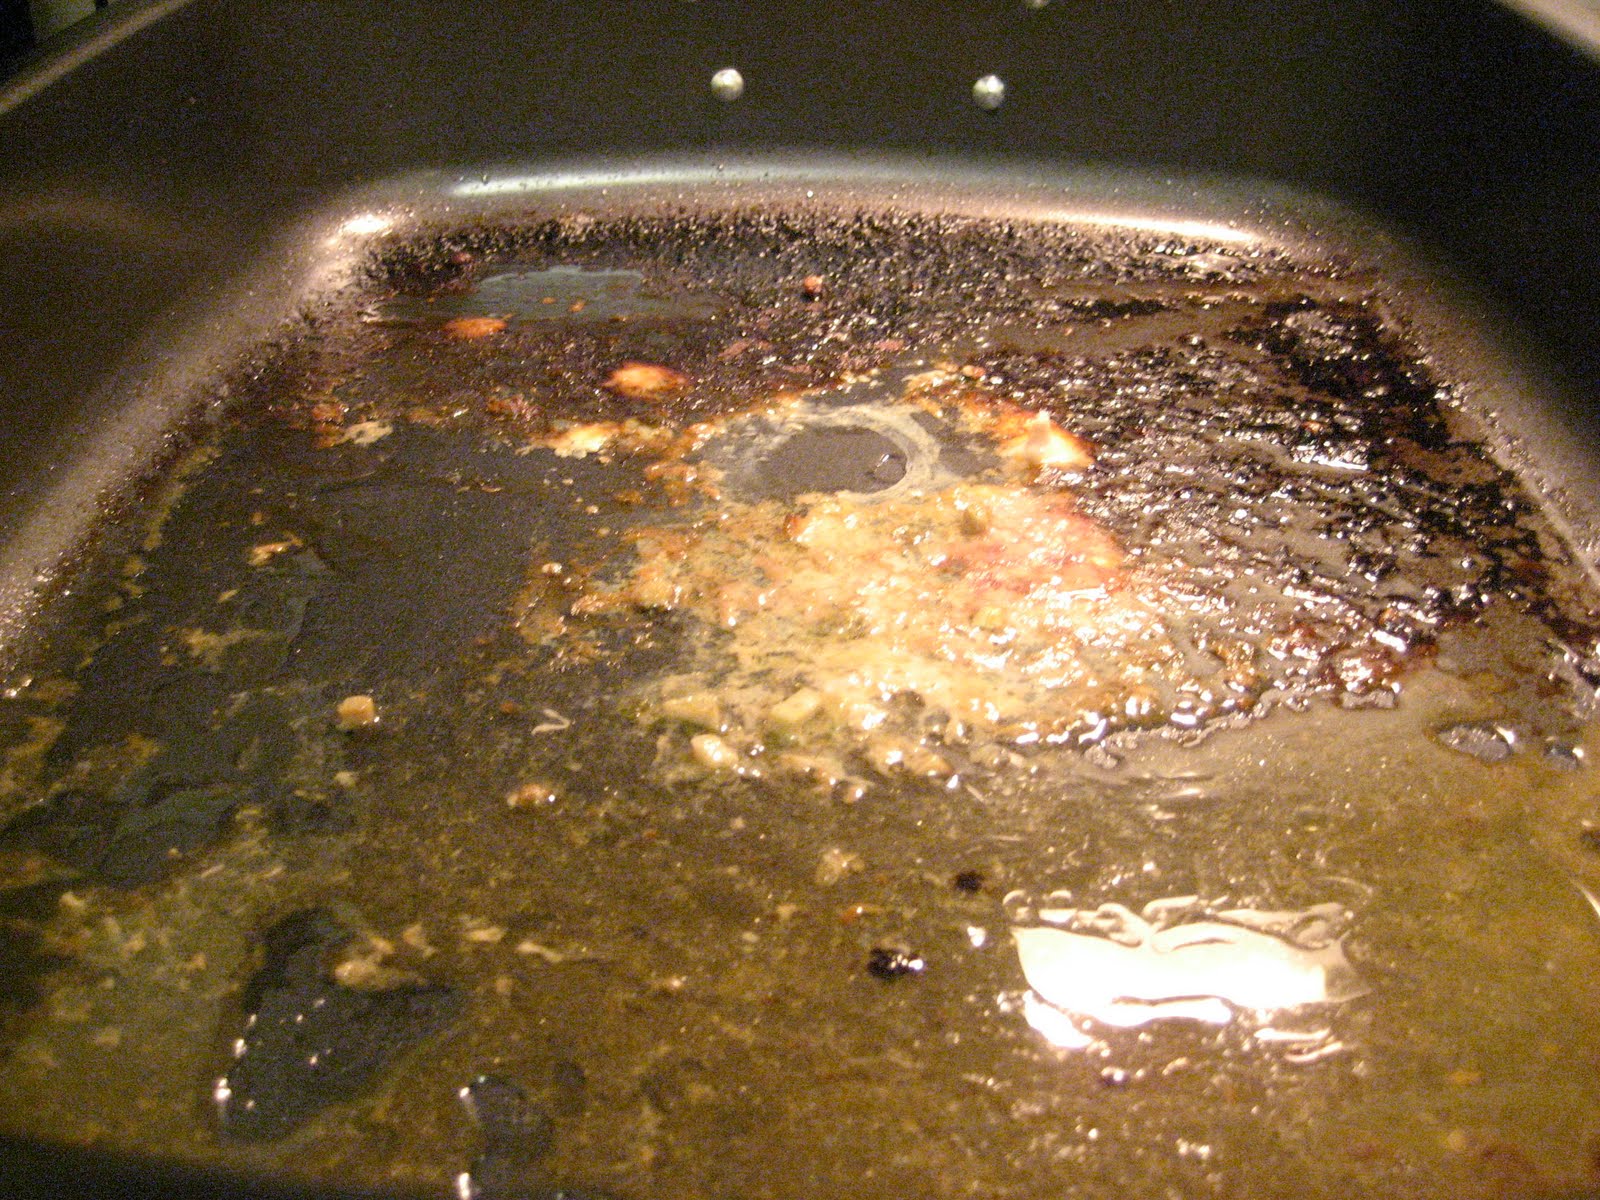
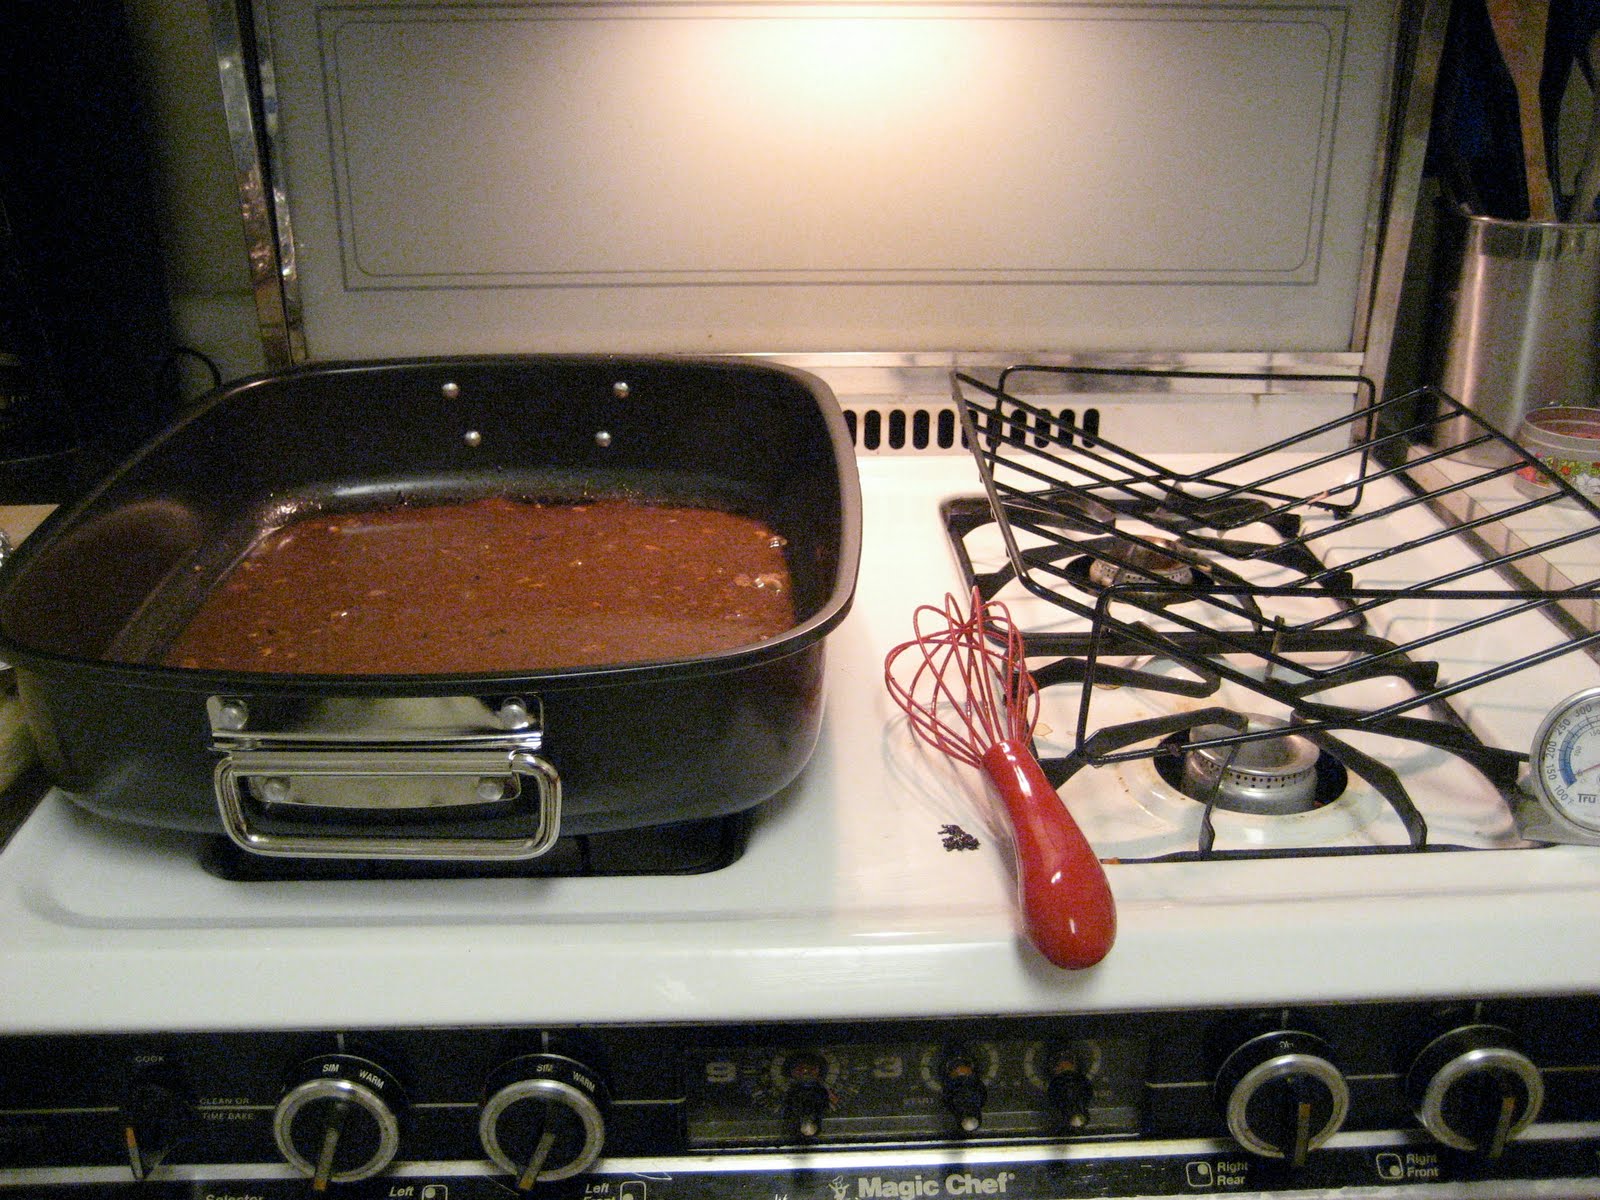
- The key here is the stir. Whisk away for no lumps and gently stir, add stock and flour, until the desired consistency and taste is reached.
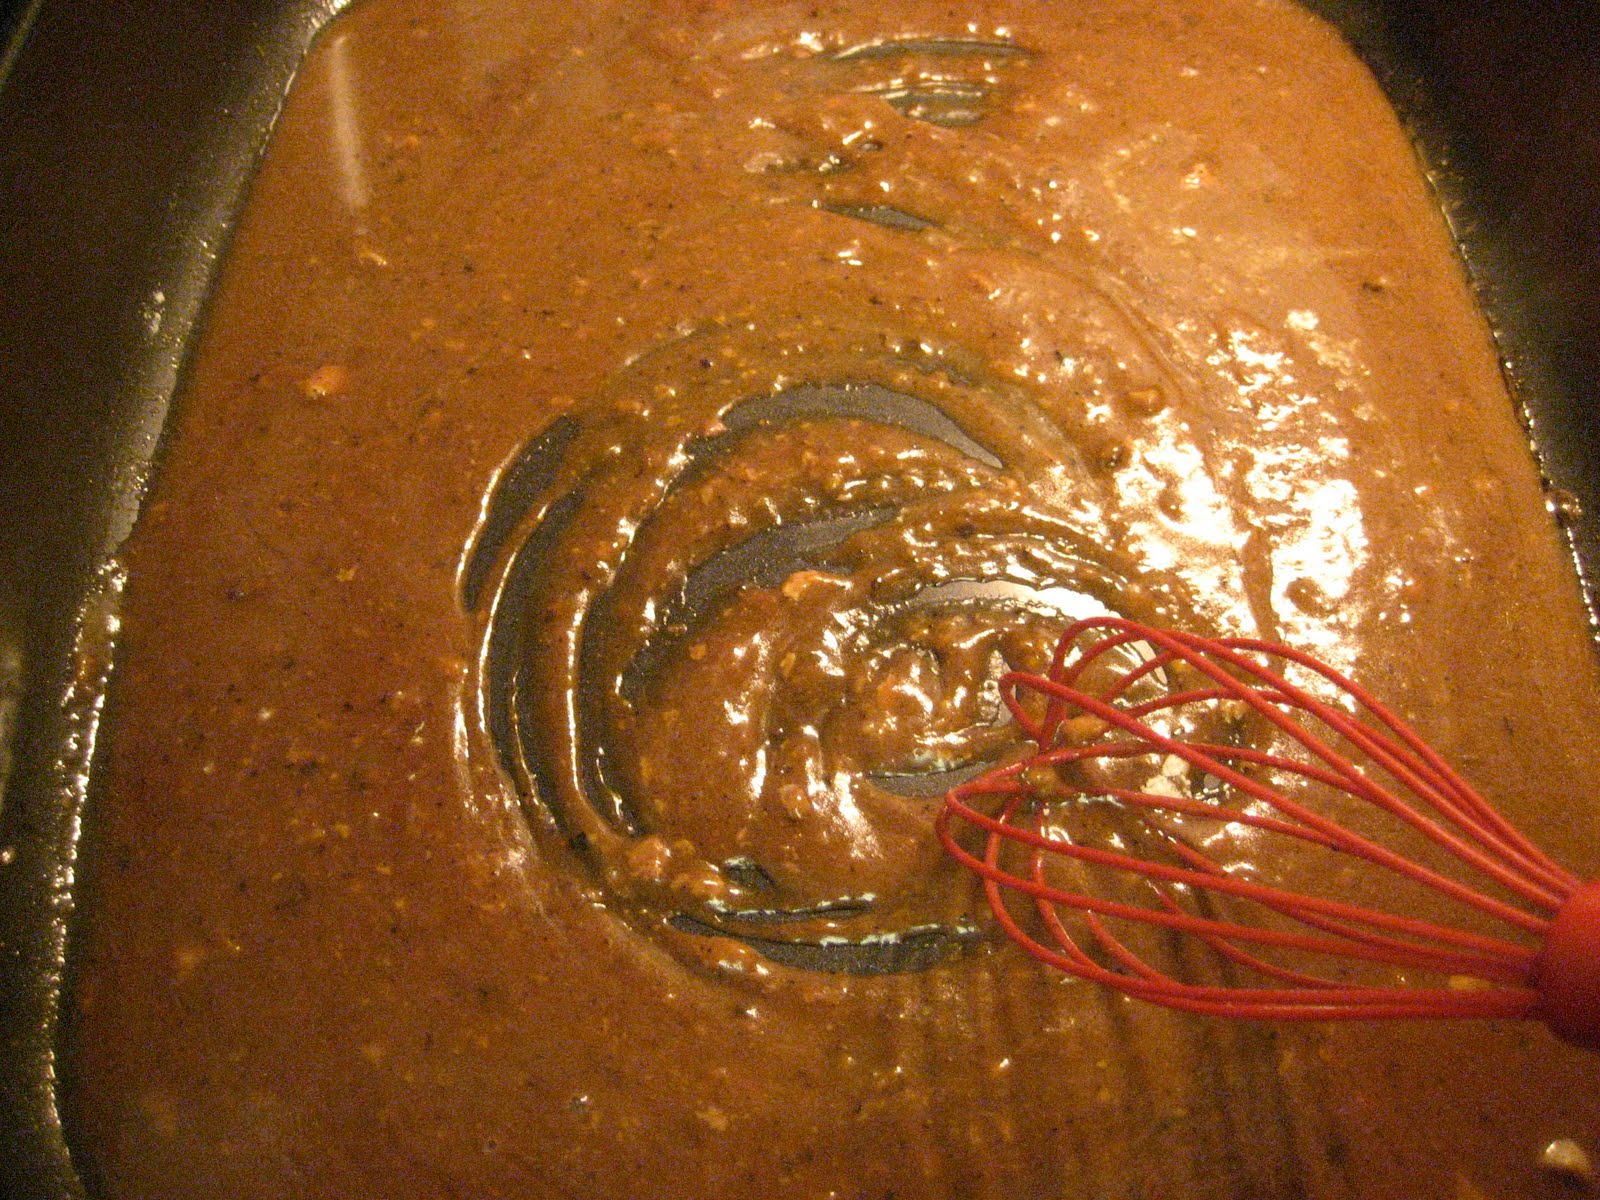
1) I overfloured my gravy just a bit and it was really thick. Make sure you use a light hand on the flour until you get moving.
2) If said overflouring occurs, thin out with more chicken stock.
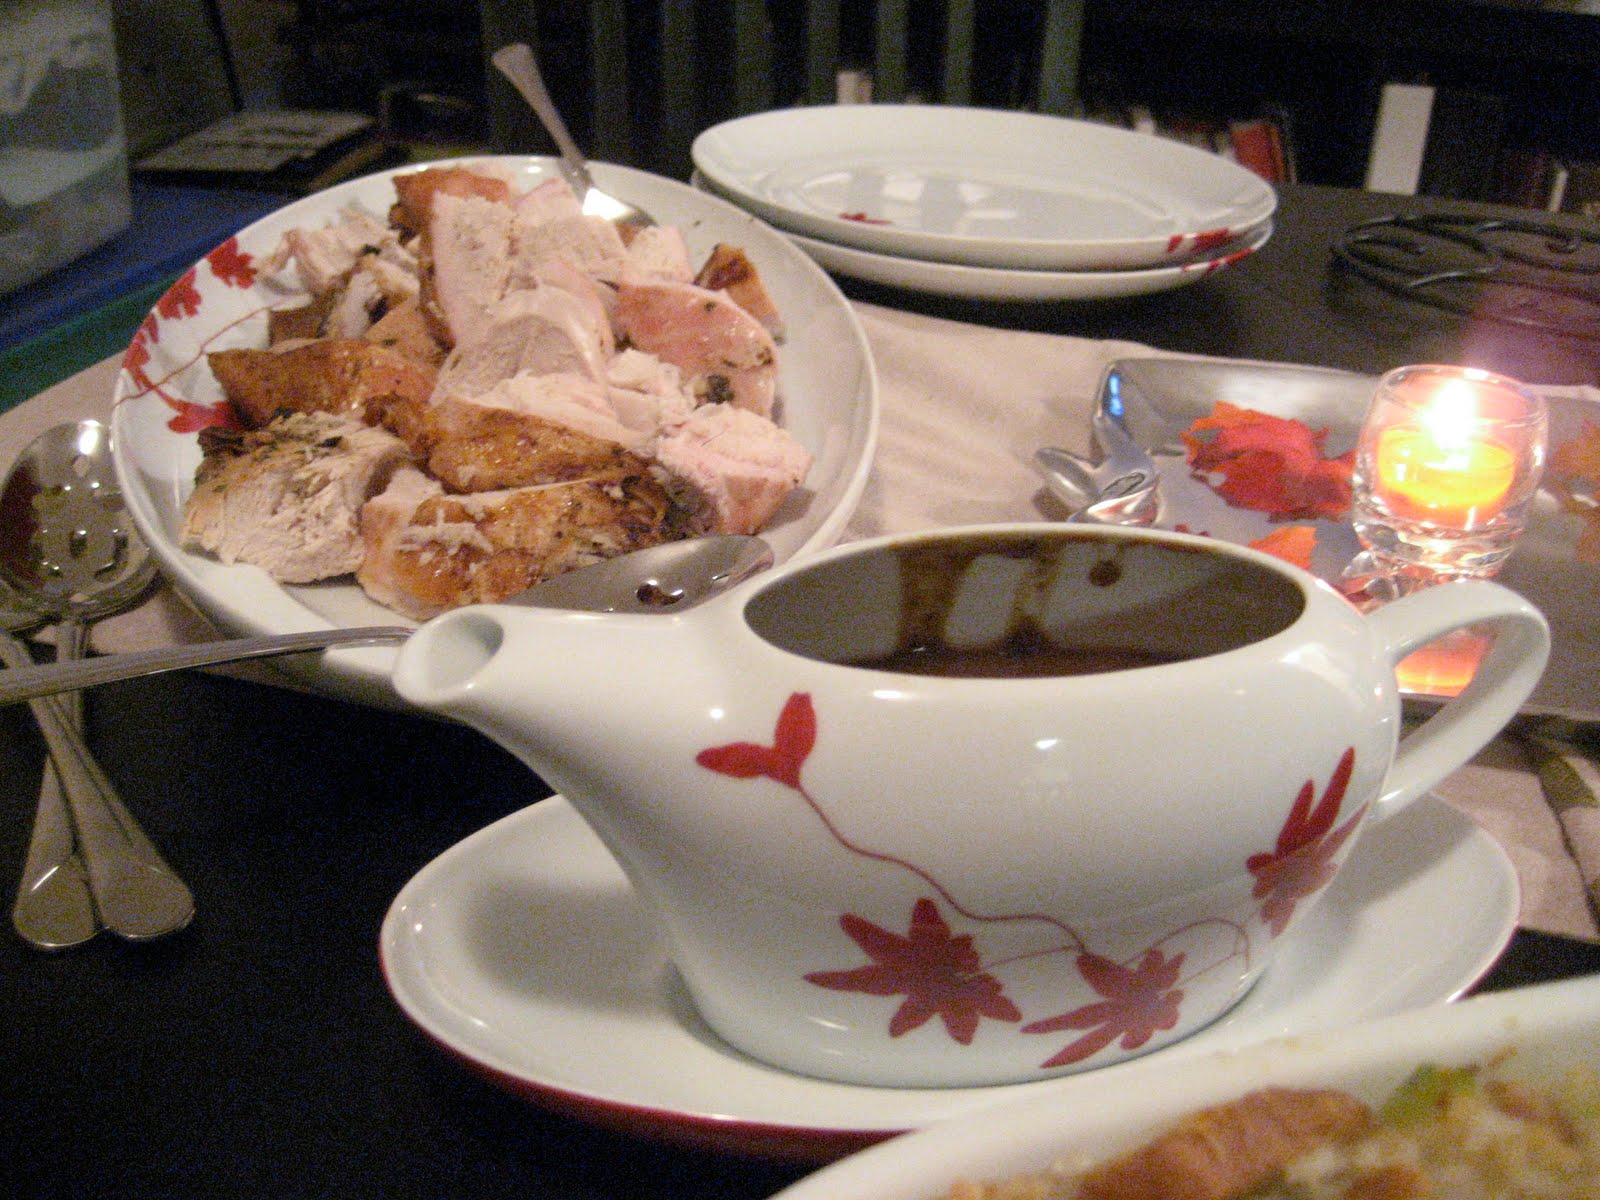
3) I know this isn't the most perfect line by line recipe, but honestly you can't go wrong. The pan juices are going to taste fabulous regardless of what you add to them! And this recipe goes for essentially any gravy you make. I've done this with chicken and carmelized onions which was my life changing gravy moment.
So that's my tale of the turkey. What do you think? Look good enough to eat? How do you make your Thanksgiving turkey? Leave some tips to share with others in comments!
Reader Comments (2)
Pretty sure I'm going to print this post and paste it on my fridge Thursday, so I can follow it line by line (or Ian can follow it, because he's in charge of the turkey). :)
I hope it all goes well and that these recipes work out for you guys! I can't wait to hear about your domestic goddessness!