Hi, I'm Rachel.

A few years ago I could barely boil water.

True story.

Determined to be a kick ass wife, I developed a love for football and learned to cook in my tiny Jersey City kitchen. I spend my days working in Manhattan, my nights and weekends chasing after a rambunctious toddler, and the hours in between cooking with my husband and feeding my TV habit...oh, and I blog about it all! 

Welcome to my world!

Search for Recipes & More!

Subscribe via Email:

Delivered by FeedBurner

Still Hungry?
my foodgawker gallery
Search for Recipes & More!


Subscribe to TAA by Email!

Delivered by FeedBurner


Follow the Food

The Pantry

Monday
Jul122010

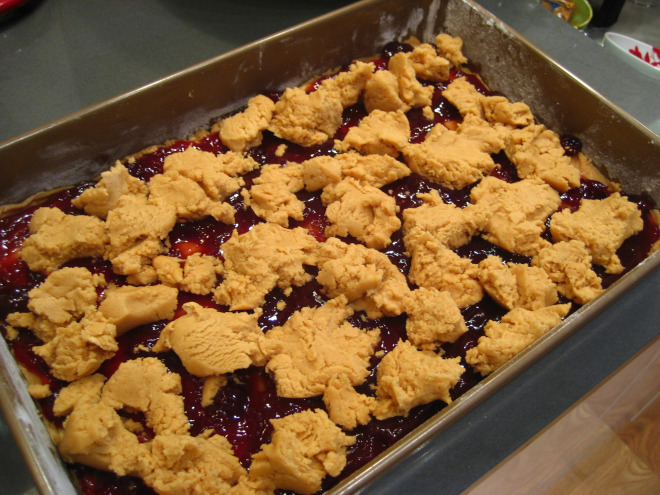
Jen's Chicken Saute with Escarole

Today's recipe comes from TAA reader and friend, Jen. Here's here note:

I've attached my recipe for Chicken Saute with Escarole. I love this recipe because, as you have said, any recipe that requires white wine as an ingredient is destined to be a star.  Also, I love the taste of the chicken and mushrooms combined with the bitterness of the escarole. Escarole does not appeal to everyone, but I'd be curious to see what you think. To me, it's a delicious balance and a real palate pleaser.  (Side note: It's a Weight Watchers recipe, so I love it even more!) - Jen C.

Chicken Saute with Escarole
*Adapted from Weight Watchers
3 tbsp all-purpose flour
1 tbsp grated Parmesan cheese
¼ tsp ground white pepper
Four 4-ounce skinless boneless chicken breasts
4 tsp olive oil
2 C sliced mushrooms
6 scallions, sliced
¼ C dry white wine
1 bunch escarole, cleaned and coarsely chopped

On a sheet of wax paper, combine flour, cheese and pepper.  Dredge the chicken in the flour mixture, coating both sides. In a large skillet, heat 2 teaspoons of the oil. Cook the chicken until golden and cooked through, 4-5 minutes on each side. Transfer to platter. In the skillet, heat the remaining 2 teaspoons of oil.  Sauté the mushrooms and scallions, stirring constantly, 2-3 minutes. Pour in the wine; cook until the liquid evaporates, 1-2 minutes. Add the escarole; cook until the escarole is tender, about 2 minutes. Once the escarole starts to cook, you should add some salt (to taste).  The first time I tried this recipe, it was very bland. The second time I made it, I added a little salt while the escarole was cooking, and it was MUCH better. Spoon over the chicken.

Some notes:
I made the dish for 4 people that LOVE to eat, so I had to double the recipe and actually use two pots.  If you're making this for only 2-3 people, one pot should be good. I also used Chardonnay, (not Chablis or Sauvignon blanc) simply because it was the only wine I had in the house, and I was too lazy to run to the store.  It still came out great!


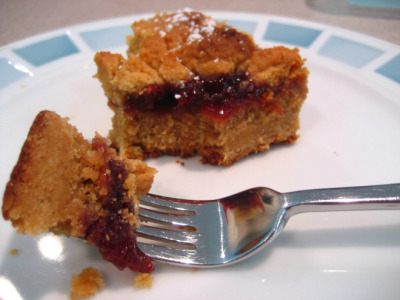
So what do you think? Didn't Jen do an amazing job on this dish? I love that not only did she put her own spin on it to fit her needs, but that it incorporates some new, adventurous ingredients (I, for one, am completely unfamiliar with escarole). Take note of that deliciously crispy looking chicken on the bottom! And the fact that it's healthy is just the icing on the...er...cake. I cannot wait to try it!

PS - Do you have a recipe or restaurant review to share? Tell us about it (including photos!) and we'll feature it on The Avid Appetite!

Monday
Jul122010

Peanut Butter & Jelly Bars

Last week I rang in the Fourth of July with Shaun at my cousin Greg's annual barbecue. Since the main course and sides are always in abundance, I decided to whip up a fun dessert that didn't necessarily scream red, white and blue, but one that was all-American and decadent to boot. And does it get more down home patriotic than peanut butter and jelly? And I'll be darned if you ever find a better flavor combo. When I stumbled upon Ina Garten's peanut butter and jelly bars, I knew it was meant to be.

Peanut Butter & Jelly Bars
*Adapted from Ina Garten
2 sticks (1/2 lb) unsalted butter, at room temperature
1 1/2 C sugar
1 tsp pure vanilla extract
2 large eggs, at room temperature
2 C creamy peanut butter (unfortunately, this is just a bit more than your average jar)
3 C all-purpose flour
1 tsp baking powder
1 1/2 tsp kosher salt
1 1/2 C jam of your choosing (I went with Four Fruits)
2/3 C salted peanuts, coarsely chopped, if desired
Confectioners' sugar, for dusting

Preheat your oven to 350 degrees. Generously grease and flour a 13" X 9" baking pan.* In a stand mixer, cream the room temperature butter and sugar on medium speed until thoroughly mixed, about 2 minutes. With the mixer on low speed, add the eggs, vanilla and peanut butter, mixing until completely combined. Meanwhile, in a mixing bowl, sift the flour, salt and baking powder together. With the mixer on low, slowly and carefully add the flour mixture to the peanut butter mixture without spraying your kitchen white. Mix this just until it's combined and you have a doughy mass. Next, using a spatula or your own two paws, spread about two-thirds of your mixture into the bottom of your greased, floured and papered baking pan. It might require some elbow grease to get 'er done, but have faith. Now would be the time where, if you are me and thought that a full jar of Polaner All Fruit would be plenty but were oh-so-wrong, you run out to the nearest store to pick up yet another jar of jam to properly cover the bars. Trust me, unless you want stick-to-the-roof-of-your-mouth bars, you'll want plenty of jam to balance the super peanut butteryness of the bars base. With another spatula, cover with the jam, spreading evenly, but not all the way to the edges.** Using a spoon and your (clean) fingers, dollop pieces of the remaining peanut butter dough evenly on top of the jam. As you can see from mine, it doesn't have to be total, perfect coverage. I actually prefer seeing a little jam through the top so guests can tell what's in them.

If using peanuts, add them on top (I didn't use them on mine - it's just personal preference). Bake for 35-45 minutes until golden brown. Mine were done in about 40 minutes. Let cool completely. Cut into squares using a sharp seraded knife and remove from pan with a spatula (a basic plastic one worked just fine for me and helped eliminate scratches on the bottom of my non-stick Calphalon). And since presentation is everything, serve on a pretty (or in my case pretty-yet-disposable) platter and dust with confectioners' sugar.

*The original recipe calls for greasing the pan, then lining with parchment paper, followed by a generous greasing and flouring. I did some poor planning and went ahead sans parchment paper since I realized I had none only after I started baking (and yes, this was quite nervy of me since I remembered Kimberly's birthday cake incident all too well). My bars came out without a problem by only greasing and flouring the pan...but to be on the safe side, I recommend the parchment paper.

**I made the mistake of spreading the jam all the way to the edges without allowing any spreading room during the baking process. While I adored the delicious bits of sticky jam adhered to the sides of the pan (yummm), it made for a difficult dismount in terms of getting the bars out of the pan.

So there you have it. A super Fourth of July recipe that, in my opinion, deliciously rang in the holiday. What did you do for Independence Day? What did you dine on?

Wednesday
Jun302010

Create an Herb Garden, Just About Anywhere

Who says you need a lush backyard with sprawling greens to grow your very own herbs? Ever since we moved into our brand spankin' new digs here in Jersey City, we've been harboring a pretty open obsession with the terrace. We filled it with a grill, some plants, flowers and a sweet little herb garden. I might be using the term garden a little...liberally. All it took was a $6 long plastic flower box, some potting soil and some starter herbs from Home Depot. While I was in Brooklyn celebrating Kim's birthday girls-night style, Shaun was home putting our little garden-that-could all together. It started out looking something like this:

And within a few short weeks, we had a lush green herb garden of our own, complete with bright herbs that not only look gorgeous but smelled delightful to boot. From left to right, Dill, Basil, Sweet Peas, Parsley.

Anxious to get cookin' with our new herbs, Shaun concocted a fun twist on the classic caprese salad. Using our freshly grown basil, Shaun and our new best friend, Mr. Weber, fixed a warm caprese salad that has become a nightly staple in recent weeks.

Grilled Caprese Salad
large heirloom tomatoes
fresh mozzerella
fresh basil
olive oil
kosher salt
fresh ground pepper

Heat up your grill, be it charcoal, gas or Foreman. Slice the tomato into thick slices. Chiffonade the basil, place atop the sliced tomato and top with a thick slice of fresh mozzerella. Drizzle a bit of olive oil, kosher salt and pepper and grill for a few minutes until the cheese is melted and the tomato has a bit of char on the edges. Enjoy!

And now we're in the midst of concocting lots of recipes to utilize our fresh herbs. Once they get growing, they tend to spring up pretty fast. The only way to keep 'em alive? Use them up in delicious dishes.

So there you have it - how you can make a mini herb garden just about anywhere, even on a tiny terrace outside your urban dwelling. We're just about thrilled that we no longer have to splurge $3 for a bundle of dill just so we can use a quarter of it for dill and yogurt dip, while the rest goes bad before being put to good use. And my Shrimp Sautee with Orzo will surely benefit from some fresh sprinkled parsley, rather than a few dried sprigs. But what about you? Are you of the grow-it-yourself mindset?