

Two Girls, Two Guys, Four Pies - Part I
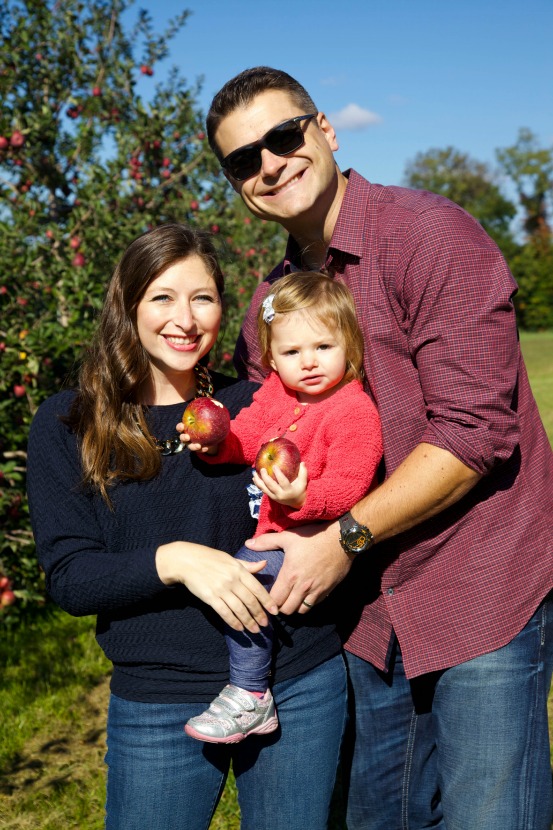
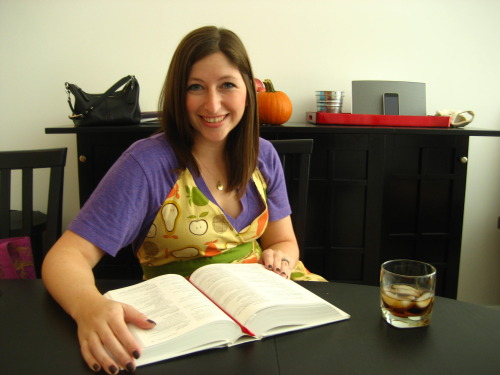
I guess the cat's outta the bag about my autumnal flavor obsession, what with an overload of apple cupcakes, pumpkin muffins and pumpkin spice coffee. Well today is no different. When my best friend Lindsey came up with an idea to bake and test different apple pie recipes in search of the very best techniques and versions, I literally jumped out of my chair with excitement (baking really, really makes me happy). After all, we all know someone who claims to make the best apple pie, or best anything for that matter. Why not put some to the test? And so our 1950's-style play date was set to take place in my Avid Kitchen. Along with Lindsey and I as bakers and taste testers, we enlisted the help of Shaun and Lindsey’s boyfriend Eric for more of a ‘blind test’ since they had no idea which pie was which, how any of them were made and were not involved in the process at all until it came eatin’ time. Shaun couldn’t have been happier when he came home from work to find a plate with four slices of pie ready and waiting for him.
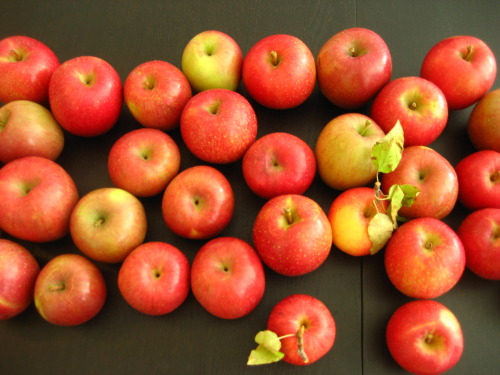
And so we turned these little beauties that Lindsey picked up from her favorite farm stand near her family's Connecticut lake house...
into a full-blown table of delicious...
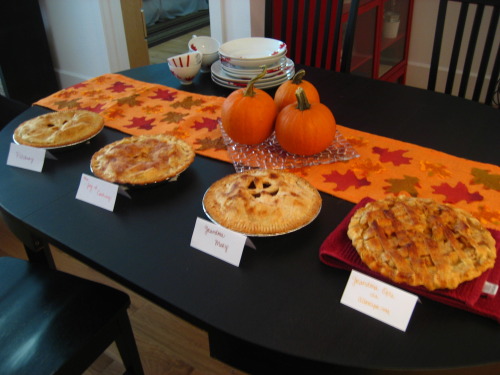
We decided to make a total of 4 pies using different techniques and slightly varying the ingredients. We also decided to test out pre-made refrigerated crusts versus a homemade crust. We then tracked down a few recipes that we felt were similar yet offered a few different variables. Here’s the rundown:
Apple Pie #1: Pillsbury Perfect Apple Pie with Pillsbury Premade Crust
Apple Pie #2: The Joy of Cooking Apple Pie with Pillsbury Premade Crust
Apple Pie #3: Grandma Mary’s Apple Pie with Homemade Crust (this is my Grandmother’s recipe which my mom swears is the best ever. EVER! And that yes, it is always necessary to make your own crust)
Apple Pie #4: Grandma Ople’s Apple Pie with Pillsbury Premade Crust (via allrecipes.com)
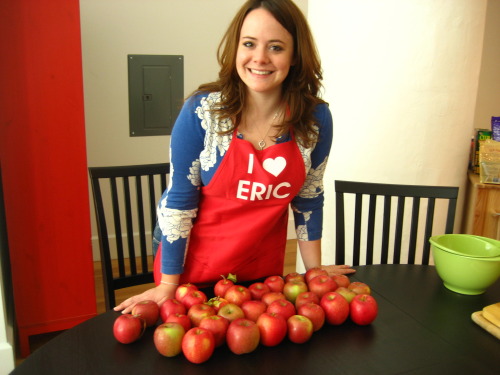
Since this was my first time ever making an apple pie, I only used the homemade crust on Grandma Mary’s version. It was my first crust-making endeavor so I was a bit wary about signing up for more than that (stay tuned for how this went down tomorrow). Meanwhile Lindsey and I got crackin' on our day o'baking fun! Coring, peeling and eventually eating...it was all in the name of research, people!
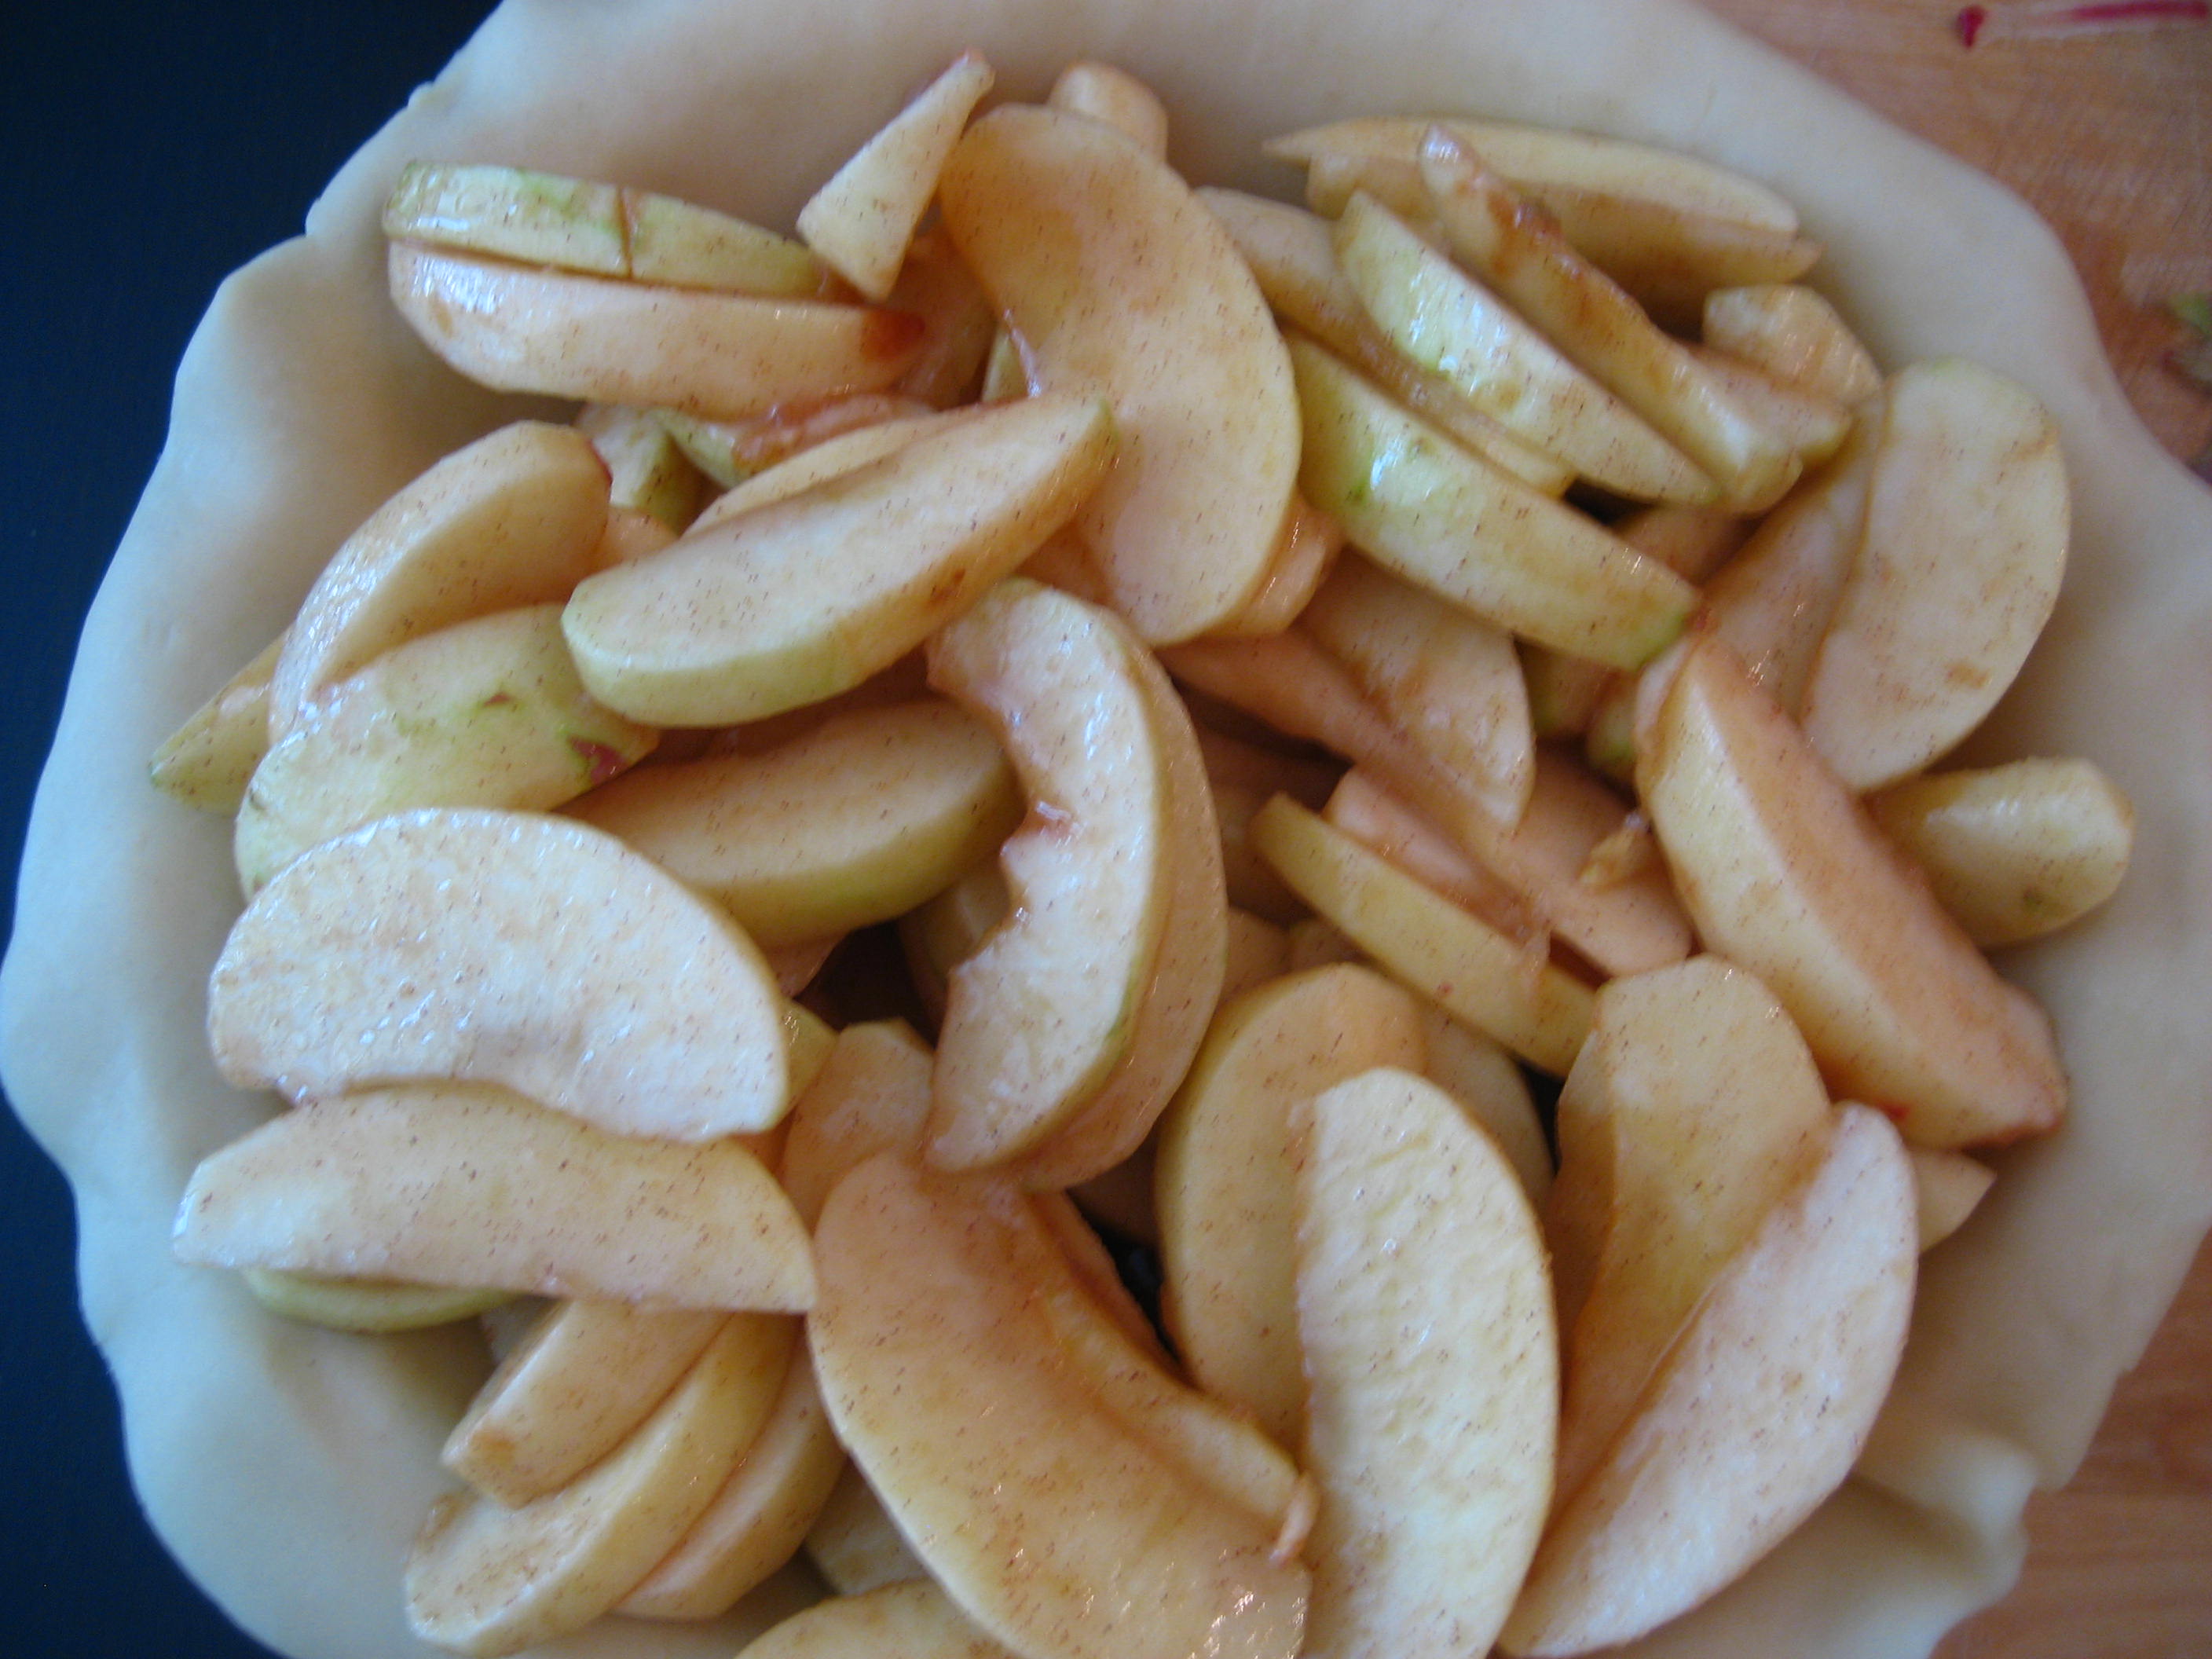
And so after lots and lots of chopping, peeling, coring and slicing, we were ready for the pieification of our apples.
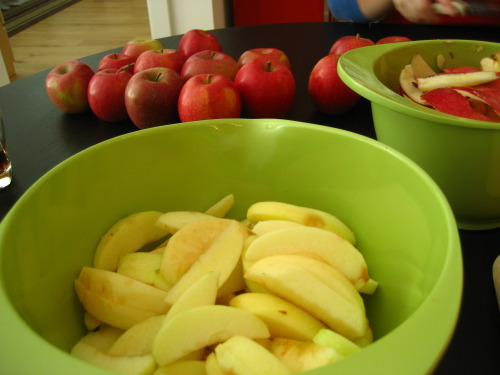
With a mix of Cortland, Macintosh and Spencer apples, we filled each pie with about 5-6 cups of sliced apples.
Apple Pie #1: Pillsbury Perfect Apple Pie with Pillsbury Premade Crust
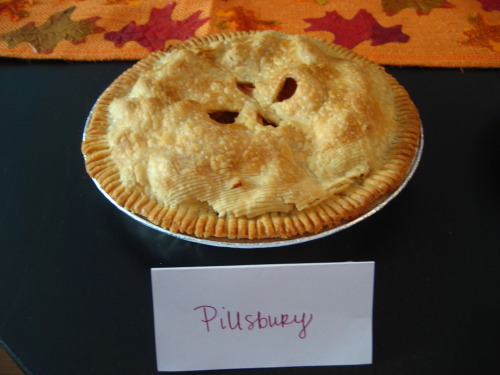
Pillsbury Perfect Apple Pie
*Adapted from Pillsbury Pie Crusts box
1 pkg Pillsbury Refrigerated Pie Crusts (2 crusts included, one for top and bottom)
3/4 C sugar
2 tbsp all purpose flour
3/4 tsp cinnamon
1/4 tsp salt
1/8 tsp nutmeg
1-2 tbsp cold butter, cut into small pats
6 C peeled, cored and sliced apples (we used a mix of Cortland, Macintosh & Spencer)
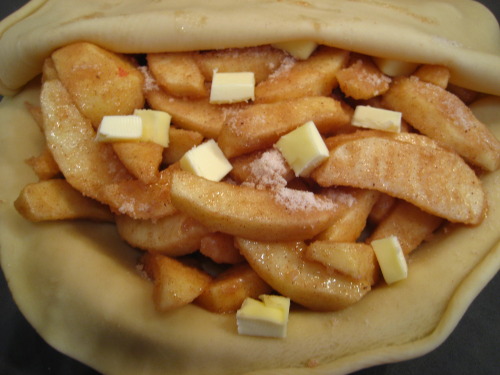
Prepare the pie crust as directed, letting it come to room temperature before rolling the bottom out into a pie dish. Preheat your oven to 425 degrees. In a mixing bowl, whisk, together flour, sugar, cinnamon, salt and nutmeg. Add apples and mix together gently.
Pour mixture into prepared crust and dot with pats of butter. Never underestimate the power of butter. Big pats all over the pie is the only way to go.
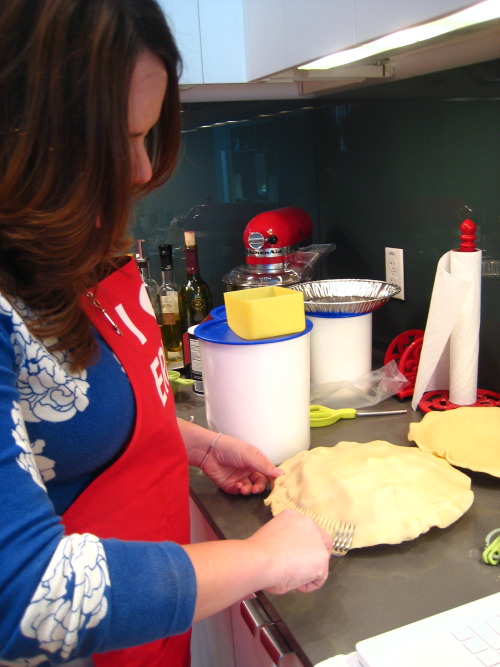
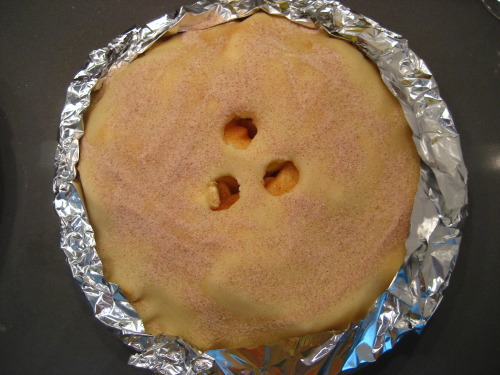
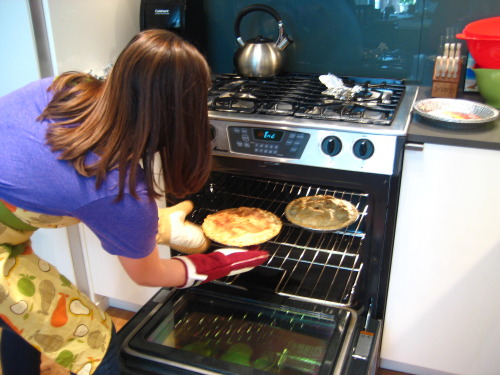
Cover with second crust, securing the edges with the back of a fork. You can get a little fancy here, but we felt the fork method worked best in terms of securing the goods inside the pie (one of them which wasn't forkified leaked all over my oven). Cut some slits or fancy designs into the top so that the steam from the pie can escape, otherwise you'll end up with a mushy mess of a pie. And no one wants that. Cover the edges of the pie with foil to prevent burning and bake on a baking sheet for 40-45 minutes or until a knife inserted into the apples feels tender. Remove the foil about 10 minutes before the end of the cooking time only if it looks as though the edges are not cooked.
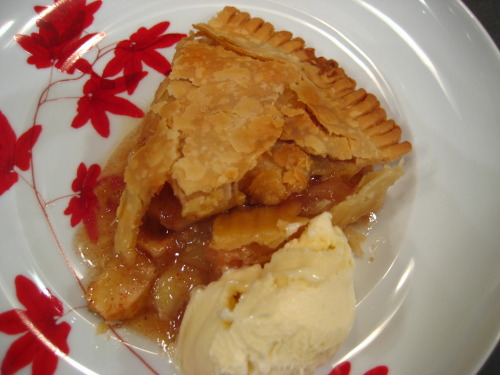
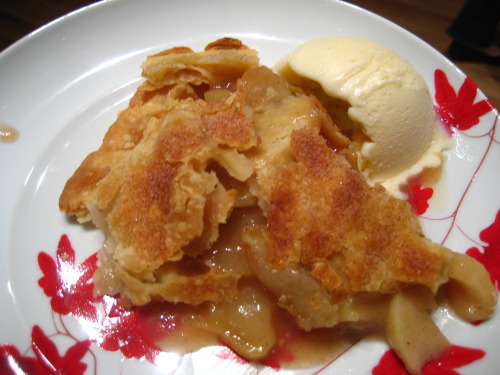
First impressions: Since this was the first pie, we were pretty excited to give it a try, especially since my Avid Kitch had been smelling so heavenly for about 4 hours by the time we actually got to start tasting. On first blush, pie #1 did not disappoint. The apples were nicely cooked though a bit tart. The pie was a bit soupy once it was cut into, so we wondered if perhaps the apple mixture needed a bit more flour for thickening. The crust, while not the best of all time, was flaky and did not seem store bought. So did our opinion match the guys? Did it hold up over the pies to come? You’ll have to stay tuned to find out!
Apple Pie #2: The Joy of Cooking Apple Pie with Pillsbury Premade Crust
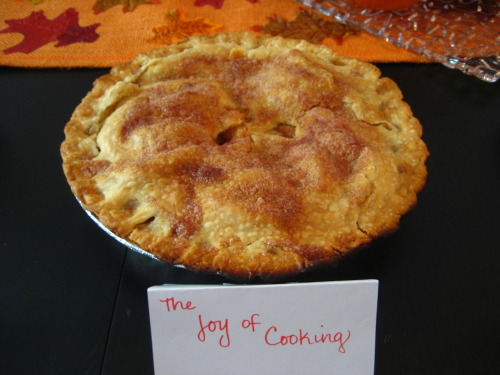
The Joy of Cooking Apple Pie with Pillsbury Crust
*Adapted from The Joy of Cooking
1 pkg Pillsbury Refrigerated Pie Crusts (2 crusts included, one for top and bottom)
3/4 C + 2 tsp sugar
2 tbsp all purpose flour
1/2 tsp + 1/8 tsp cinnamon
1/8 tsp salt
2 tbsp cold butter, cut into small pats
6 C peeled, cored and sliced apples (we used a mix of Cortland, Macintosh & Spencer)
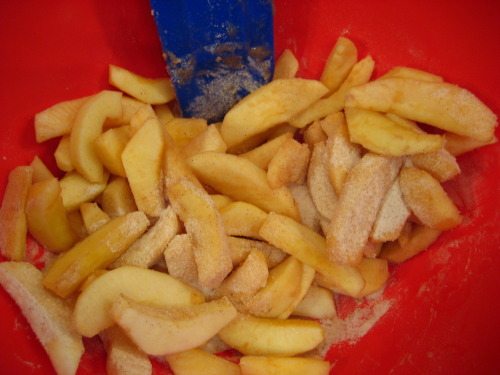
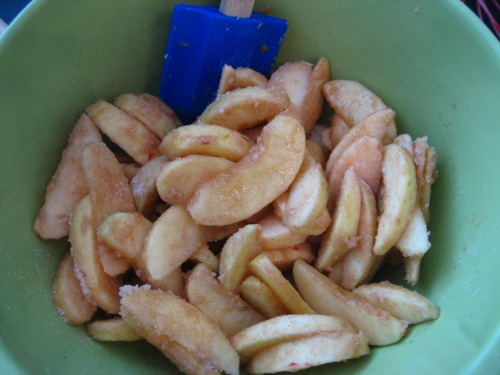
Prepare the pie crust as directed, letting it come to room temperature before rolling the bottom out into a pie dish. Preheat your oven to 425 degrees. In a mixing bowl, whisk, together flour, 3/4C sugar, 1/2 tsp cinnamon and salt. Add apples and mix together gently. Let the apples macerate in the mixture for 15 minutes, stirring occasionally to coat the apples and let the soften.
Pour the apple mixture into the prepared crust. Add pats of butter.
As with the Pillsbury version, cover with second crust, securing the edges with the back of a fork. You can get a little fancy here, but we felt the fork method worked best in terms of securing the goods inside the pie. Cut some slits or fancy designs into the top so that the steam from the pie can escape, otherwise you'll end up with a mushy mess of a pie. Lindsey was the master of both of these steps.
Sprinkle the remaining sugar and cinnamon over the top of the crust. Cover the edges of the pie with foil to prevent burning and bake on a baking sheet for 40-45 minutes or until a knife inserted into the apples feels tender. Remove the foil about 10 minutes before the end of the cooking time only if it looks as though the edges are not cooked.
We realized only after one of the pies had burst open and started dripping on the bottom of my oven (causing an unpleasant burning aroma) that it really works better to put the pies on a large baking sheet to catch any overflow.
First impressions: Wowee the difference between this pie and Pie #1 is astounding and this delicious version suddenly makes Pie #1 look like Pie #2’s unattractive and unfun cousin. The major difference here is the apple taste and consistency. The apples were sweeter and more appley tasting that Pie #1, two points that we may not have realized had we not tasted these one right after the other. Our guess? Macerating the apples (letting them sit in the sugar-flour mixture for a full 15 minutes, creating a delicious appley sugar liquid) must have been the culprit in giving this pie the extra zip to take the reigns for number 1 of the two so far. Who would have thought? Not me, since I actually whined how could this be necessary? multiple times while impatiently waiting for the apples to macerate. I was wrong, and I admit it. Apparently maceration is key here since the apple filling instantly went from eh to mmmm. The crust was similar to Pie #1, though the addition of the cinnamon sugar topping made a huge difference in its deliciousness since it added a crystallized sugariness to the top. As you can tell, both pies fell apart a bit after cutting into them, so the final photos are less than prize-worthy.
So there you have it. Our roundup of pies #1 and #2. Our first impression comments do not include those of the guys since Lindsey and I were the first taste testers. Instead, we’ll give you the guys’ roundups and their picks and thoughts later this week when we announce our favorites!
So what do you think? Do you make a mean apple pie? The best? Have you ever tweaked the ingredients slightly in any dish only to find that it made all the difference in the world? And finally, are you a stubborn, impatient cook like me, constantly searching for instant gratification?
 9 Comments | Share Article | Email Article | tagged Best of Experiments, Food Fun, Recipes Print Article | Permalink


