It's Tuesday and we're talking baby things again! This past weekend my mom, Penelope and I attended a baby shower in honor of my cousin Gina, who is due to have her baby girl this June. For the occasion, my mom and I put together a sweet diaper cake. My mom and aunt Vicky had put together a beautiful one for my own baby shower and I only am now dismantling it - it's been on display in Penelope's nursery up until now! The cake that we made contained a ton of little goodies that I have used {and loved} for Penelope...I hope Gina finds these things to be just as great! This was our first foray into diaper cake making but I think it turned out beautifully. Not to mention it was super easy, which is exactly how I get down when it comes to crafting.
DIY Diaper Cake Tutorial
Here's what you'll need:
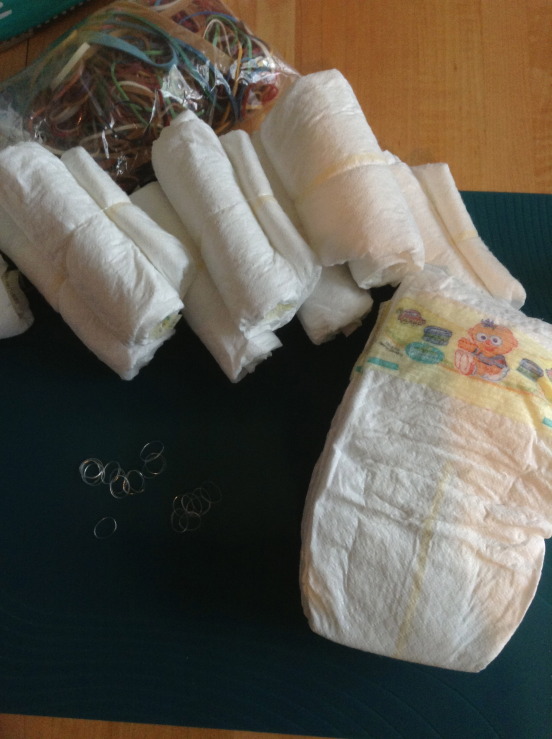
Diapers - (we used about 80-100, a mix of size Newborn & size 2)
Cardboard cake platter
Small clear elastic bands
Large rubber bands
Plastic knives (about 10)
Thick ribbon, of your choosing
Fake flowers (about 3-4)
Sewing pins
Double-sided tape
Stuffed animal, for the 'cake topper'
Useful baby goodies to decorate the cake
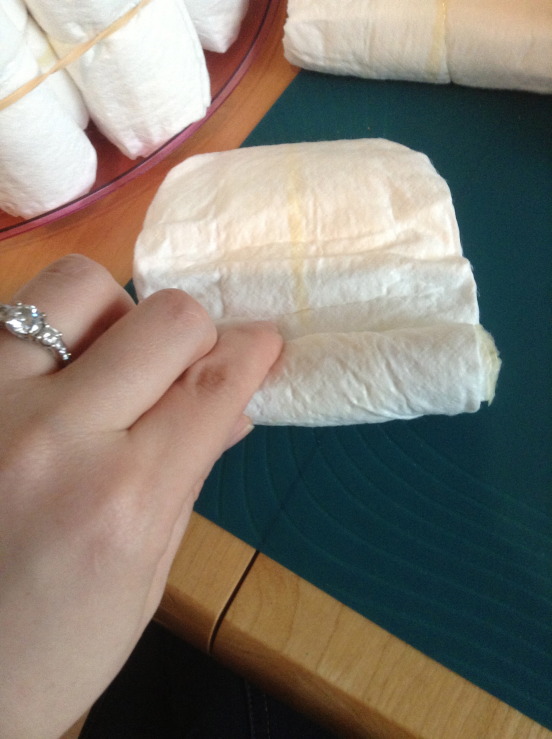
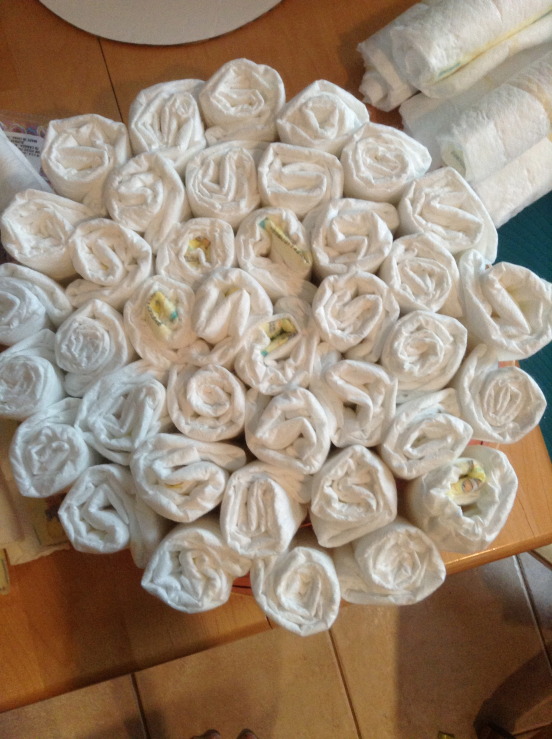
Start by rolling up the diapers and securing with a tiny elastic band. Place the design facing inward.
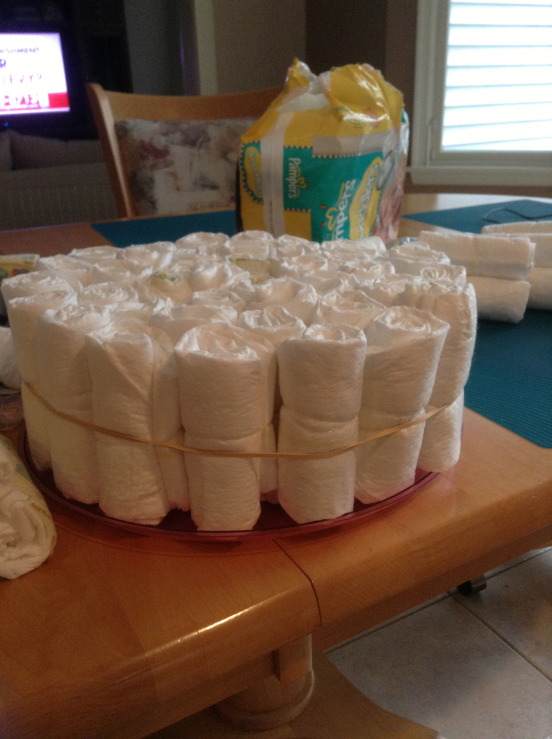
Once you have enough to cover the base of the cake platter (I think we used about 50), stand them up and secure with large rubber bands. I started with a core of 5 diapers, added a rubber band, then another larger rubber band. I then filled in the larger rubber band with diapers until the bottom layer went to the edges of the cake platter.
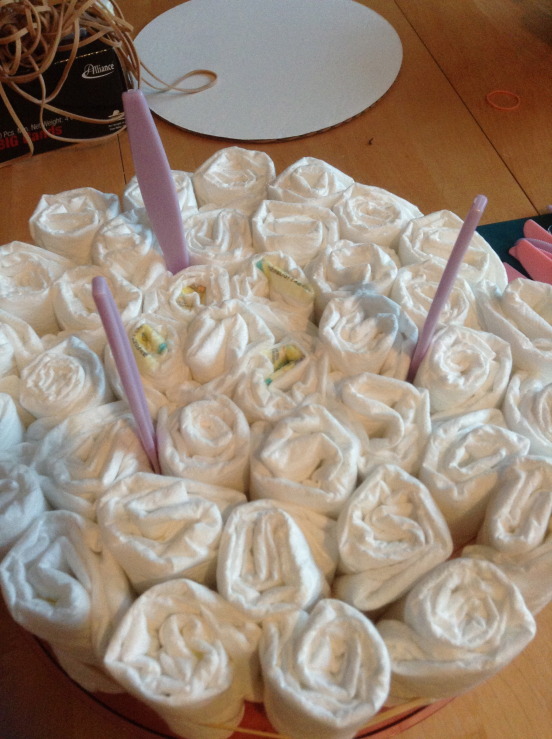
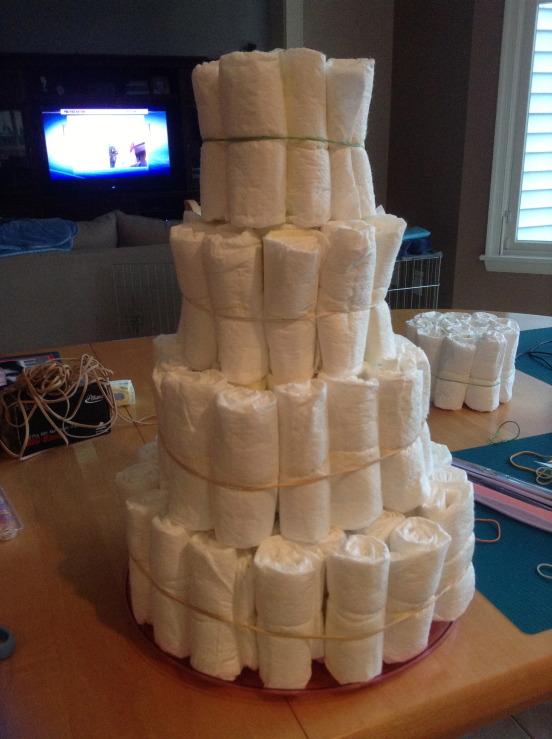
Build the rest of your tiers the same way, making them one less diaper length all the way around than the layer before it. Secure the tiers together by placing plastic knives (serrated side down!) into the diapers and attaching the next tier on top.
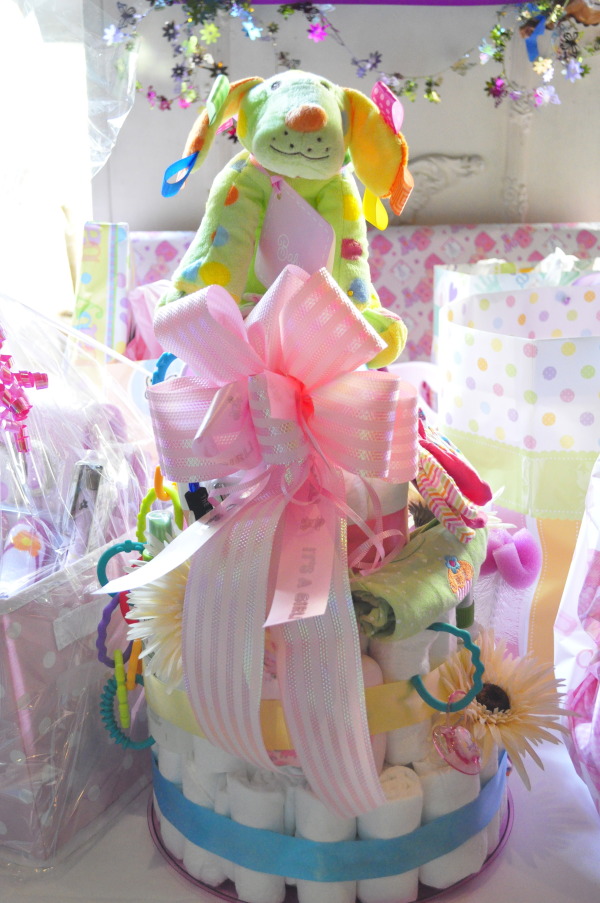
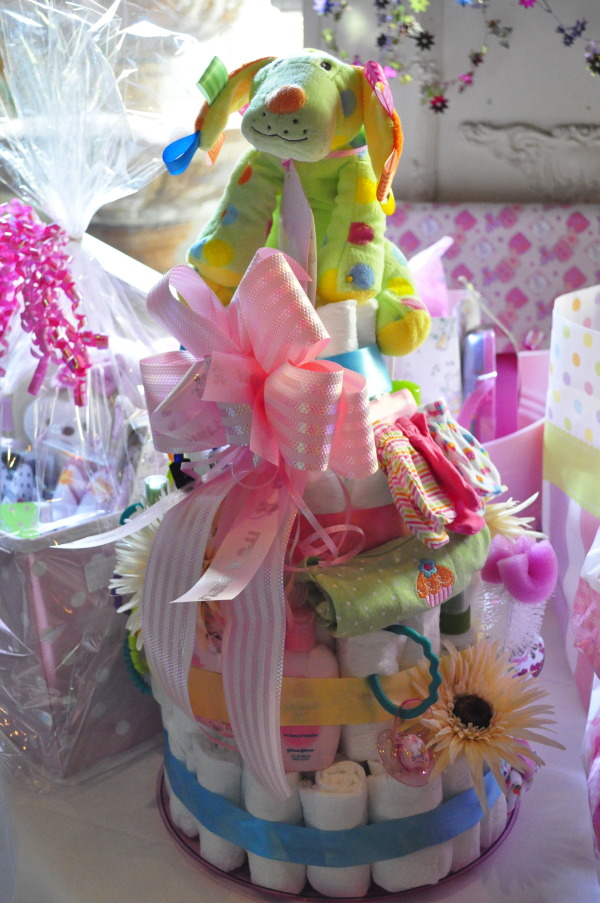
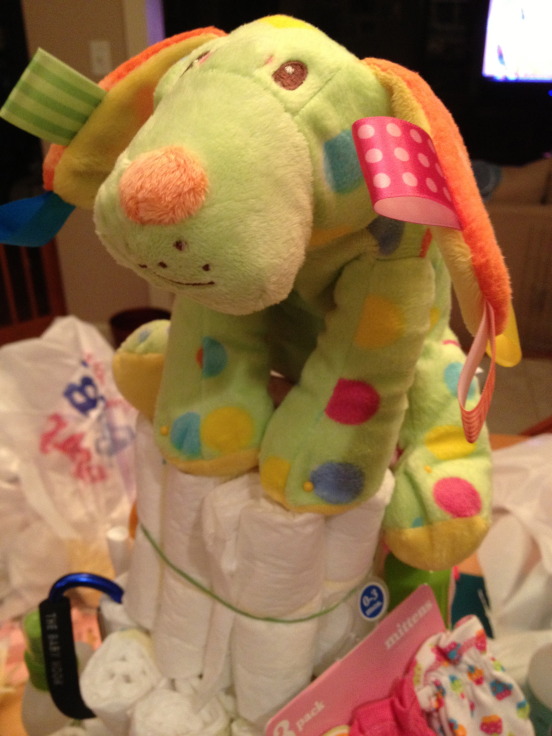
Once you have your tiers built, it's time for the fun part! Decorating the cake! We used sewing pins to secure a cute and colorful stuffed puppy dog on top. I just love the colors in this!
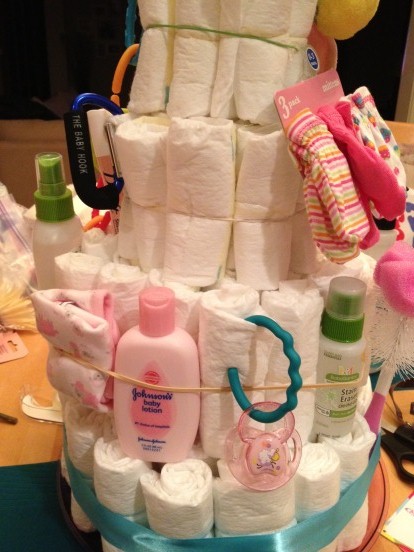
We then filled the cake in with all of the other goodies. We included pacifiers, a pacifier pod, hand sanitizer, stain eraser, baby mitts, links, a bottle brush, a stroller hook, baby lotion, a Dreft pen, rolled up onesies and a bib. I love the little toy links and we used these to hang some of these items from the cake. Others, like the bottled items, we simply stuck into the rubber bands.
Finally, we wrapped the thick ribbon tightly around the rubber bands securing the tiers. We actually used some of the free ribbon from Buy Buy Baby because the colors were so pretty and coincidentally matched the stuffed puppy cake topper! Secure the ribbons with double-sided tape. We used blue, yellow and a coral-red color for the ribbons. I heart.
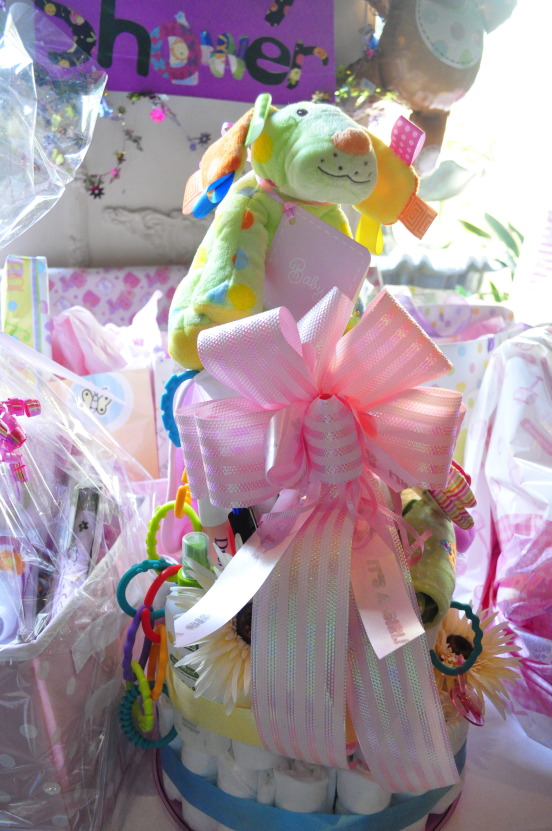
Next, place the flowers around the cake. I love this extra touch to make it look pretty!
We finished the whole thing with a giant bow in the front, which made the whole thing look polished and giftable. Lastly, we added a small tag/card wishing happiness to the momma-to-be!
We think it turned out so adorably and now I cannot wait for more friends and family to have babies so I can make another one ;) And not too difficult, right? We couldn't believe how easy this was and is really a beautiful showpiece for any shower, not to mention all of the little useful gifts contained around it.
What are you crafting up lately? What are you favorite gifts to give?