I'm so super excited this morning. Last night I came home from work to a home full of light! We {finally} got the electrician here to install lighting in 4 spots around the apartment and I cannot believe the difference it makes! I'll be back with photos once the walls are painted since honestly, the pics just do not do it all justice. But just know that I'm one happy lady :)
Meanwhile, I'm also making a lot of progress on my kitchen office nook. It's only half way there, but I want to share some in progress updates with you since this tiny change has made such a difference in my life!
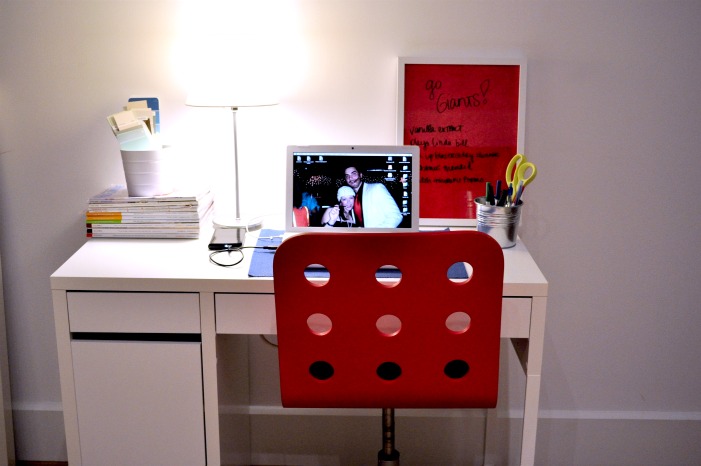
Ta da!
Please forgive my dark photos. There are no windows near by this area in the apartment, so there's simply no way to get a great photo. I took this one last night and digitally lightened it up a bit. But you get the idea.
Who would have thought that adding a simple white desk and a few other small changes would make such a difference!
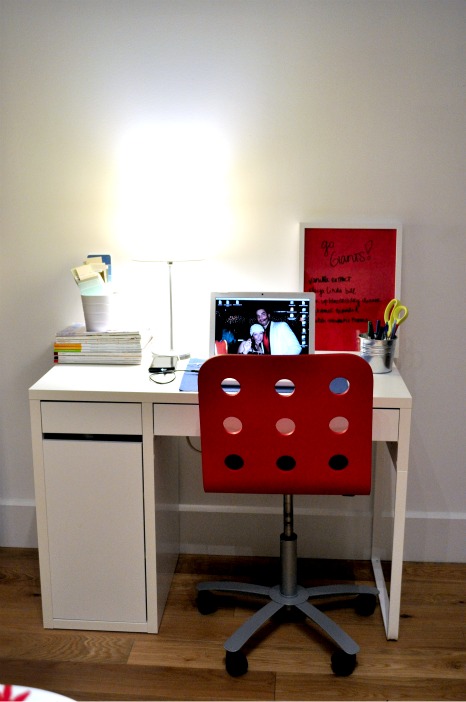
Let's get down to some details, shall we?
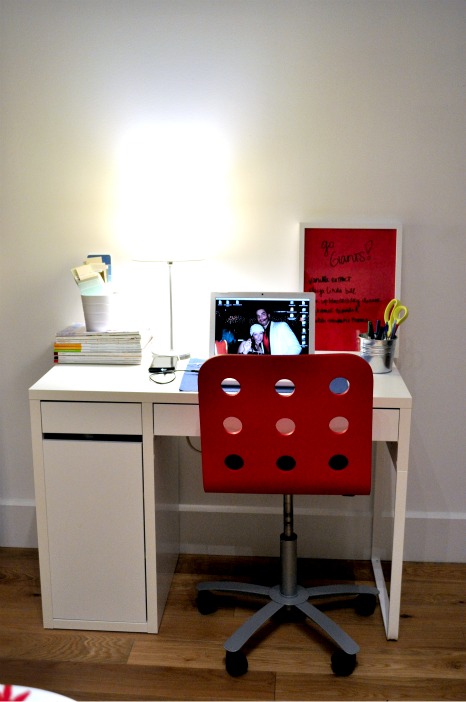
I picked out the Micke desk from Ikea because it was small, not very deep and sleek white. I wanted it to match the kitchen cabinets (which are white laquer) and not take up a ton of space. Luckily the desk was extremely reasonably priced and just the right size. We already owned the red chair (which we lovingly call the Swiss cheese chair), also from Ikea, also reasonably priced, and already matches my red-themed kitchen.
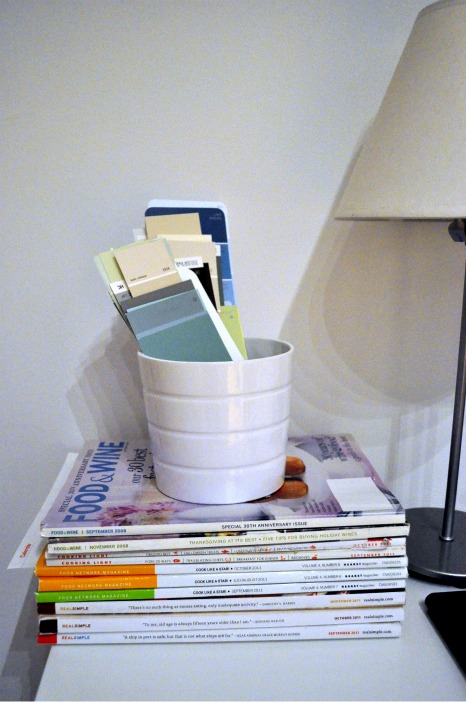
Starting on the left side, I stacked up my unread magazines (I have a lot of work to do in that department!) and set a white Ikea planter on top which holds some paint swatches that I'm considering for various spots in the apartment. You'll also notice my skinny little lamp. This is a super old find from Target that we've had laying around for some time now. I have no idea why I didn't throw it away, but it works great as a simple lamp and doesn't take up much space - a double win!

The main goal of the office nook was to have a spot for my Macbook so that I can blog with ease and not in front of the television while watching Good Morning America. I stacked it on top of a cobalt blue placemat that I snagged at Ikea for a couple of dollars. You'll also notice my computer background image is a throwback Halloween image of the man and me :)
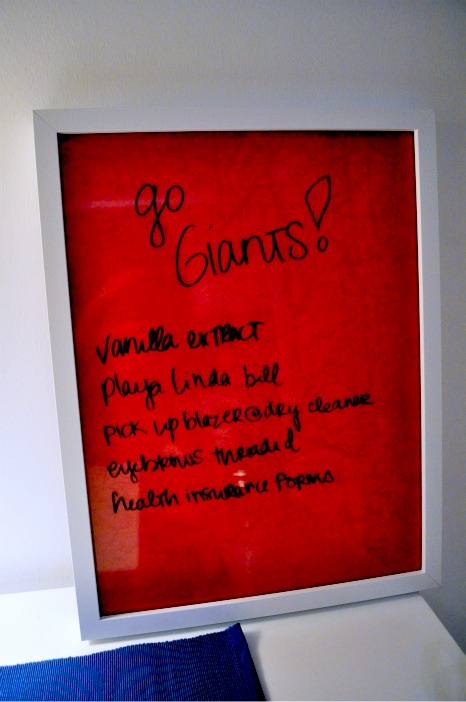
Next to the computer is my DIY dry erase board! I've been wanting to make one for some time now. I simply picked up a large frame, covered the inside with a piece of red fabric and put the fram back together. Voila. A simple and adorable DIY dry erase board. My favorite part of this is that the fabric can easily be changed out whenever I'd like! I can't wait to get a holiday themed fabrice going in there! Oh and the dry erase marker wipes right off with a tissue (or with your finger ;))
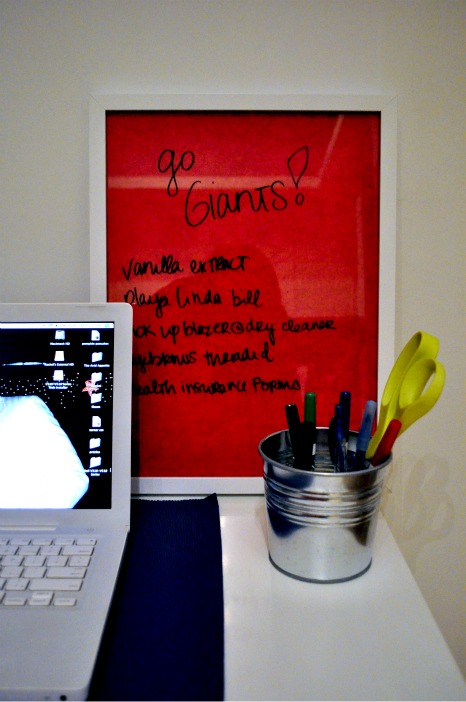
Pulling back out a bit, you'll see I also added a pen cup, which consists of another Ikea planter. I filled the bottom with rice and added my dry erase markers, a few pens and a pair of scissors. I love the industrial vibe on this planter - it perfectly complements our loft-style apartment!
So there you have it! My DIY kitchen office nook, in its first phase.
Phase II will consist of painting the wall behind the desk (which will hopefully make all of that white pop!), adding a few other organizational fixtures and hanging some shelves overhead for some open storage options for my extensive cookbook collection as well as my binders which contain all of my files. They are currenly all hiding in the den and are extremely unaccessible there. I can't wait to install them!
Questions of the Day:
Do you ever repurpose things from around your home? I repurposed the little planters, the placemat, the Swiss cheese chair and the lamp!
Do you have a desk for your computer? Or is it a roving machine, as mine used to be?